Ok then... perhaps i didnt feel like doing the springs next...
Perhaps i felt lkike playing with paint and fittings..
And so it goes on...
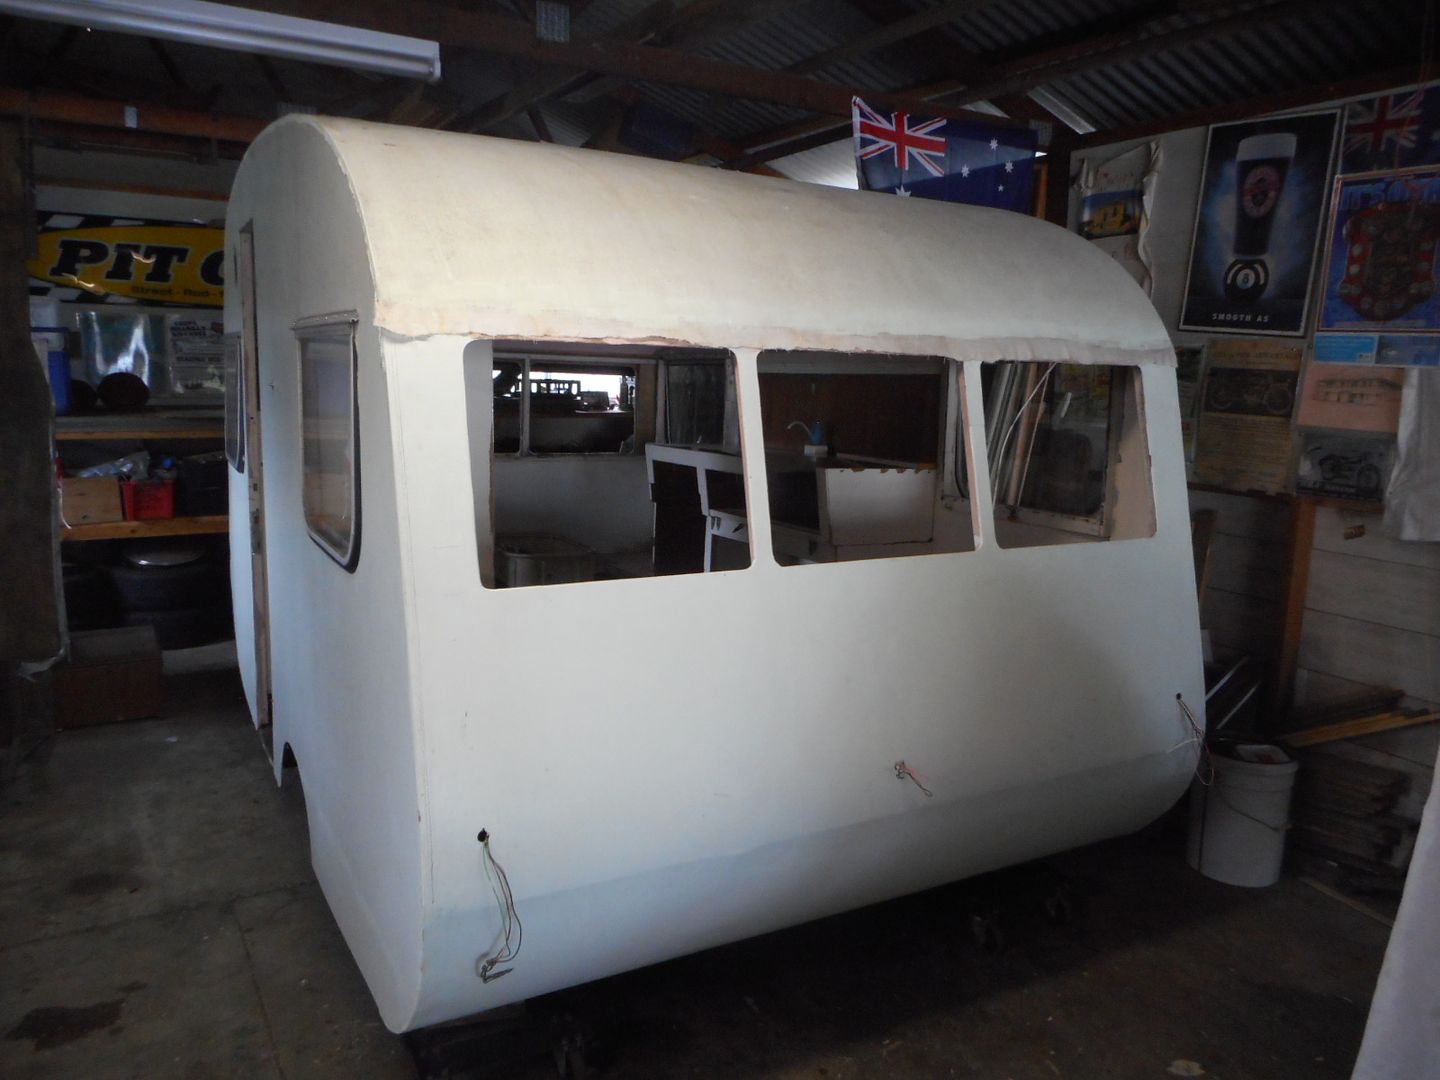
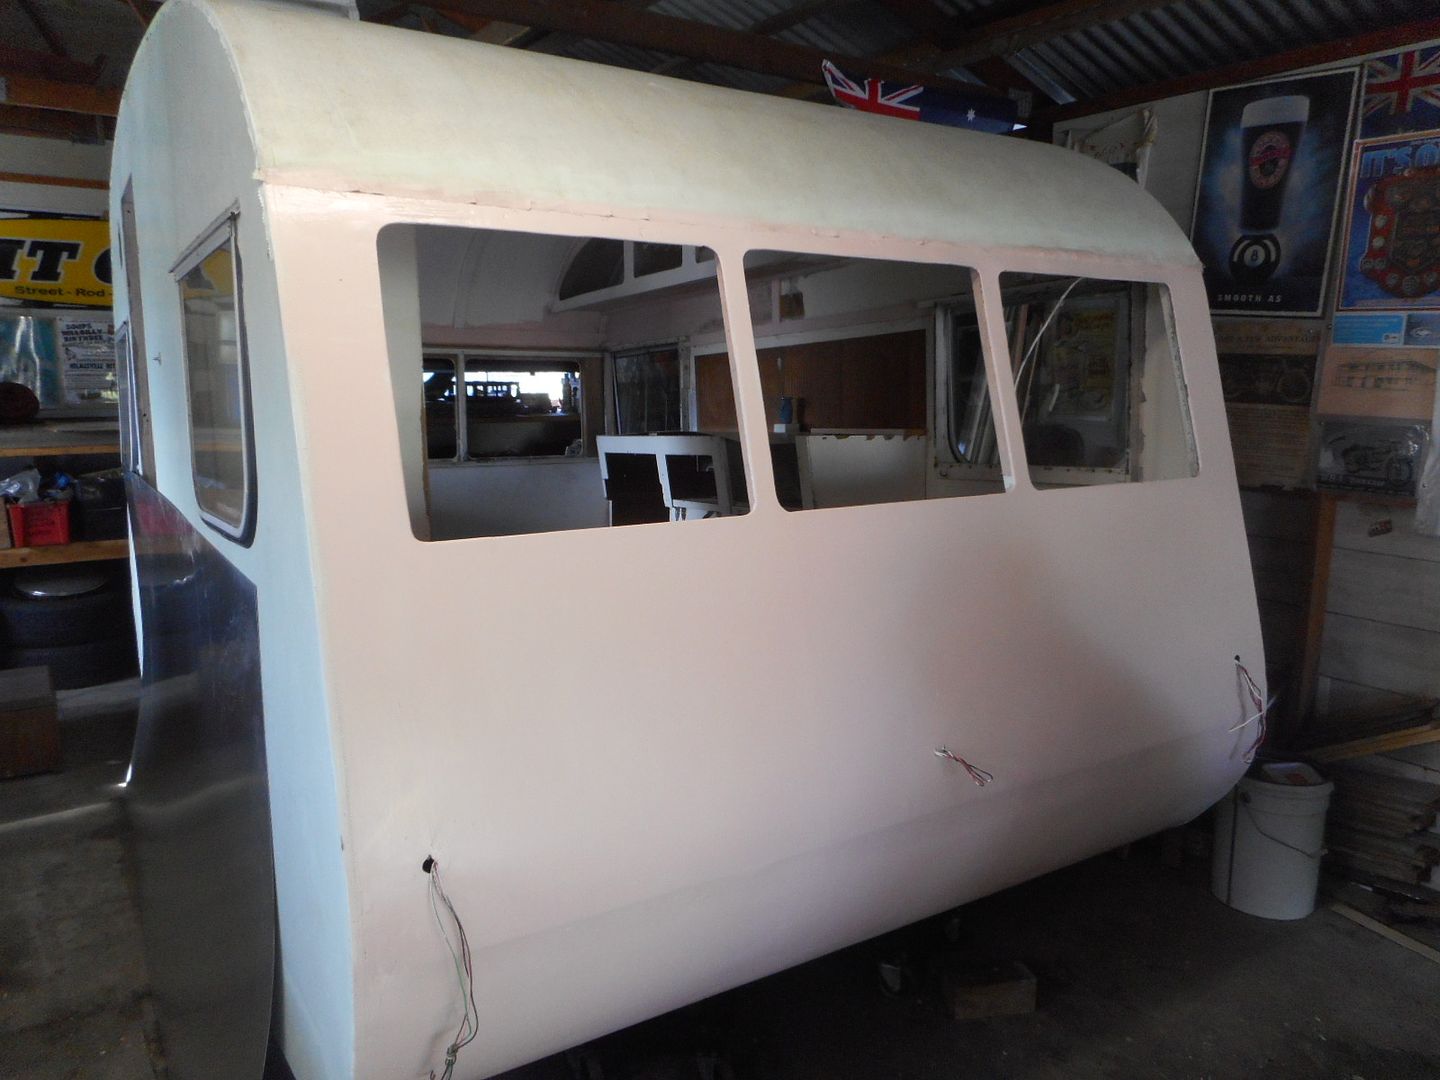
Painted the front with oil based pink primer. sanded off with 320. then painted with final cpolour.. or at least i think it might be the finised colour.
I had about half a litre of oil based enamel from way back when i owned the FB Holden Panno. i got Bunnings to match the 2 pack that was on the car so i could brush tiuch chips and scratches with the oil based enamel.
Its a bit lighter than the usual Reddo fleet clolour Dulux "Birdseed".
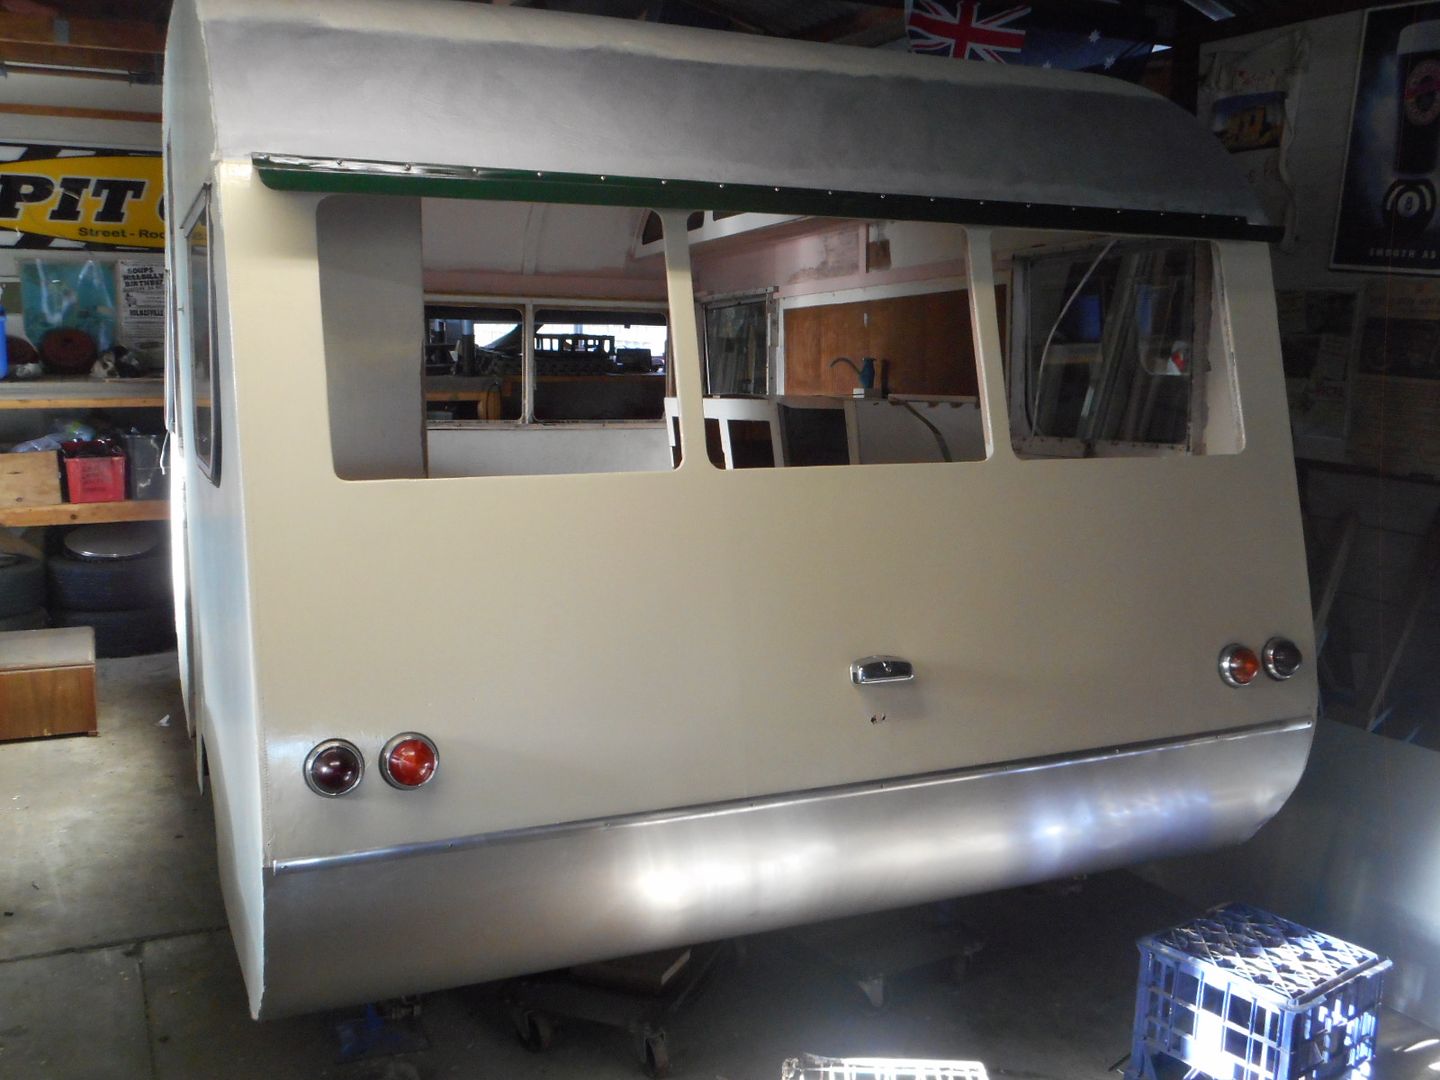
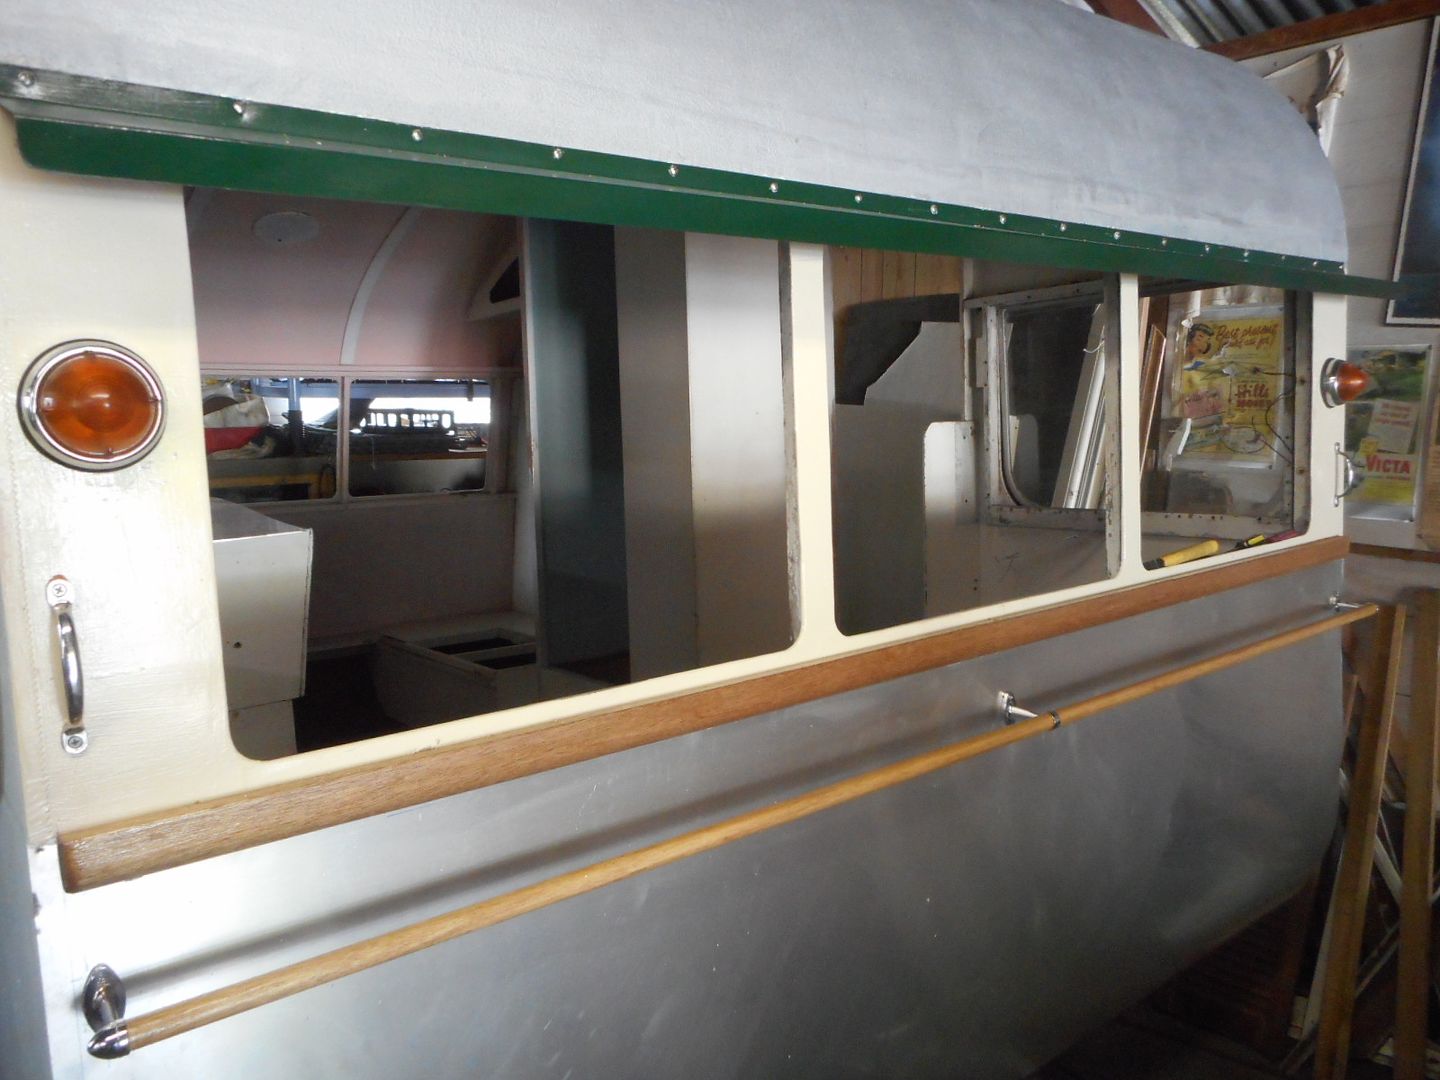
Got that finished then cut a piece of 18mm X 40mm half round for covering the edge of the aluminium sheet across under the front window. it got 3 coats of clear oil based varnish to spruce it up.. even though its Meranti ( pardon the poor pun)
That done i fitted the towel rail posts.. Then the two grab handles just below where the clearance lights fit up on either side.
Moved on and cut the loose canvas across /above the windows. Then painted /glued it down with oil based primer. Once dry i gave the front of the roof 2 coats of silver frost.
Next job was paint the front "fringe" with an undercoat.. then 2 coats of Dulux "Bottle Green"" . Drilled about 14 mounting holes , then gave it a thick bead of liquid nails along its back and mounted it above the window with 8G X 16mm stainless phillips head self tappers.... WHAT
Happy with progress i fiddled on with the 3 X towel rail posts... finished them off..... just gotta buy a length of 19mm Staino from the big green house.. from memory its only about $25.00 a length and will outlast that crap chrome tube they offer .
Finished the day off with 2 x grab handles ( Holden boys are gunna hate me... i think they are genuine Nasco items ) just below the light fittings.I was gunna mount them on the j mould later on but there is a good solid lump of timber in the edges of this van so i mounted them in out of the way of the J mould.
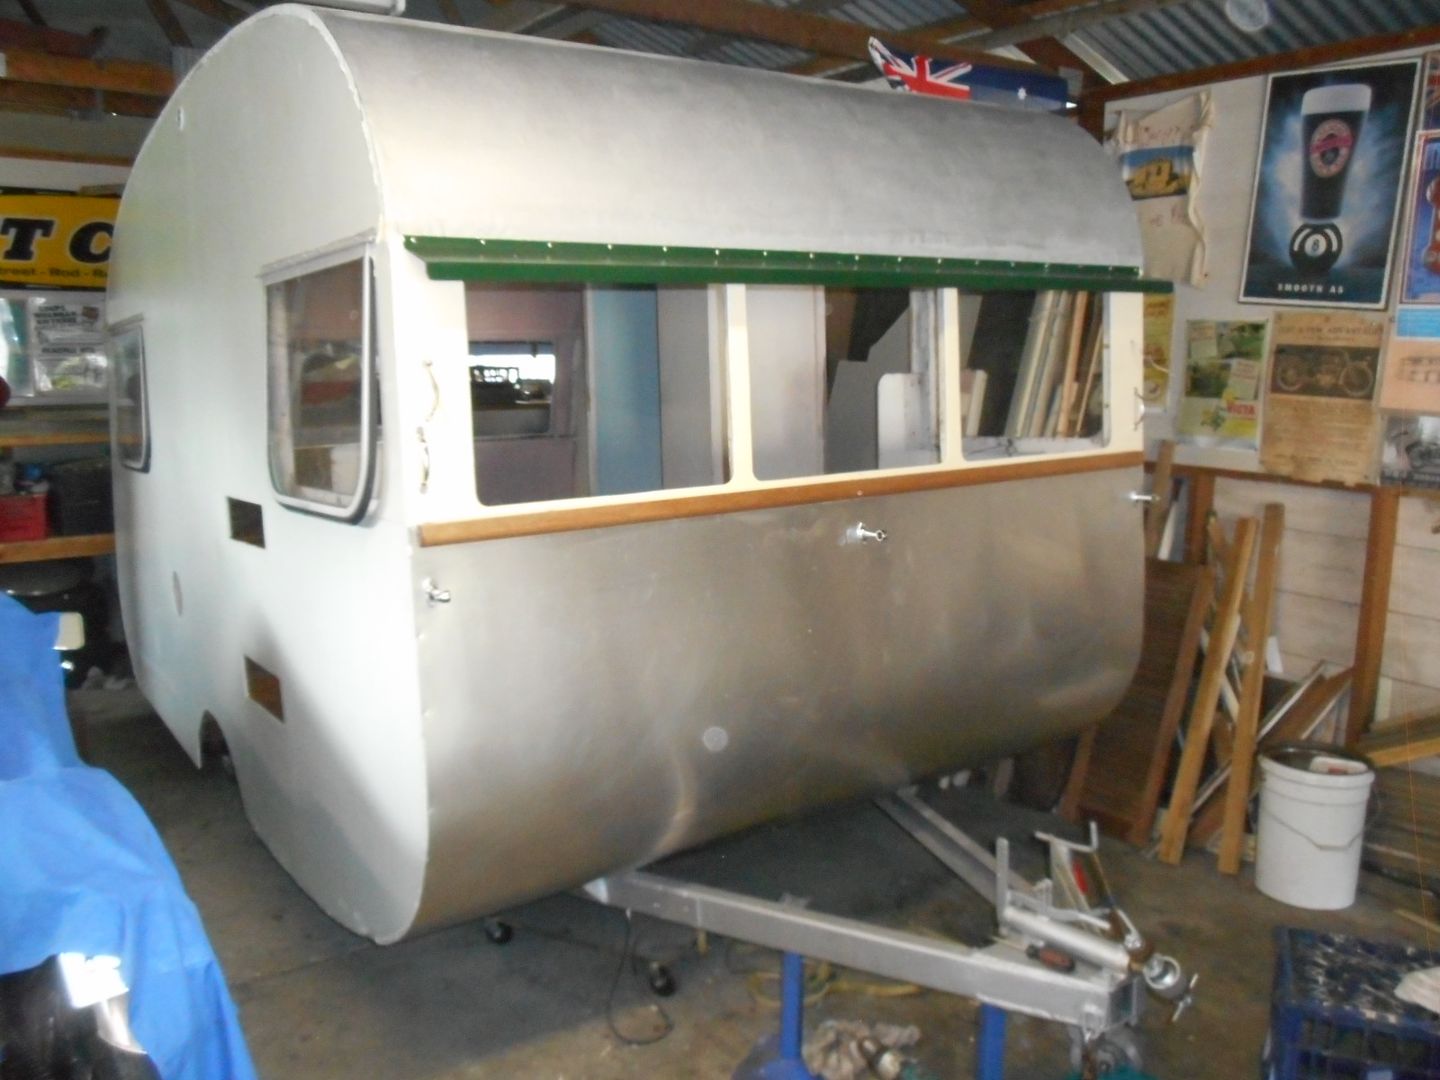
Just the gas bottle mounting bracket and the front clearance lights to go , then i can spin it around and see what needs doing at the back of the van ... all good fa now .
The boys are calling in later and taking me for a few beers.... gotta celebrate St Patricks Day ya know... oh... and the start of my 62nd year on this earth today...
" Oiy waiter ... 3 more Green Guinesses thanks mate !!!!!
Reddo... but slightly green
Reddos 1960 Supalite Atlas Resto
-
- Posts: 343
- Joined: Tue Jul 15, 2014 9:53 am
Re: Reddos 1960 Supalite Atlas Resto
Hope you had a good day Mate, van looking good, don`t worry about finding some grab handles for my EH at the swap meet, I know where I can get a couple.
Brook Still Struggling.
Re: Reddos 1960 Supalite Atlas Resto
Yo...
Bit dissapointed.. I went to Bunnings to get my 2400mm X 19mm stainless rod for the towel rail... Nup.... none in stock??
So... rather than head off searching around Newcastle for the elusive staino .. i wandered over a few rows and bought a length opf 19mm X 2400mm Tassie Oak dowel.
Came home and finished the rail off . then fitted the clearance lights...
Then cleared the shed of bikes and cars and done the spin around waltz with the van so the rear end is facing outwards...
and so the process begins again
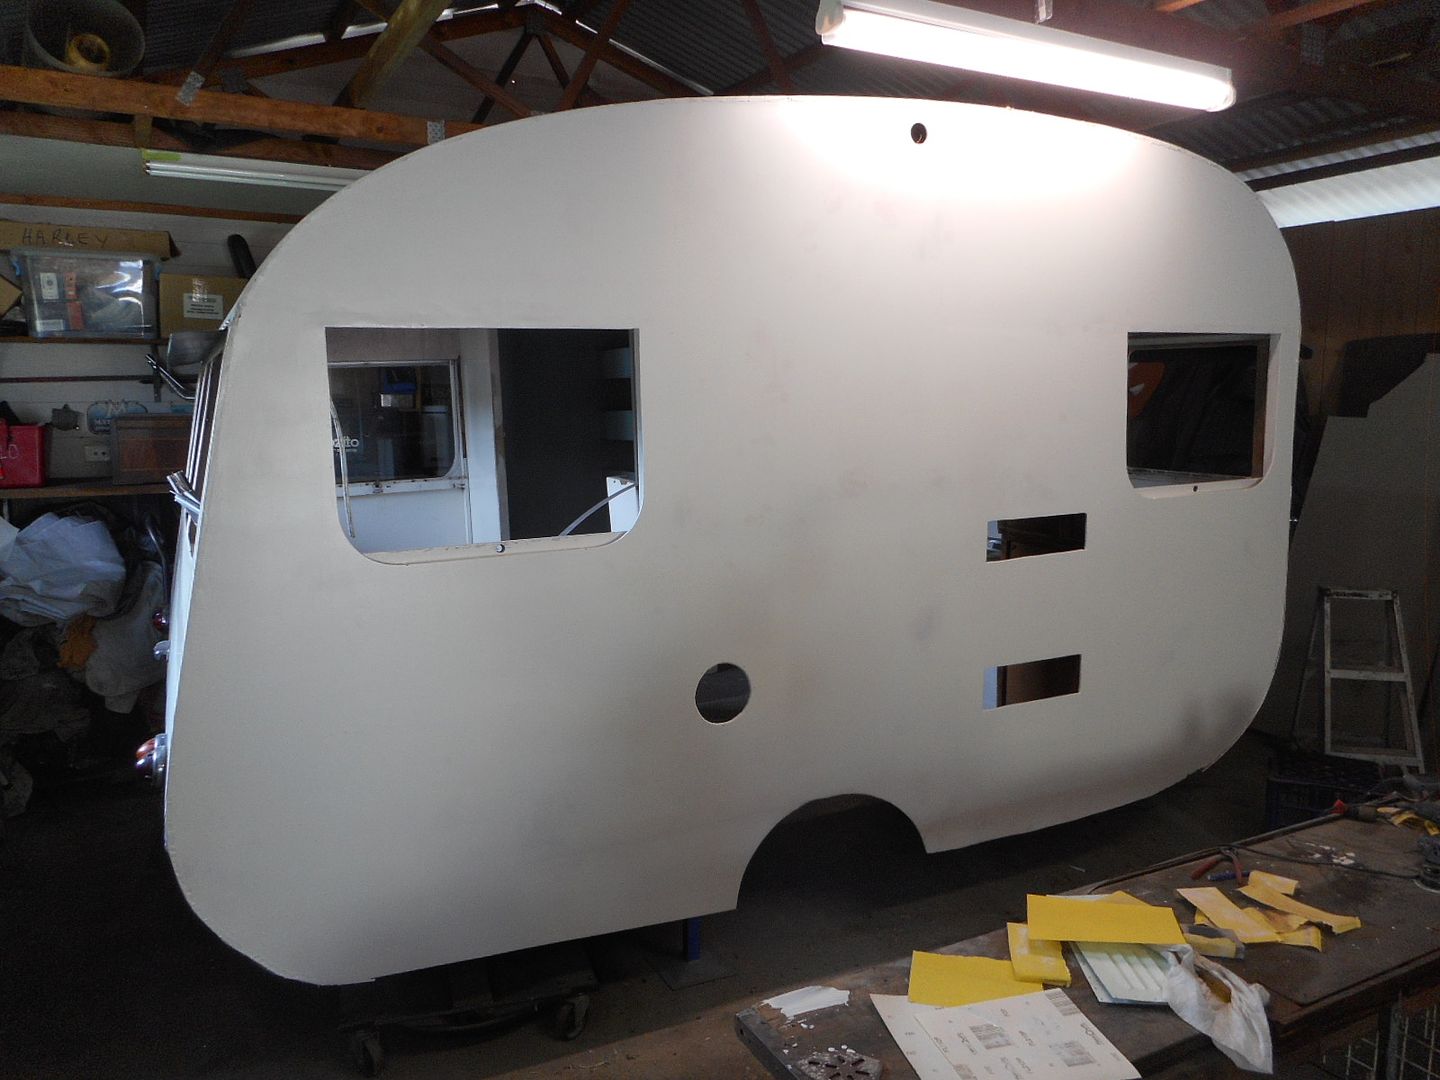
Sanded the whole rera down again. went over the divets with builders bog, sanded smooth and painted the lot with pink primer. While the primer was wet i trimmed the roof canvas and rolled it into the wet paint.
Looks like i have to tidy up a few more hills and hollows in the ply with the bog ... then shew ill be ready for the first coat of colour.
Cheers
Reddo
Re: Reddos 1960 Supalite Atlas Resto
Reddo just logged on after a long layoff and found you with a Superlite again......ya lucky bugga!
Think you should drop a 'd' out of your name and call yourself redo!
Great to see such fast progress and full steam ahead !
Luv your work and look forward to the next instalment!
Trust the up and coming tour goes well!
Let me know when you want to plan a Tassie Tour I'll be happy to help
Cheers Andrew
Re: Reddos 1960 Supalite Atlas Resto
Hi Andrew..
I quite often get called Redo as half the work i do has to be Redo..ne,,, Redone.
Yesterday was no different. I thought i had done a good job on sanding back old and new repairs... Then painted it with full gloss enamel. Used a 75mm brush to spread the paint.. then followed up with a 100mm small sponge roller to take the brush marks out... Looked great, smooth as a babys B#m.
Sat back admiring my handiwork ... then the sun streamed in through the side window in the shed and revealled all the "Worts and Bunyins"in the builders bog / prep work ...Not happy Jan.
Got a soft pencil and drew circles around all the dodgey bits. Then headed for the fridge.
Will give the paint another 24 hours to harden then attack the rough spots with 120 grit sandpaper. Then feather all the scratches out . Sand the whole thing again with 320 and "Redo"the top coat.
Yup.. Yup.. I am hearing you mate.. a month or 2 vintage Touring the Apple Isle would be a great thing to have on my bucket list. Would certainly call upon your local knowledge to put us down the right roads and into the right camping grounds.
That and a Trip across the ditch to Un Zud for the Burt Monroe vintage bike racing and Kapuka ( pronounce ??) speed week . Again vintage bikes.
I have absolutely no ambition to travel to far flung countries and wait to get blown off the face of the earth... Mind you there is no garauntees that wont happen here on home soil.
Cheers Mate
Reddo
Re: Reddos 1960 Supalite Atlas Resto
Ya gotta hate that sunlight spoiling a perfectly good paint job ah!!!
It s good to know that speed hasn't brought a slap dash approach and you're still fussy... the only way to do it is the right way ! Good on ya !
It interesting how you paint first and roll off last .Does that make a dimpled finish ?
I might try that on the next van as I did the opposite I rolled my enamal then tipped it off with a dry brush I also stuck the can on a hot plate and heated it up which helped it flow well .
Anyway keep up the good work and we'll chat down the track as the Apple Isle awaits...
Cheers Andrew
Re: Reddos 1960 Supalite Atlas Resto
Hi all..
Had a busy weekend.... Up early saturday and shot up to Cessnock swapmeet in search of some more Lucas lights similar to the 2 on the front of the van..
Limited luck.
Came home and fitted 2 light fittings for a mate.. Then went to Kurri Kurri Nostalgia Festival with the missus in the panelvan. Back home mid arvo. Got a bit done on the van , then cleaned one of the old Nortons ready for club run sunday. went to bike show at Greta for the day.. home abut 3. got a bit more done on the van.
Up early.. spent the whole day..
Finished off the aluminium sheet "Nappy"under the back. painted the repaired ply. Sanded and painted the green awning.
Fiddled on with the lights i bought at Cessnock swap as well as a few i had laying around.
Wired and fitted them in place. Then cut some cresent mould to cover the join between the nappy and the plywood rear end. Drilled and countersunk about 10 screws to hold it in place...
Progress is good.....
Work tomorrow... hope to turn the van around onto the right side later this week. make a start there ... have to spend a few days on the panelvan and TD next weekend in readyness for the OTP Tour and Rally at SWR .. all happening here folks
Cheers
Reddo
-
- Posts: 343
- Joined: Tue Jul 15, 2014 9:53 am
Re: Reddos 1960 Supalite Atlas Resto
Loooking Sweeeeet,
Re: Reddos 1960 Supalite Atlas Resto
Inspirational stuff Reddo! Your flyin!
Re: Reddos 1960 Supalite Atlas Resto
Ok
Van has been turned sideways... Motorbikes reshuffled to suit the new work area beside the van.
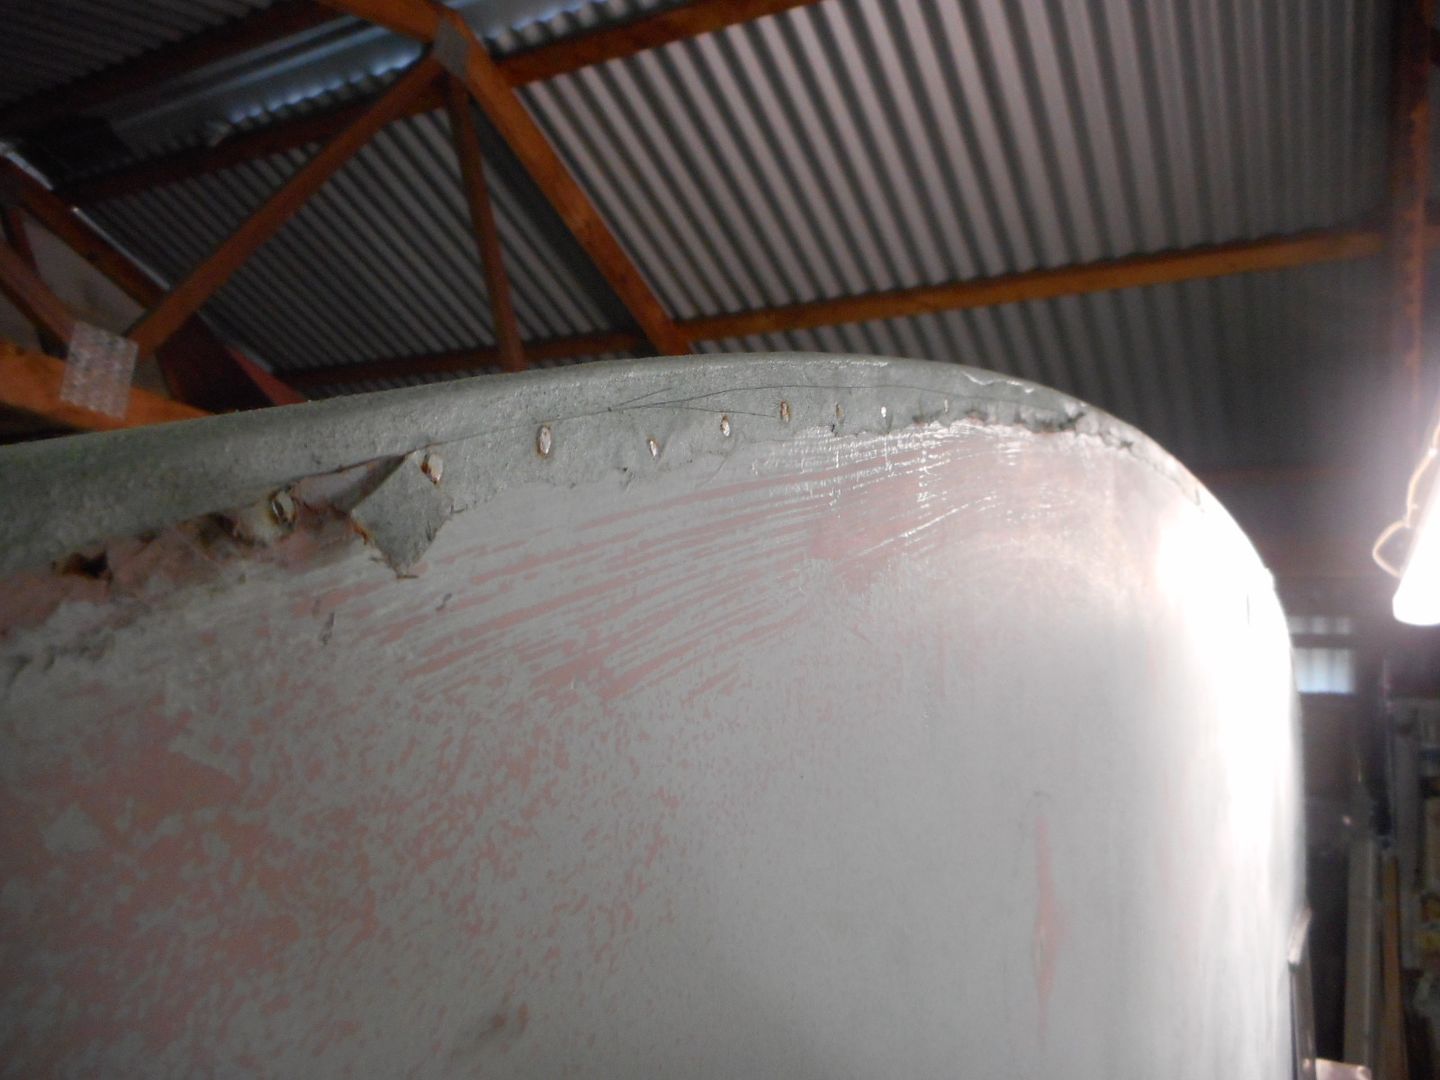
First headache was to remove the 156 mild steel shoe tacks that Sandra had used when she recovered the roof with canvas. She had done a great job of stretching and sealing the canvas but the tacks had been nailed to the side of the van too far down for a J mould to cover.... They had also started to rust and leave a stain on the timber
I found the lap join between roof and wall and ran a Stanley knife along it. Slowly pulled the canvas offcut strip up off the ply. I managed to get about half the tacks out by this method. The rest had to be coaxed out with pincer pliers... a slow job... the i was left with 156 small holes to fill. ??
First thoughts where to use matchsticks dipped in "Liquid Nails" to plug the holes??
ended up mixing up a brew of builders bog and worked it into each hole.
Spent the rest of the day filling small divetts... sanding down high spots all over the rest of the right side....sanded , dusted off and the first coat of oil based primer on....end result wasnt too bad... but as usual it showed up a few spots that i probably wont be able to get right... but i mixed another batch of bog and went over it again.. allowed to harden.. re-sand .. dust off and prime once again.
Managed to get a top coat on it yesterday....
Will wander down the shed and see if it held its gloss after last nights low of 15 degrees ..
Reddo