Reddos 1960 Supalite Atlas Resto
Posted: Mon Feb 29, 2016 6:20 pm
Hi All
Its been a while since i waved bye bye to my last Supalite van.. a beaut little "Cadet " named .. " Öld Blue"..
The good side about that story is i can rest easy in knowing that its being loved to death by John and Pam ( Strugglebrooks).. and i get to see it on just about every run i go on ...So.. alls well that ends well there.
I have been on the scout for a replacement over the past few years... searching for another bondy.. Just recently i was given a Carapark Junior ... imagine that.. ME... messing with bauxite.
I actually started to become attached to it... you know... have sorta ..... "Feelings"about restoring it.....
Then out of the blue i catch wind ( bit of a change from passing it ) that Aquamum was having a bit of a shed cleanout and her Supalite Atlas was for sale.
I went back and revisited her post on the restoration so far on the website.
The story thus far...
http://vintagecaravans.proboards.com/th ... t-supalite
I figured that seeing as though she wasnt allowed to use large sharp objects while working on it Sandra had probably done a reasonable job


 ..
..
And so it come to pass... a message was sent.. a deal was struck .. and collection took place in Sydney on Saturday 27th Feb.
John Daniels and i loaded the van up and brought it back to Barnsvegas. Unloaded it off the float and promptly winched the Carapark Junior on for a ride to Strugglebrook. One less distraction in my yard...
Twas a long day by the time i got home.. returned the trailer.. got cleaned up.. and sat in the empty van with a stubby...... building things in my head
 .. and knocking them apart just as quickly as i had invented them.
Today was a different story.. up early .. evict the cars and bikes out of the shed.. drag the supalite out of the carport and up to the shed door...
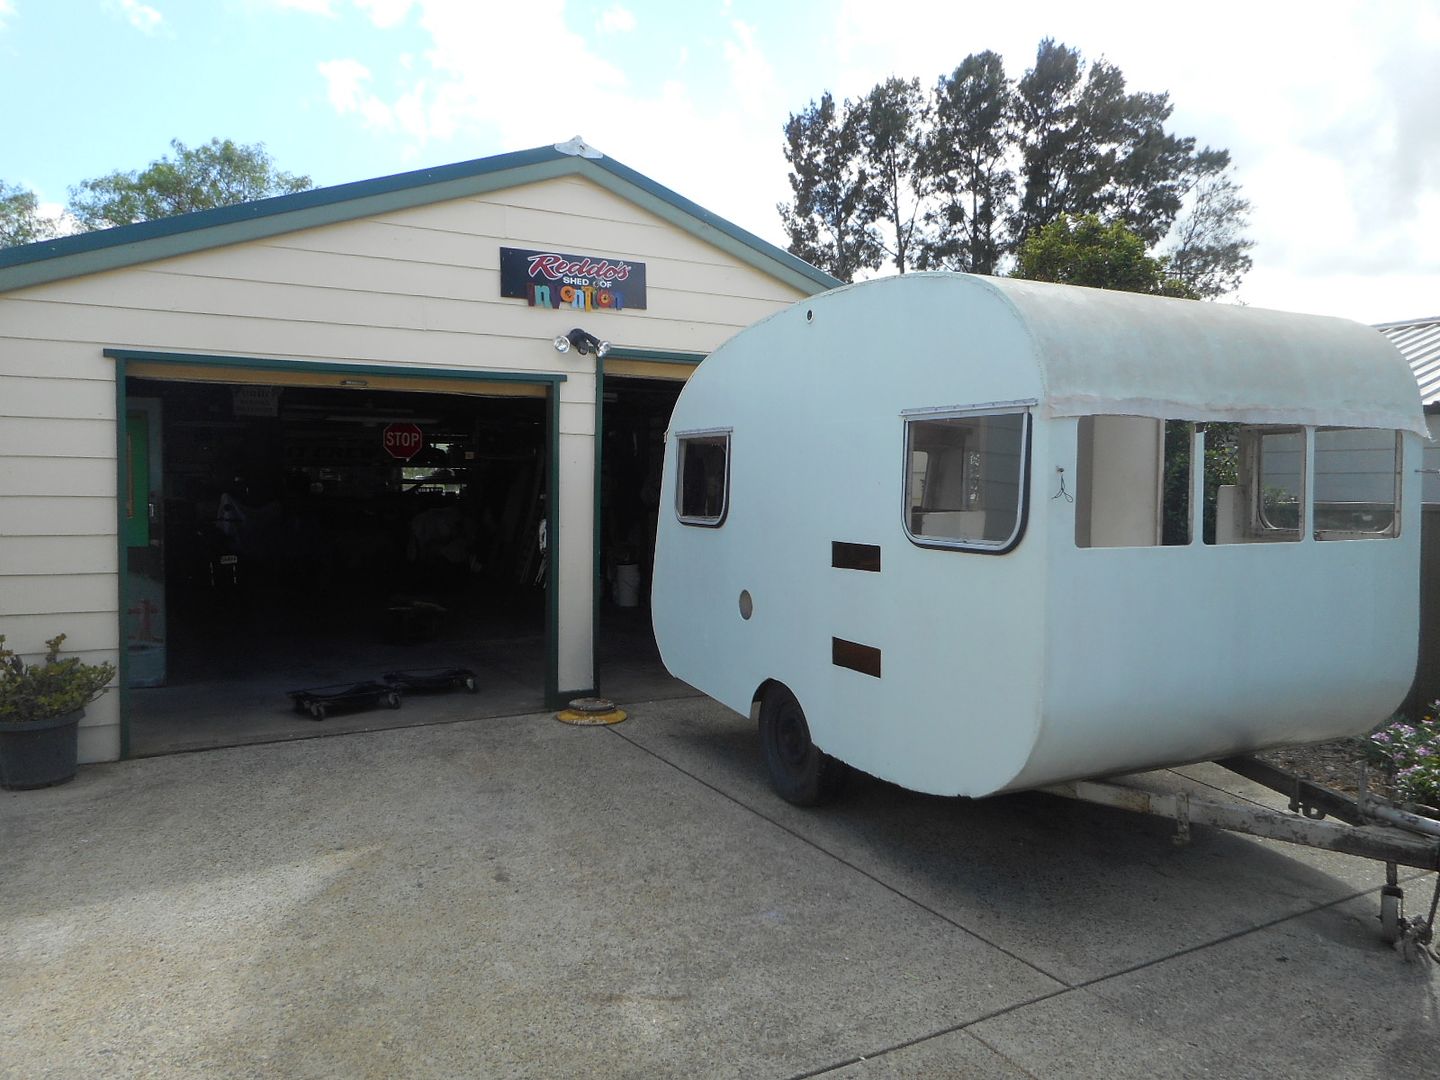
 Hmmm taint gunna fit..
Righto then ... out with the tools . .
.
Remove all suspension and brake cables...
Lower onto shed skates..
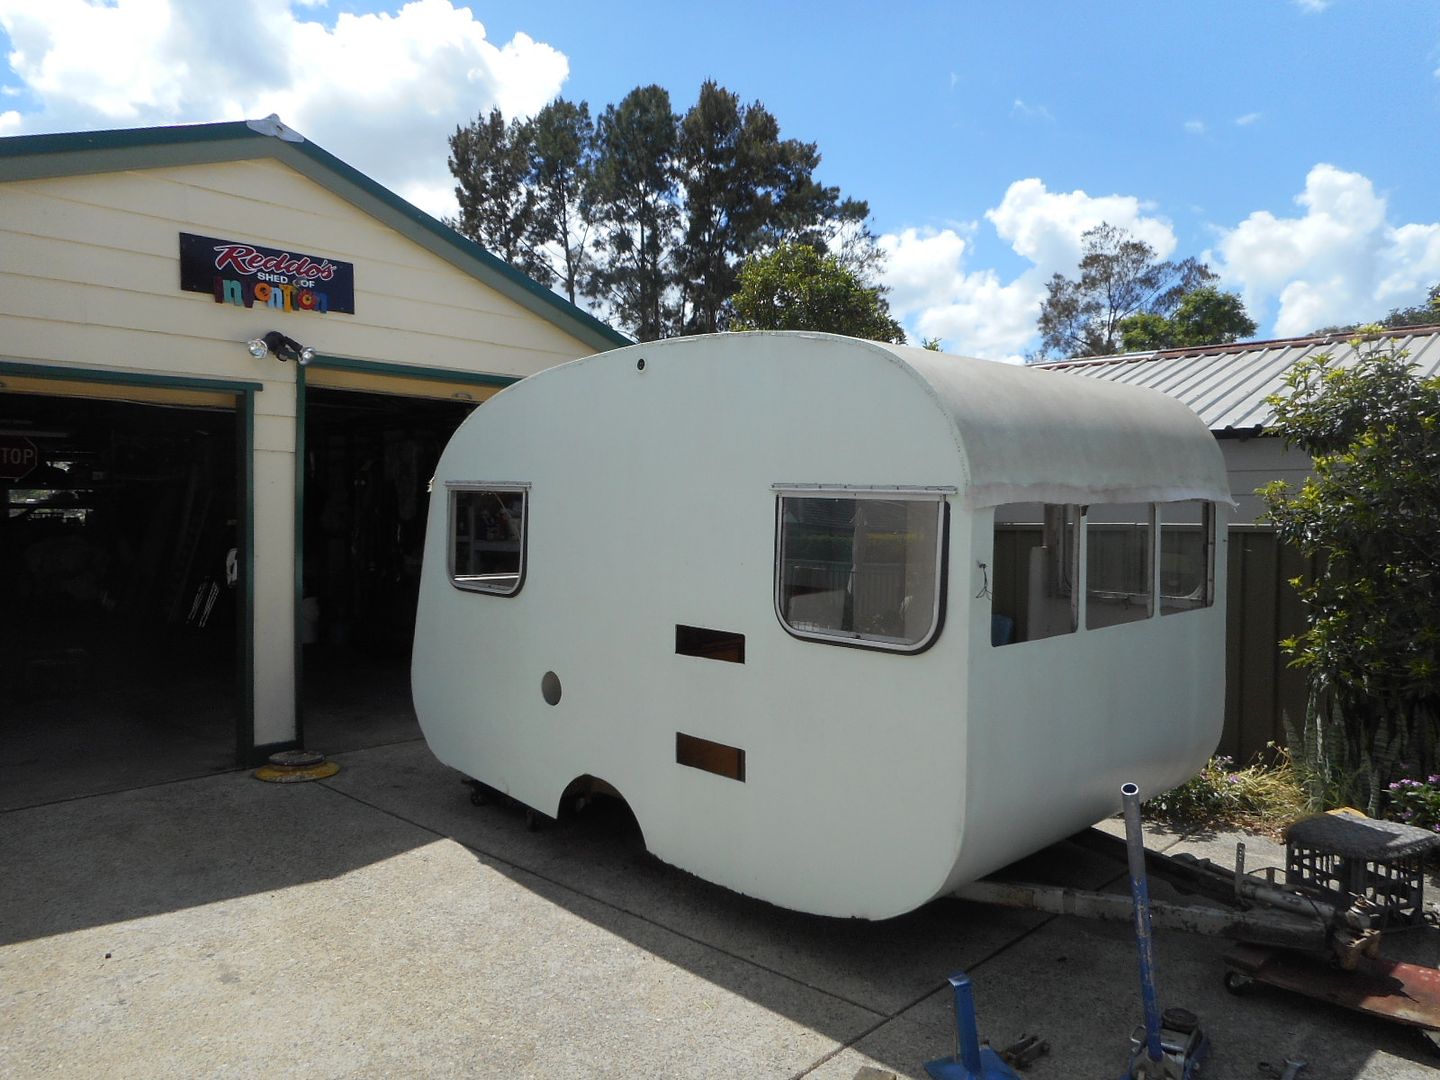
Hmmmm.. still gunna be a squeeze .
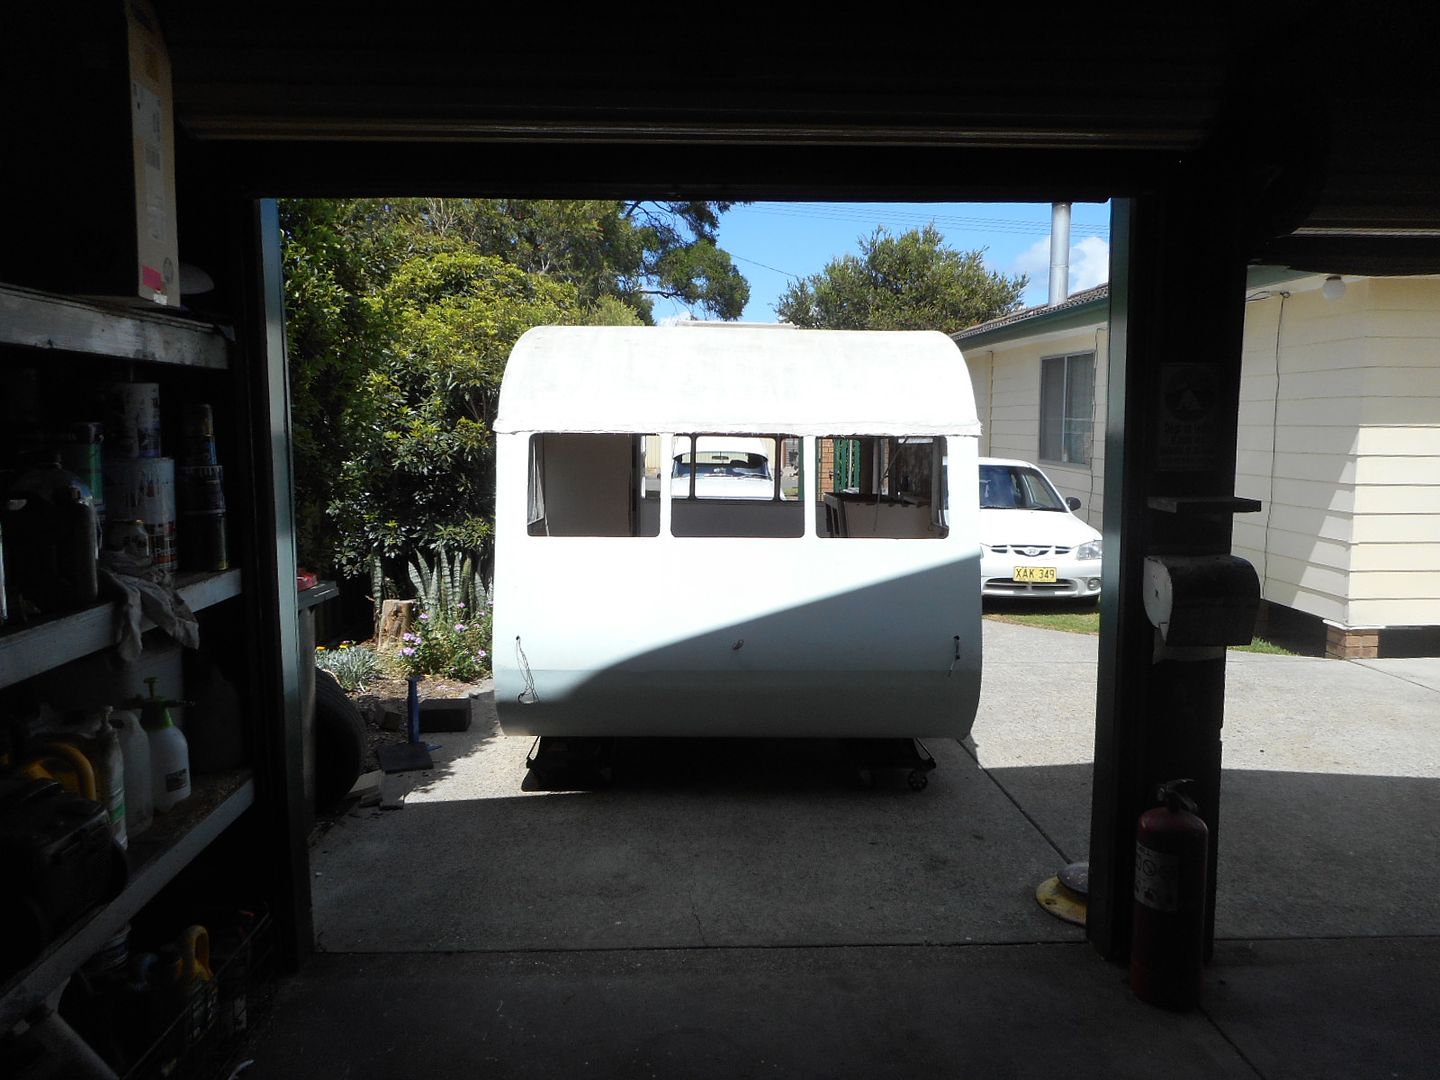
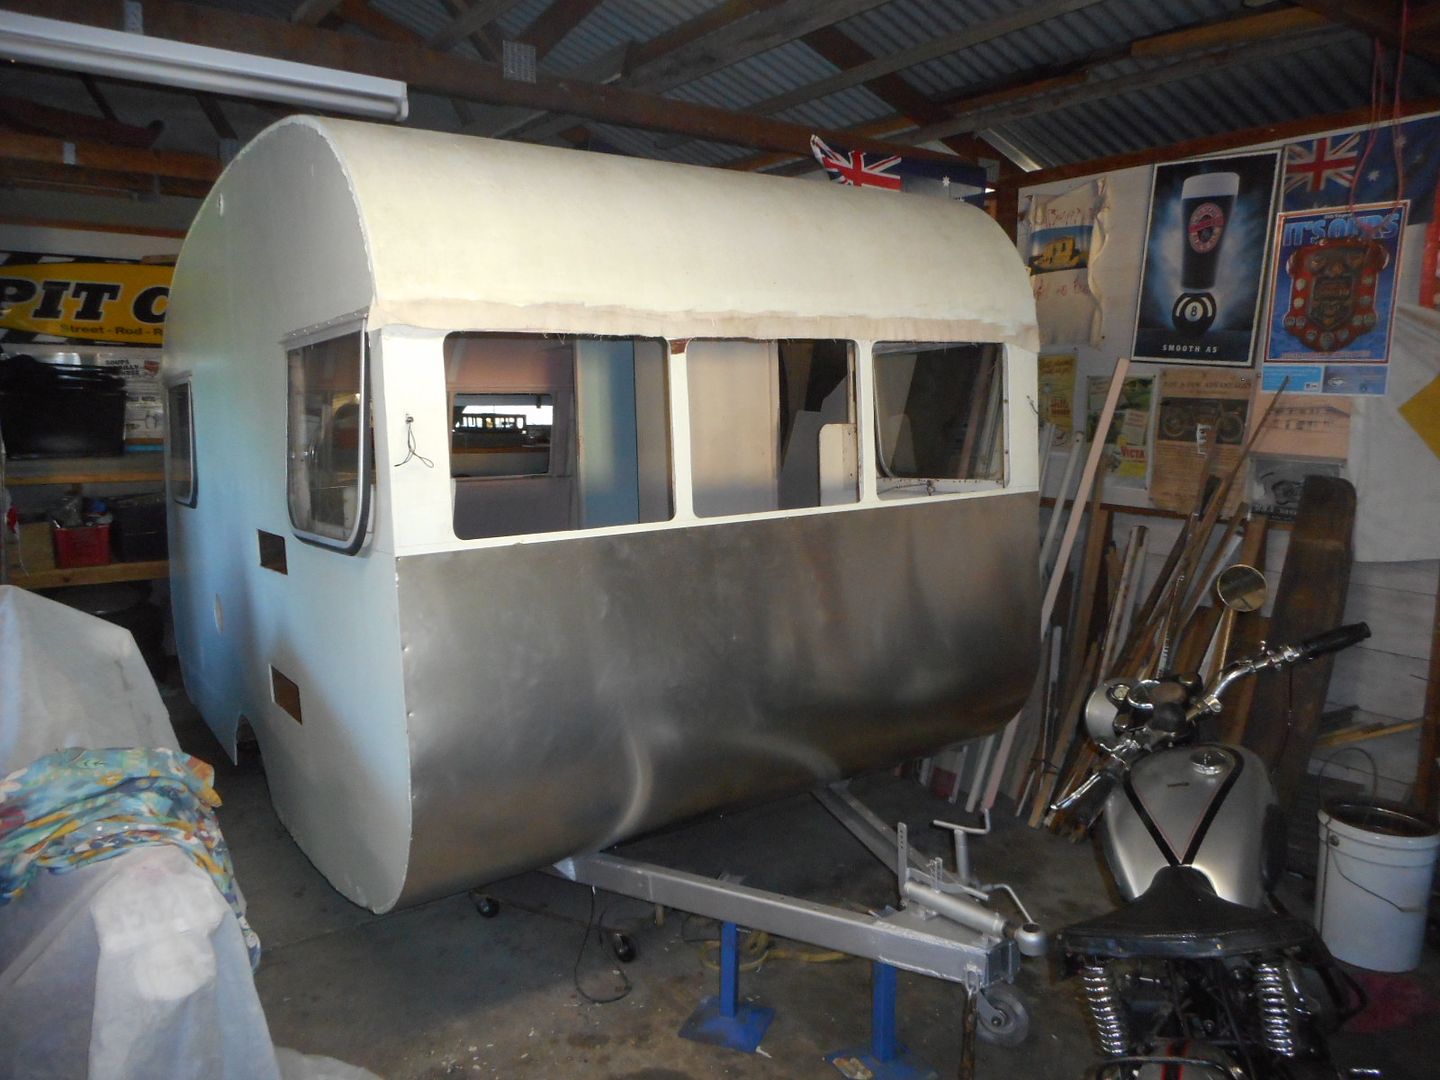
Inched it back to the shed door...Plenty of room.. twas never in doubt... much
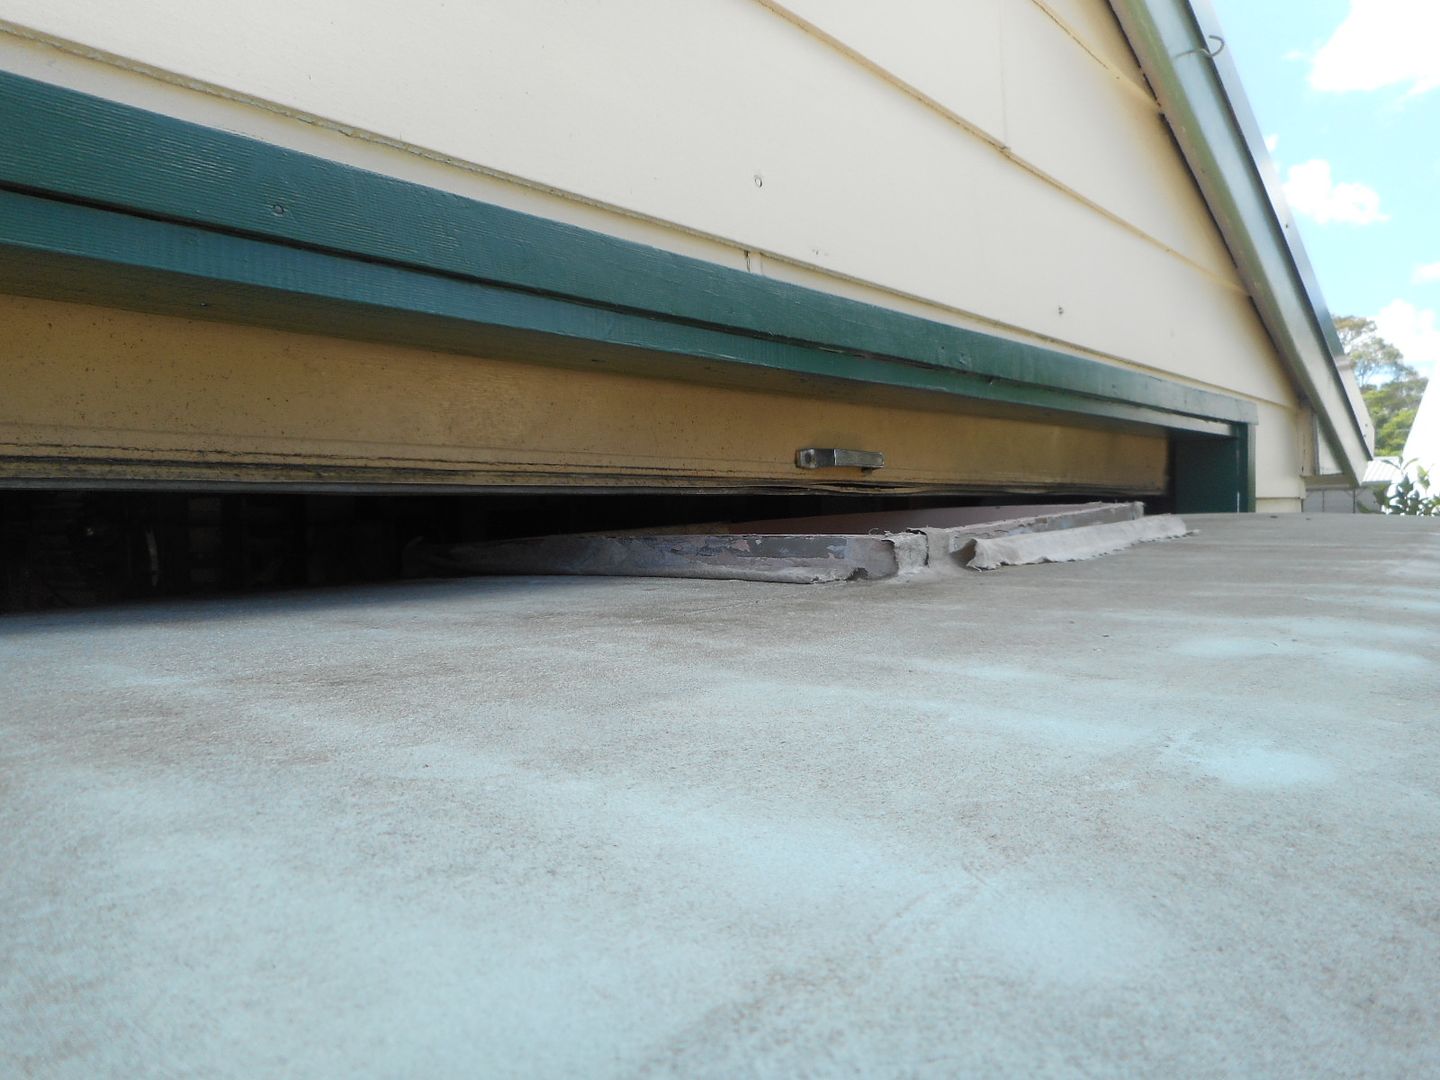
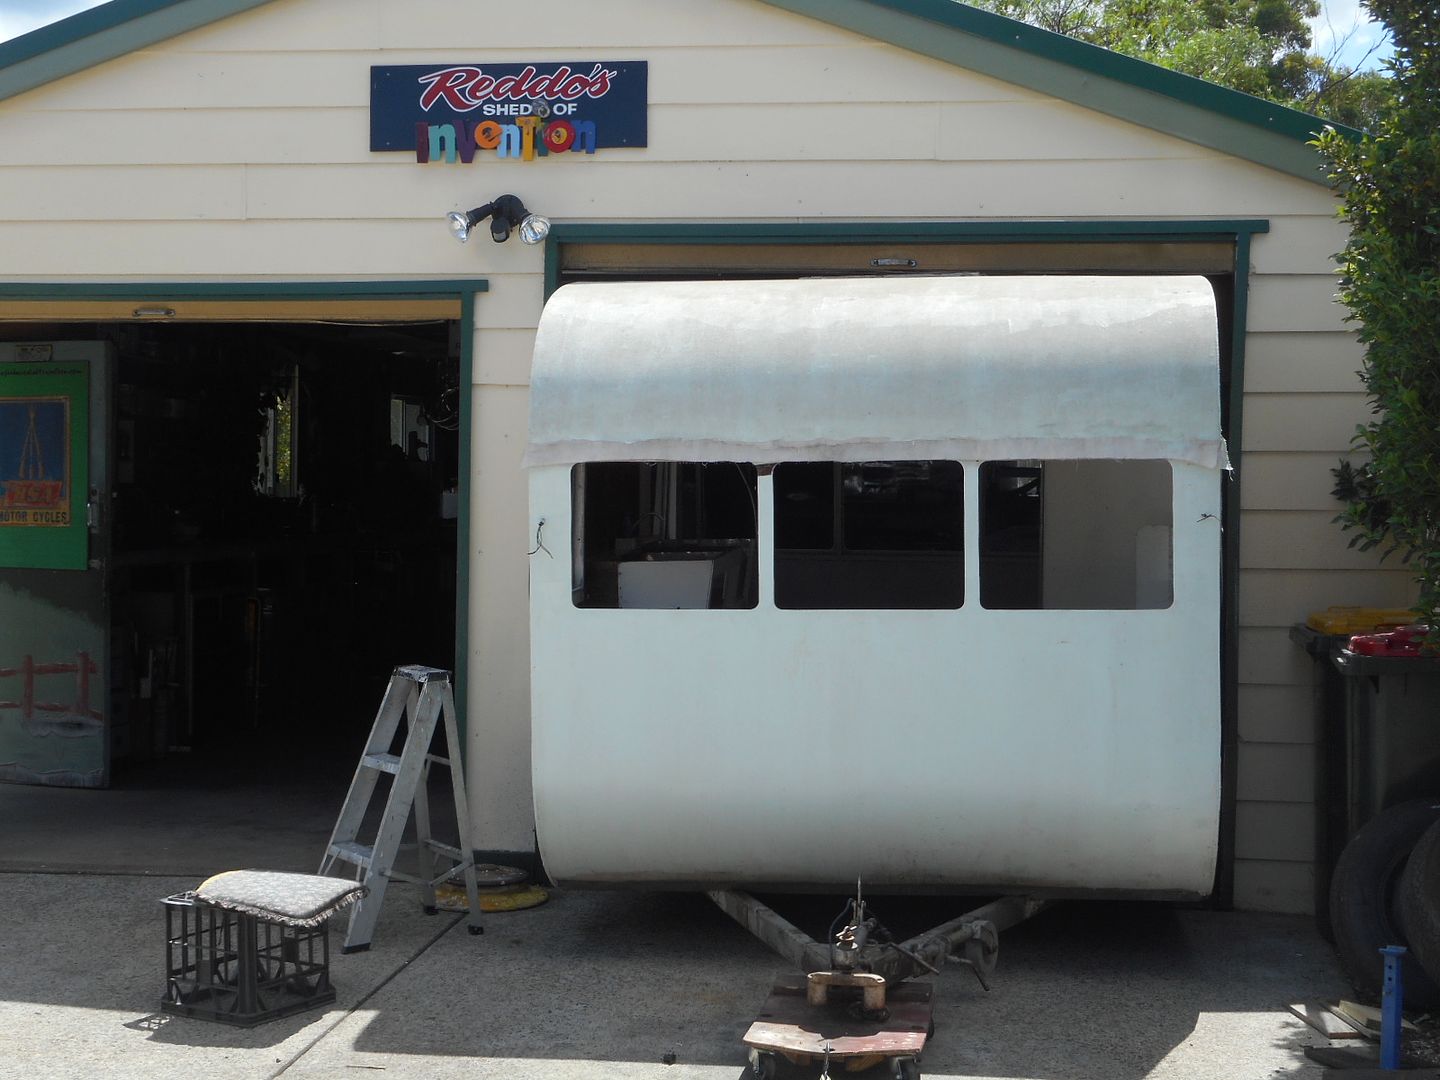
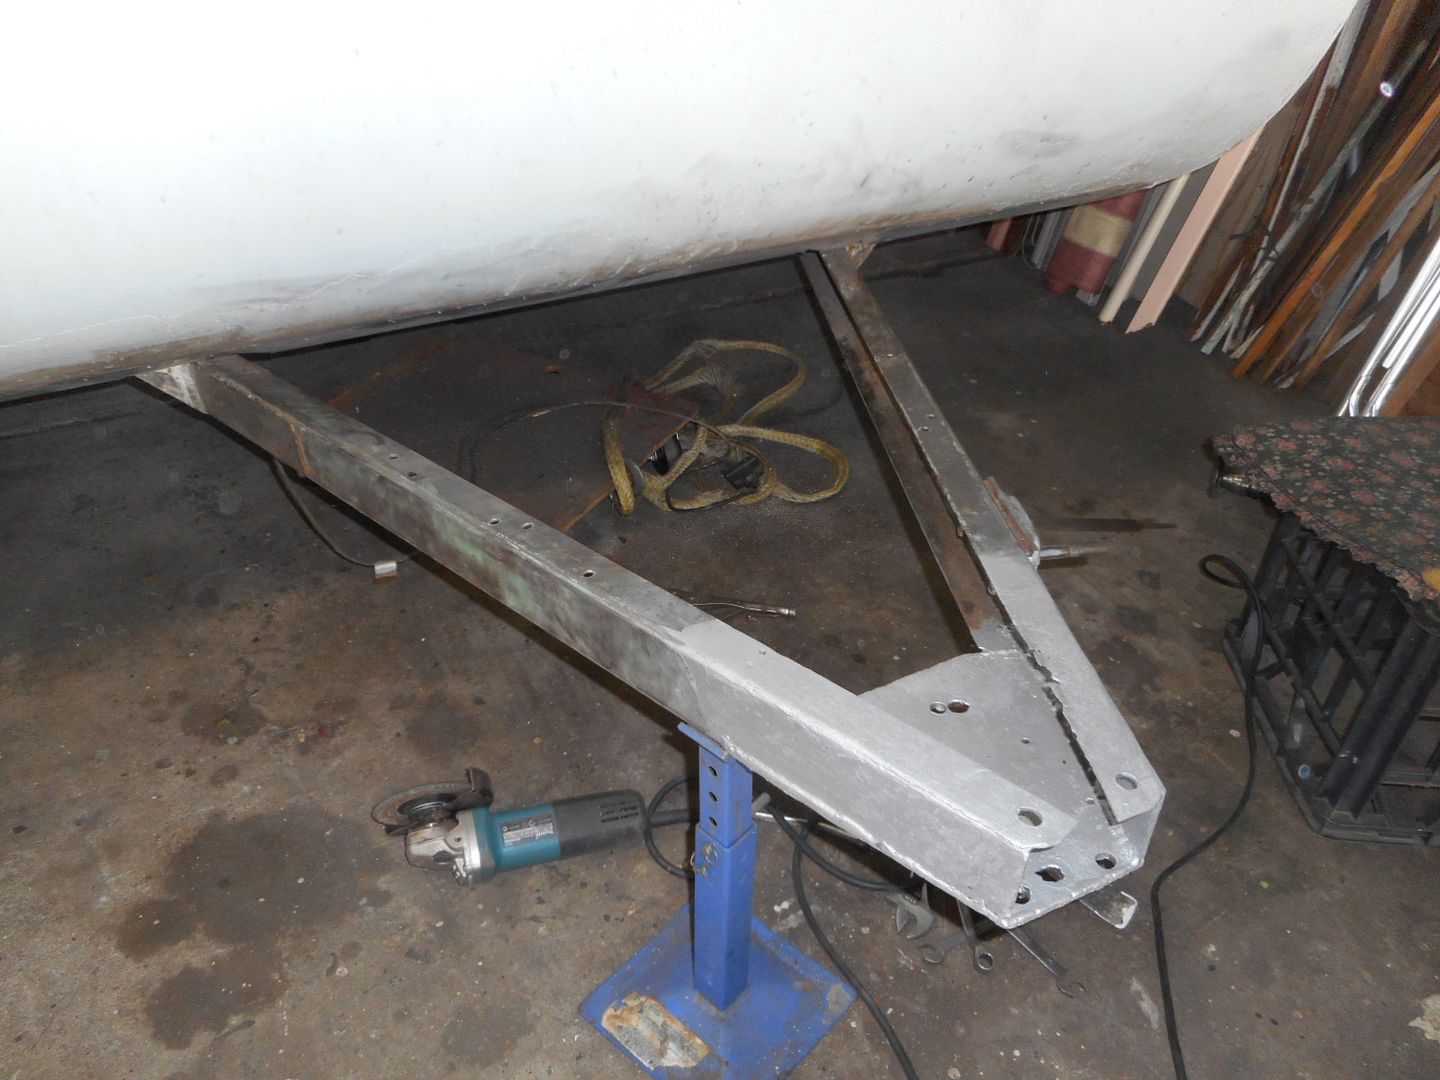
Feeling quite pleased that i didnt have to remove the roller door.. and happy to see the van sitting in the back corner of the shed.. i pulled up for lunch.. still had some steam left in the tank .. so i made a start on rebuilding the coupling base... badly rusted on the top plate and hardly anything left of the nuts on the bottom side of the bottom plate.
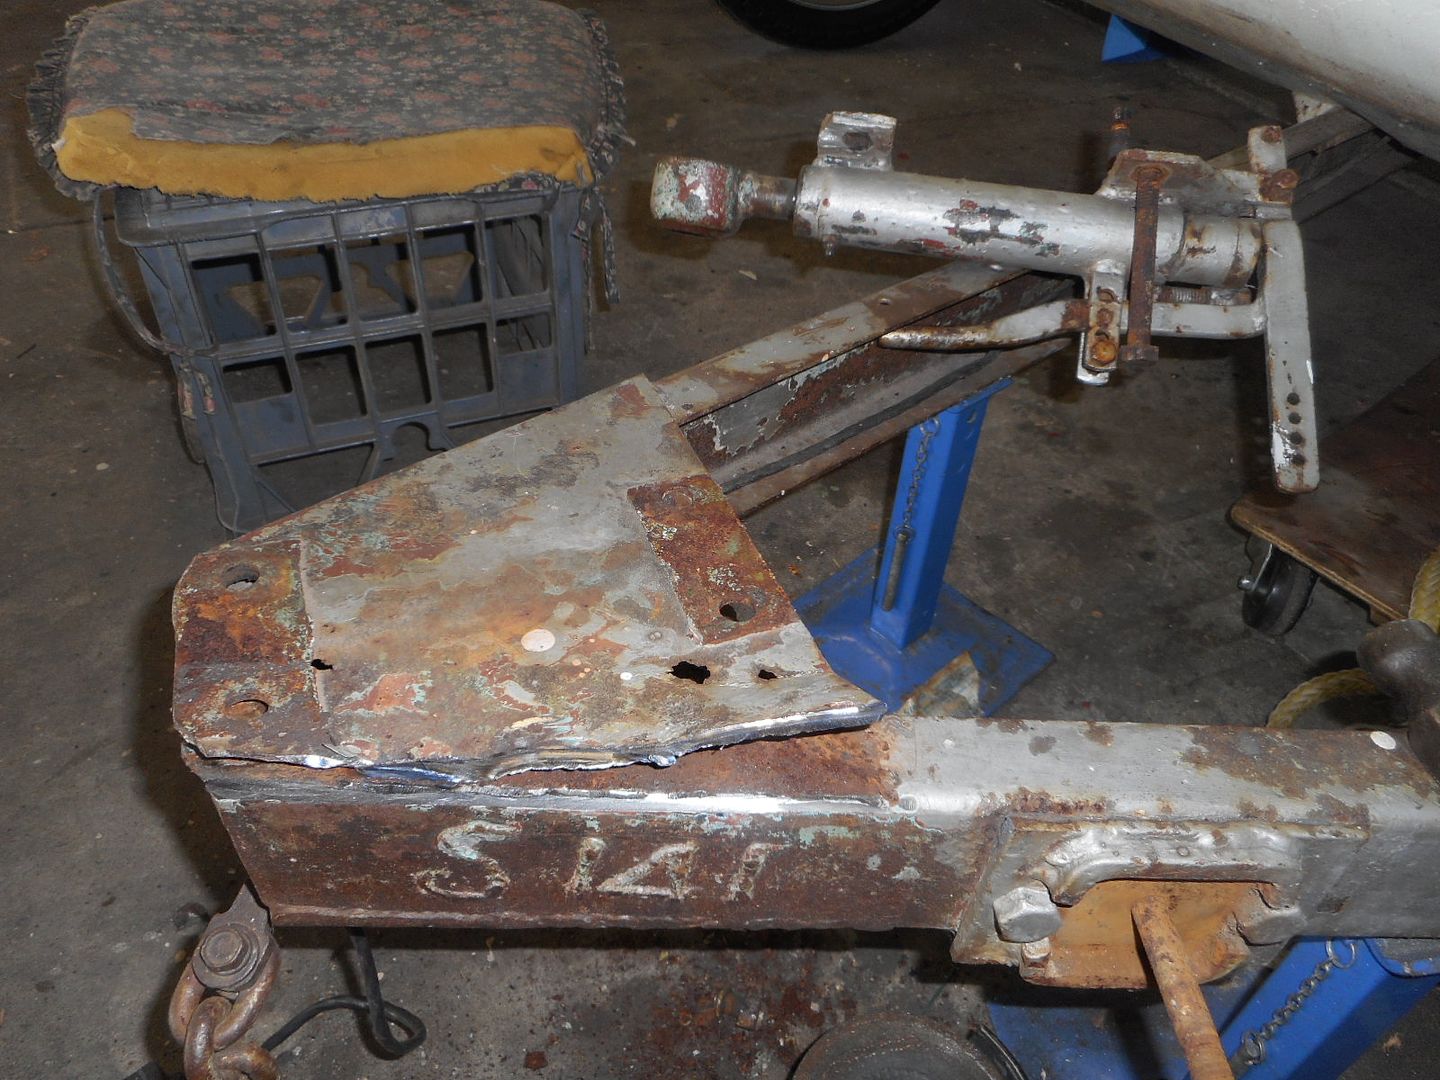
Old plate removed.
New plate cut and drilled ready for remounting existing old style coupling... just needs to be welded now..
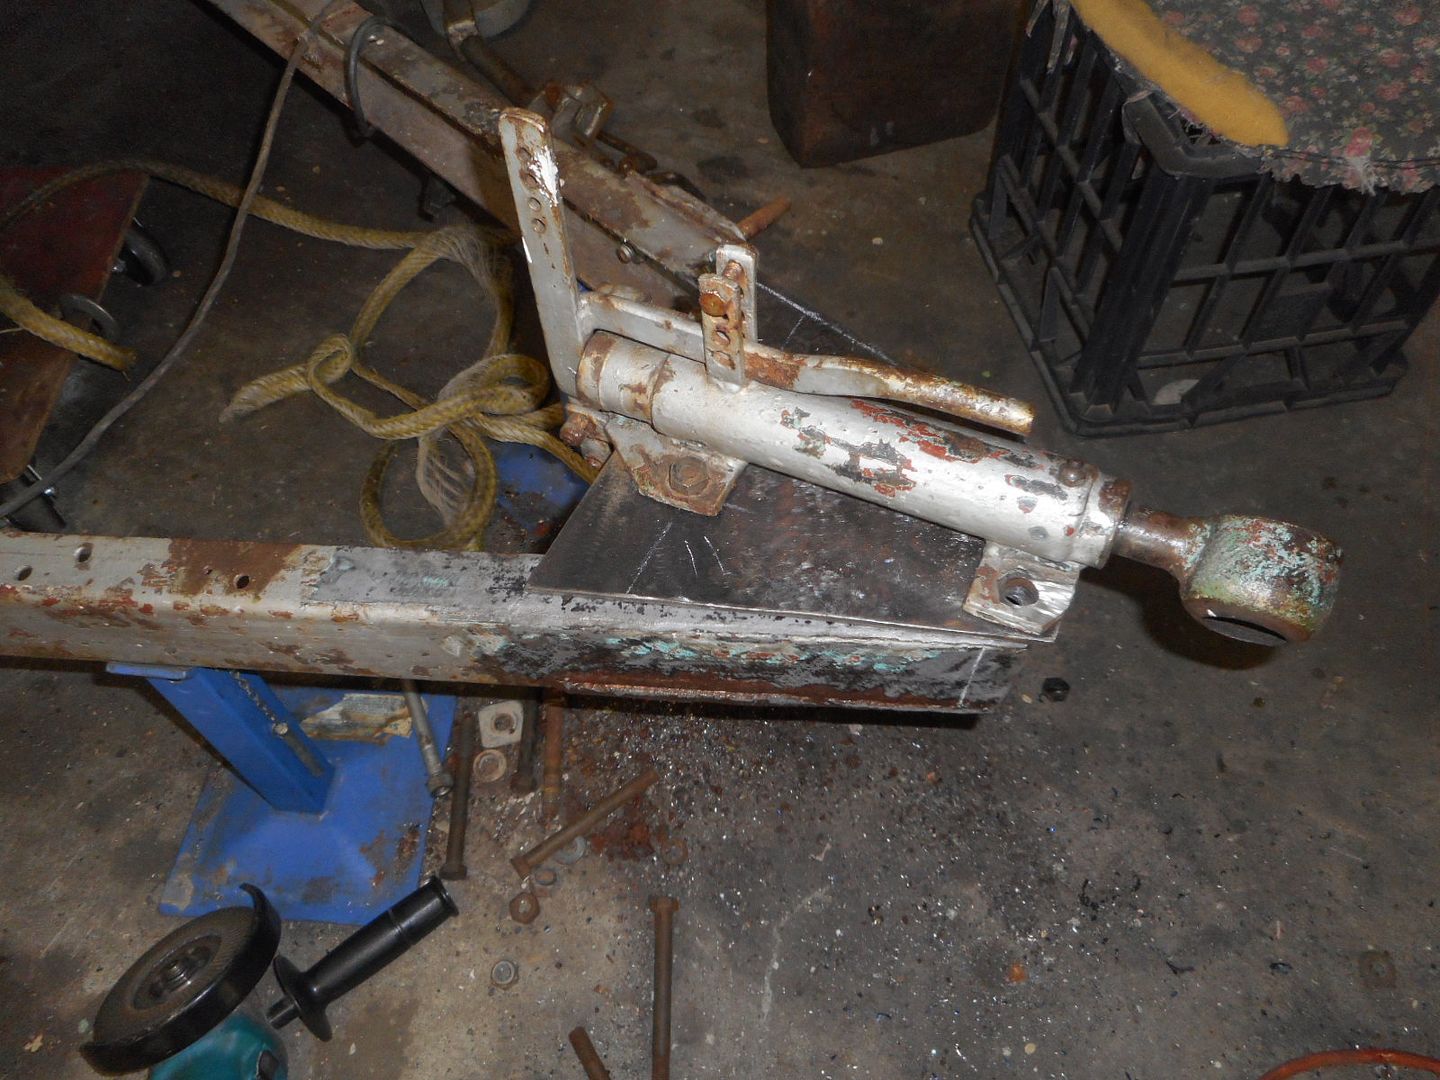
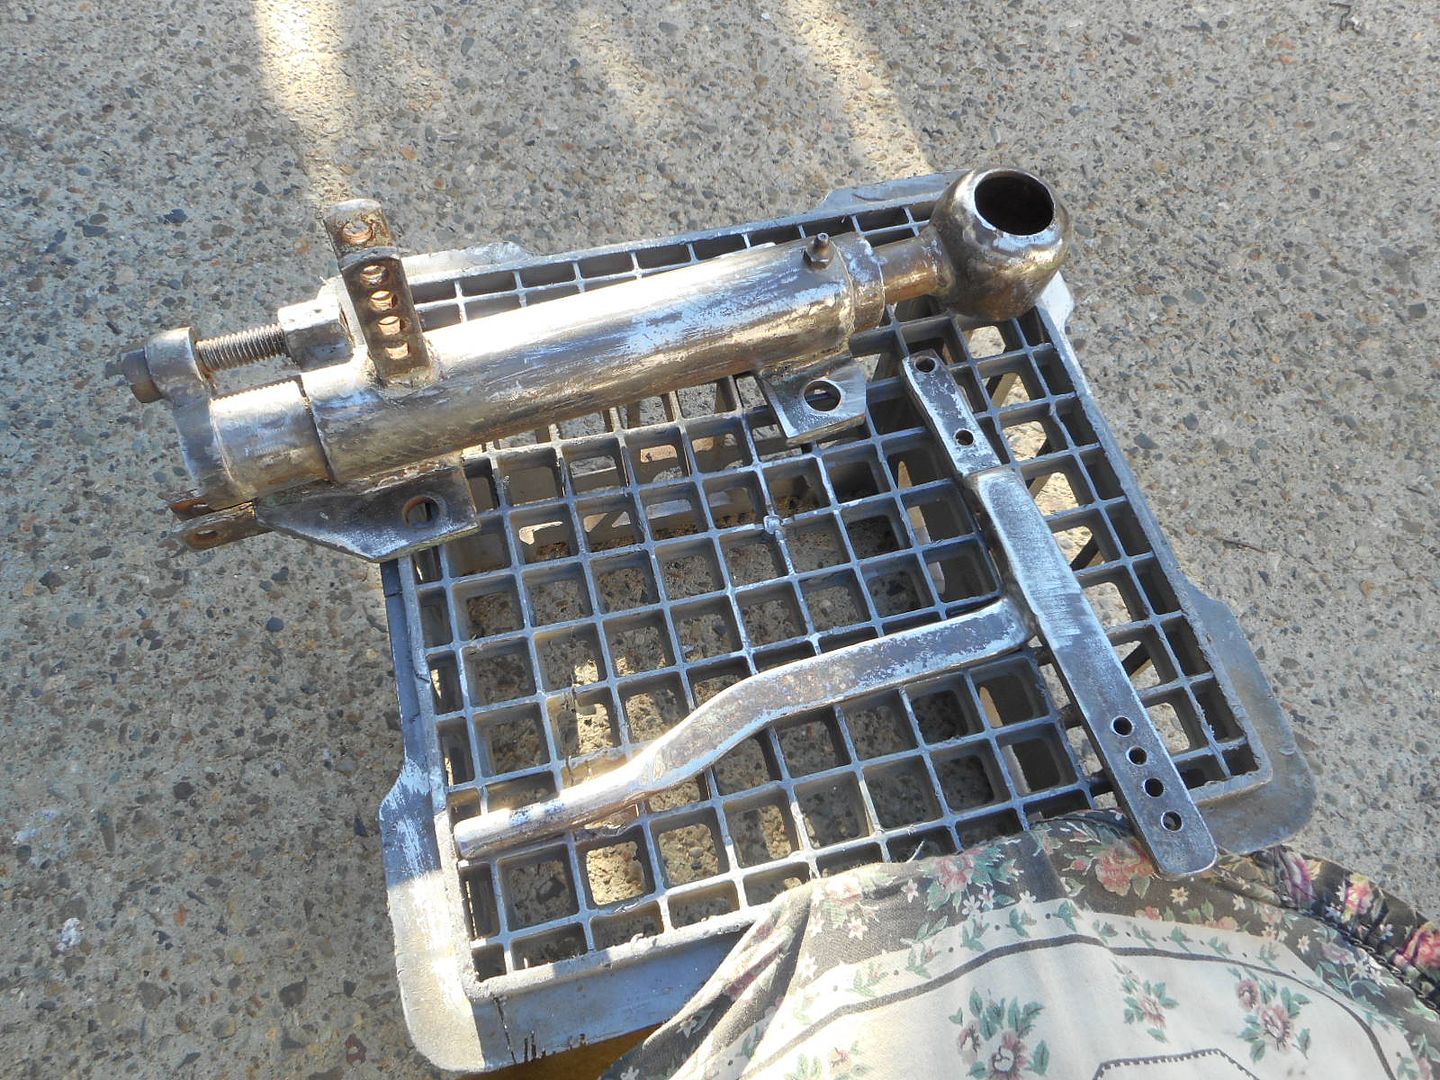
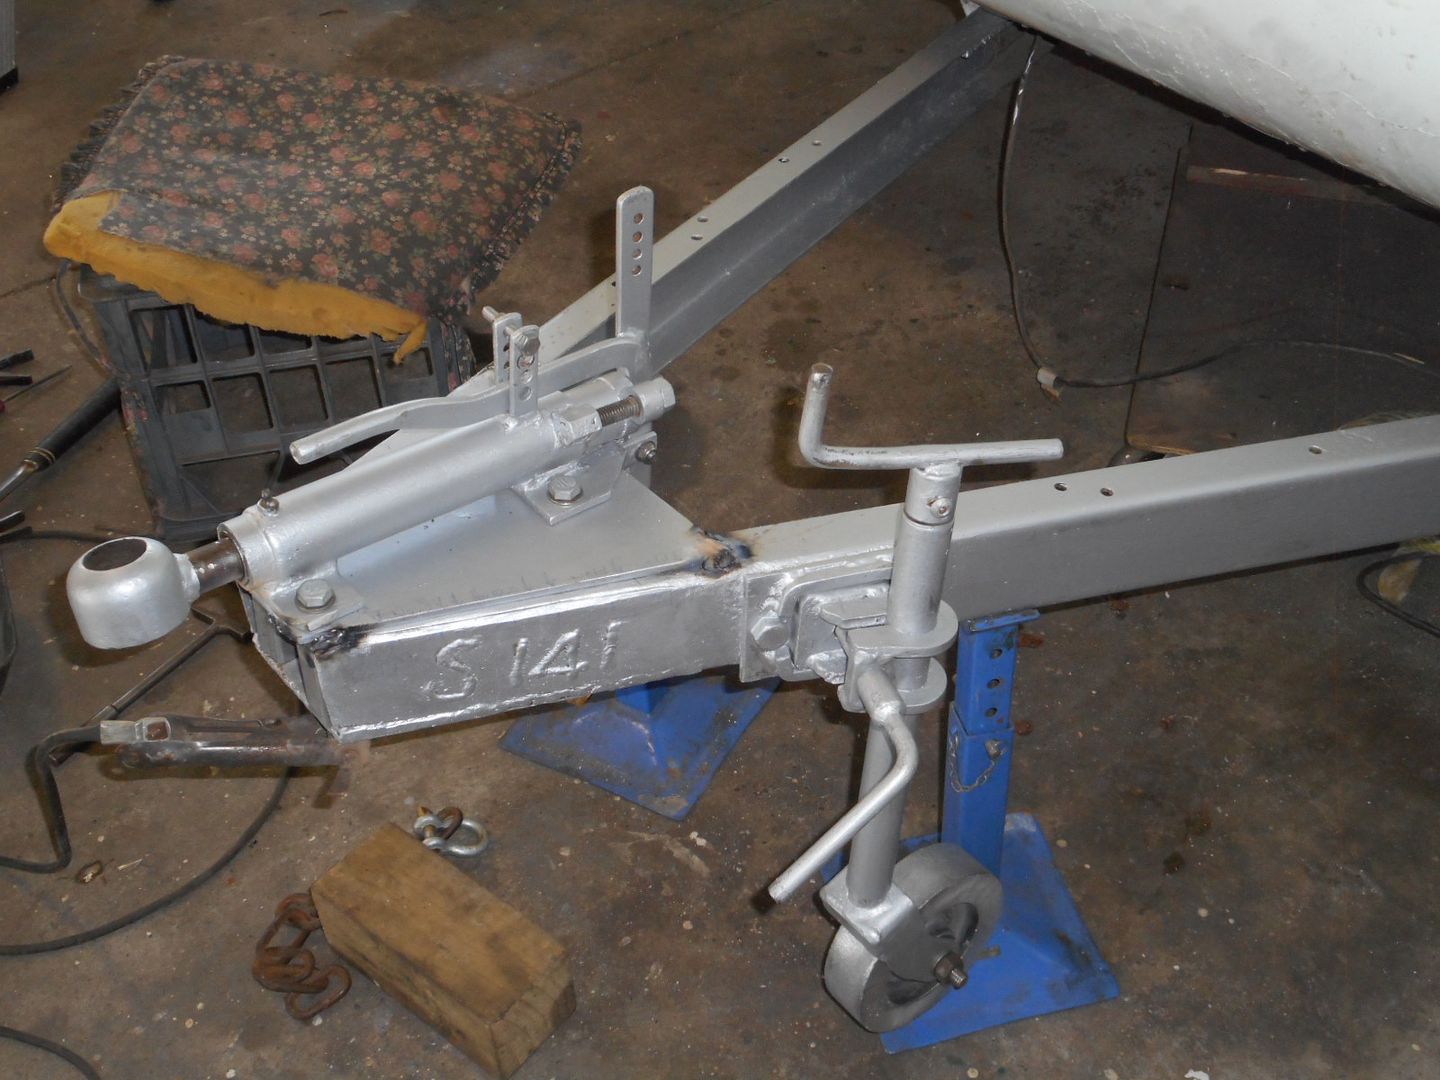
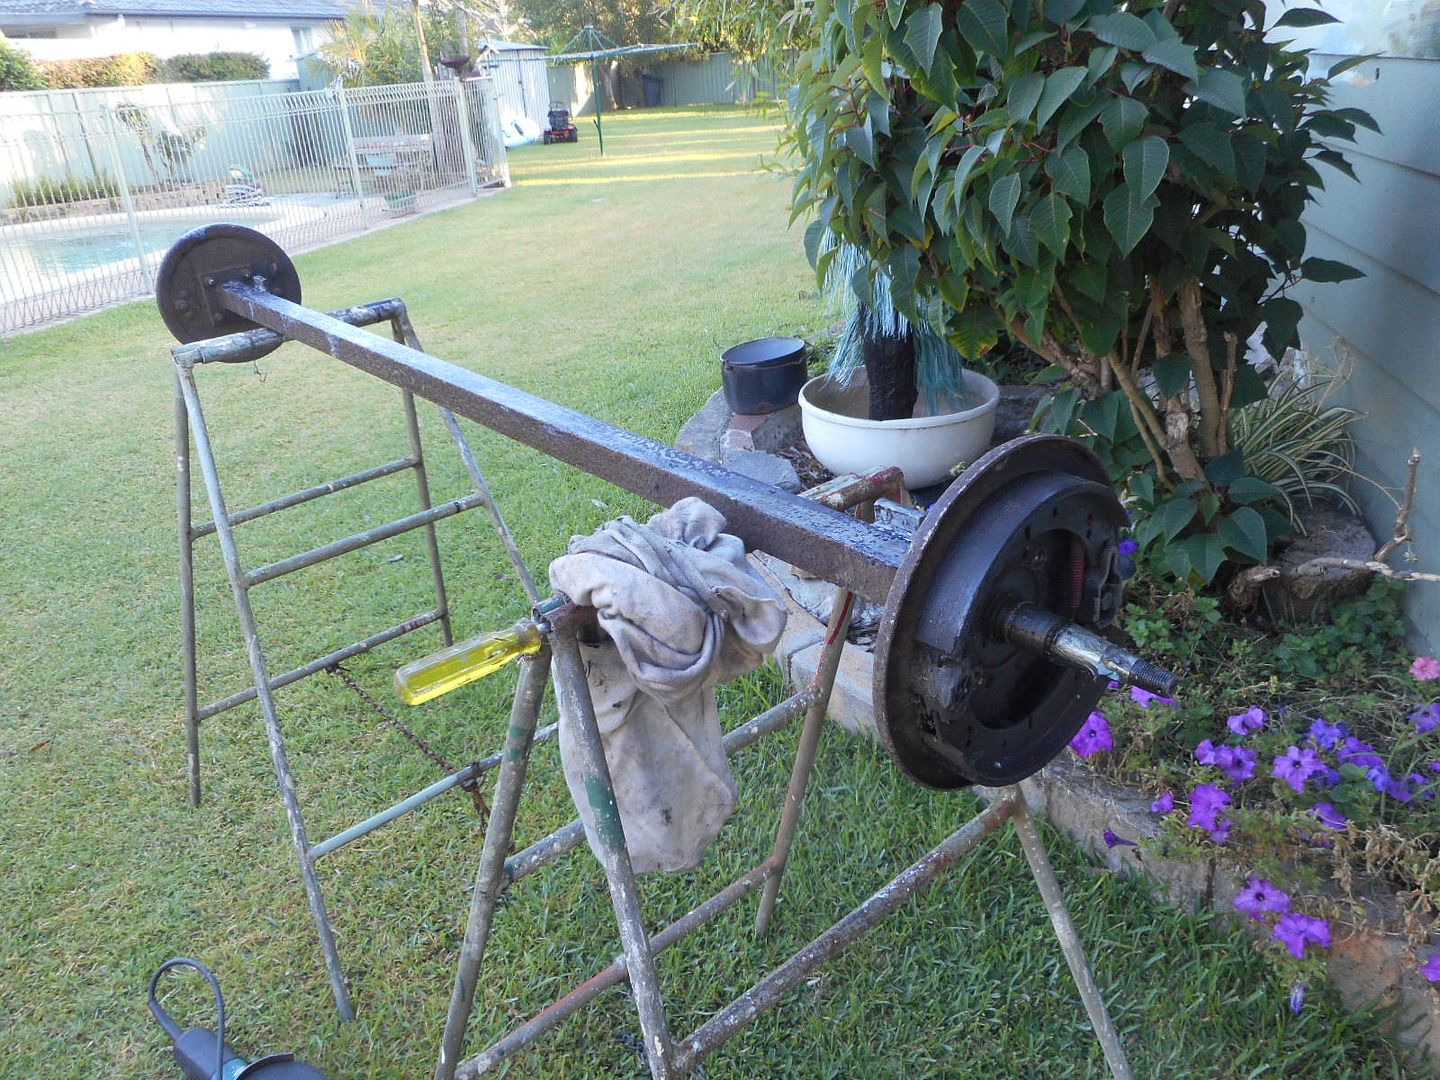
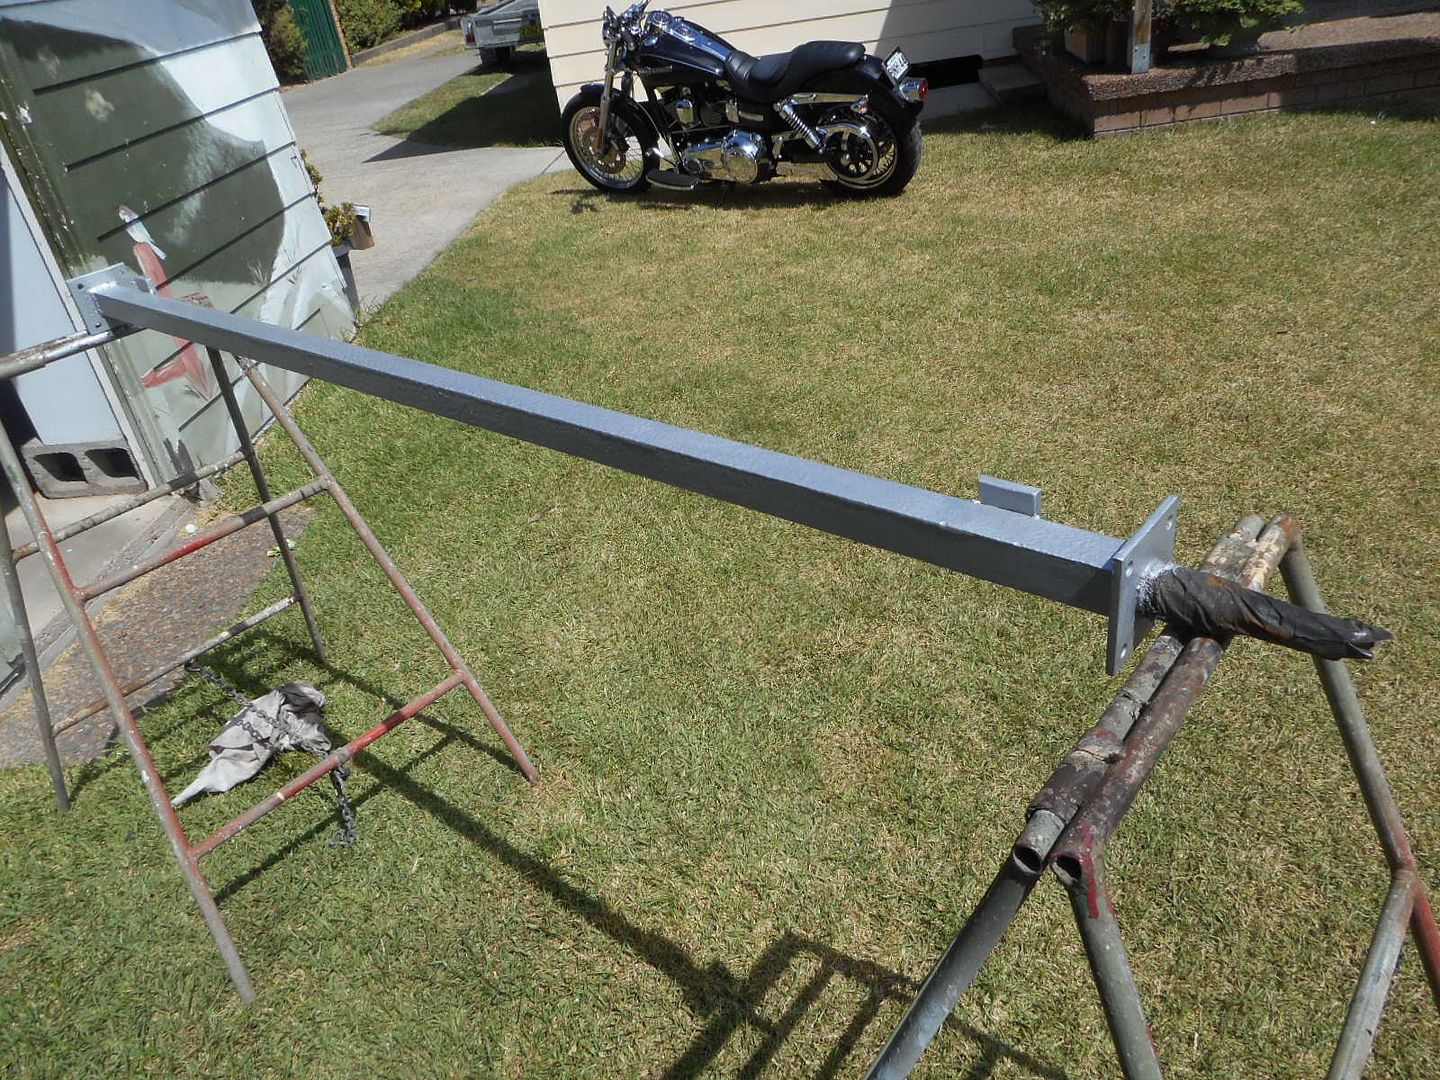
Tomorrows job will be weld coupling plate.. clean and paint drawbar and coupling .. remount coupling...
There was 2 broken leaves on the left side spring stack. Right side had the wrong sized shackle plate bolts... looks like she had a bush repair somewhere out along the dusty trails...??... if only these old vans could talk !!
More later..
Reddo .. snorting sawdust again after a llllllllllllllllllooooooooooooooonnnnggggggggggg lay off.
Its been a while since i waved bye bye to my last Supalite van.. a beaut little "Cadet " named .. " Öld Blue"..
The good side about that story is i can rest easy in knowing that its being loved to death by John and Pam ( Strugglebrooks).. and i get to see it on just about every run i go on ...So.. alls well that ends well there.
I have been on the scout for a replacement over the past few years... searching for another bondy.. Just recently i was given a Carapark Junior
I actually started to become attached to it... you know... have sorta .....
Then out of the blue i catch wind ( bit of a change from passing it ) that Aquamum was having a bit of a shed cleanout and her Supalite Atlas was for sale.
I went back and revisited her post on the restoration so far on the website.
The story thus far...
http://vintagecaravans.proboards.com/th ... t-supalite
I figured that seeing as though she wasnt allowed to use large sharp objects while working on it Sandra had probably done a reasonable job
And so it come to pass... a message was sent.. a deal was struck .. and collection took place in Sydney on Saturday 27th Feb.
John Daniels and i loaded the van up and brought it back to Barnsvegas. Unloaded it off the float and promptly winched the Carapark Junior on for a ride to Strugglebrook. One less distraction in my yard...
Twas a long day by the time i got home.. returned the trailer.. got cleaned up.. and sat in the empty van with a stubby......
Today was a different story.. up early .. evict the cars and bikes out of the shed.. drag the supalite out of the carport and up to the shed door...

Righto then ... out with the tools .
Remove all suspension and brake cables...
Lower onto shed skates..

Hmmmm.. still gunna be a squeeze .

Inched it back to the shed door...Plenty of room.. twas never in doubt... much


Feeling quite pleased that i didnt have to remove the roller door.. and happy to see the van sitting in the back corner of the shed.. i pulled up for lunch.. still had some steam left in the tank .. so i made a start on rebuilding the coupling base... badly rusted on the top plate and hardly anything left of the nuts on the bottom side of the bottom plate.

Old plate removed.
New plate cut and drilled ready for remounting existing old style coupling... just needs to be welded now..

Tomorrows job will be weld coupling plate.. clean and paint drawbar and coupling .. remount coupling...
There was 2 broken leaves on the left side spring stack. Right side had the wrong sized shackle plate bolts... looks like she had a bush repair somewhere out along the dusty trails...??... if only these old vans could talk !!
More later..
Reddo .. snorting sawdust again after a llllllllllllllllllooooooooooooooonnnnggggggggggg lay off.
