Page 10 of 14

Re: Reddos 1960 Supalite Atlas Resto

Posted: Thu Jun 30, 2016 6:27 pm
by reddo
I await the judges sentencing then ... !!!! ;)
Reddo

Re: Reddos 1960 Supalite Atlas Resto

Posted: Fri Jul 01, 2016 8:46 pm
by humpyboy
Yo Reddo, they say a blunt tool is more dangerous than a sharp one so you have got me stumped as to why there has been no blood letting, maybe it's because you no longer have to stress over the coming Mondays like I still have to do :( at least for a few more years, I still have the Roadcruiser here and look forward to getting started on it one day so I have an excuse to attend a run or tour with it unless I find something else in the mean time ;) , who knows what the future holds hey, as for my health issues, all is well so nothing to report there.

Re: Reddos 1960 Supalite Atlas Resto

Posted: Mon Jul 11, 2016 5:30 pm
by reddo
G'Day

and it was a good day..
In between appointments i got to fiddling with the van again.. So... todays story is brought to you by the letters "F"and "S""

Messed about with gods gift to man ( Thats wood.. as if you didnt already know that ??) and made up some timber "F" for fly... and... "S "for screens.

One of the niftiest ( its a word) gadgets i have ever picked up at garage sales is those little picture frame clamps. Holds everything nice and square while you glue and screw the frame together.

In amongst the odds and sods i bought off Dennis JBJ at South West Rocks was some corner braces. Not enough to do the whole 4 screens but enough to put the spark in my head to use em to stiffen things up ...
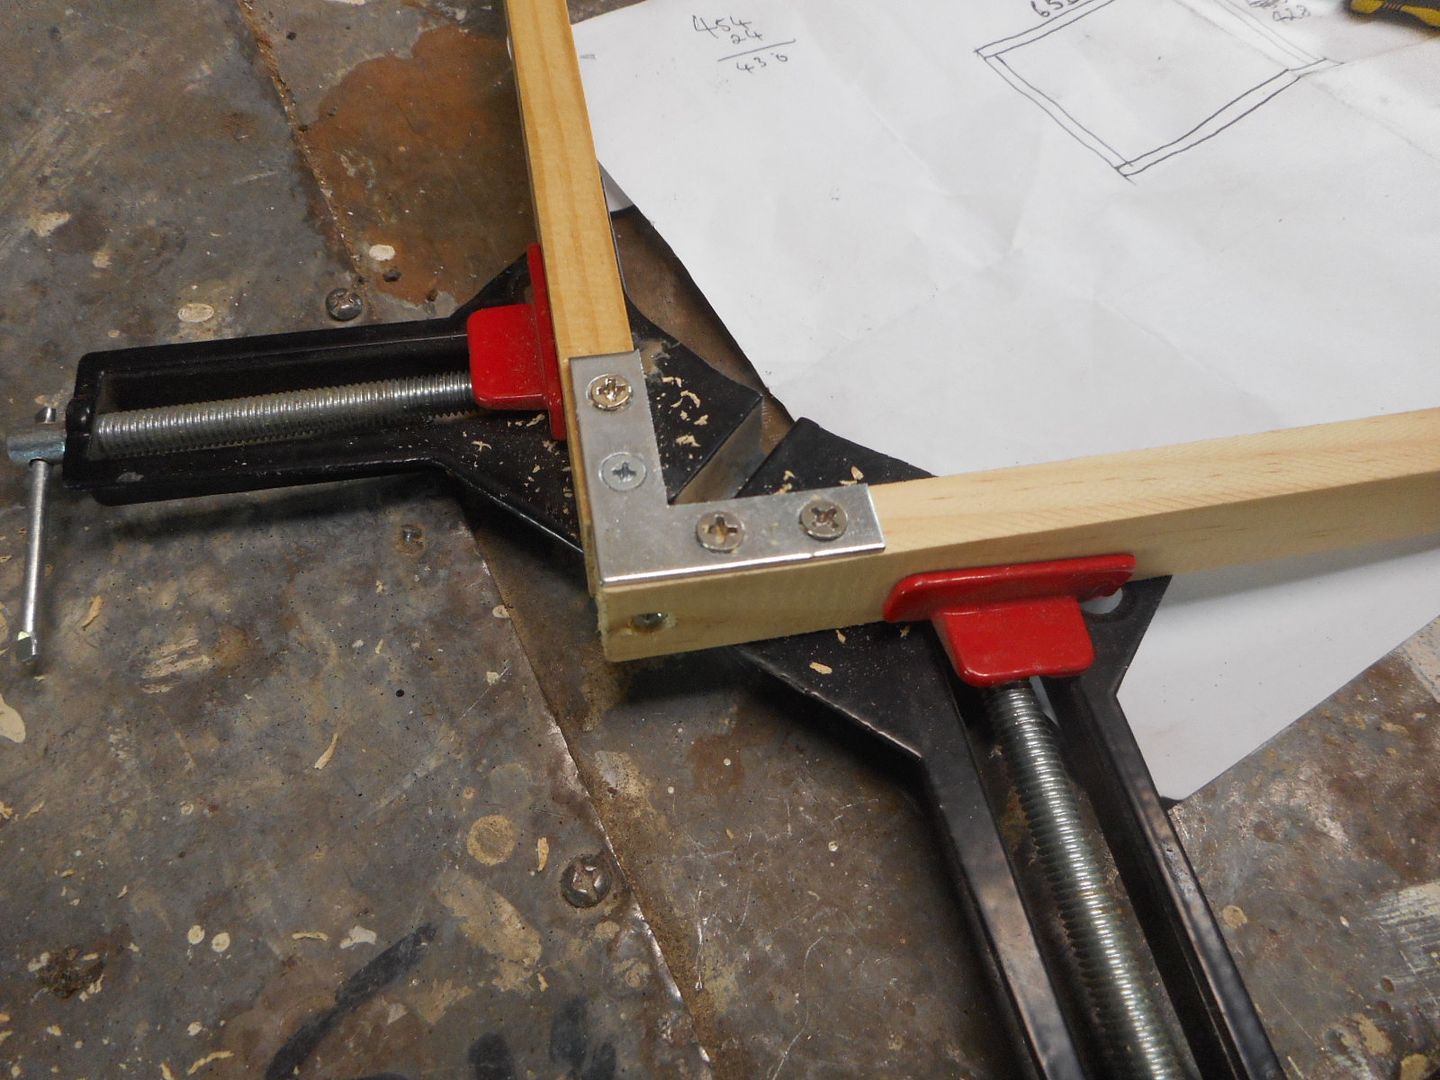
Image

Didnt take long to get one frame together , then cut and nail the brass gauze on the opposite side to the bracing,
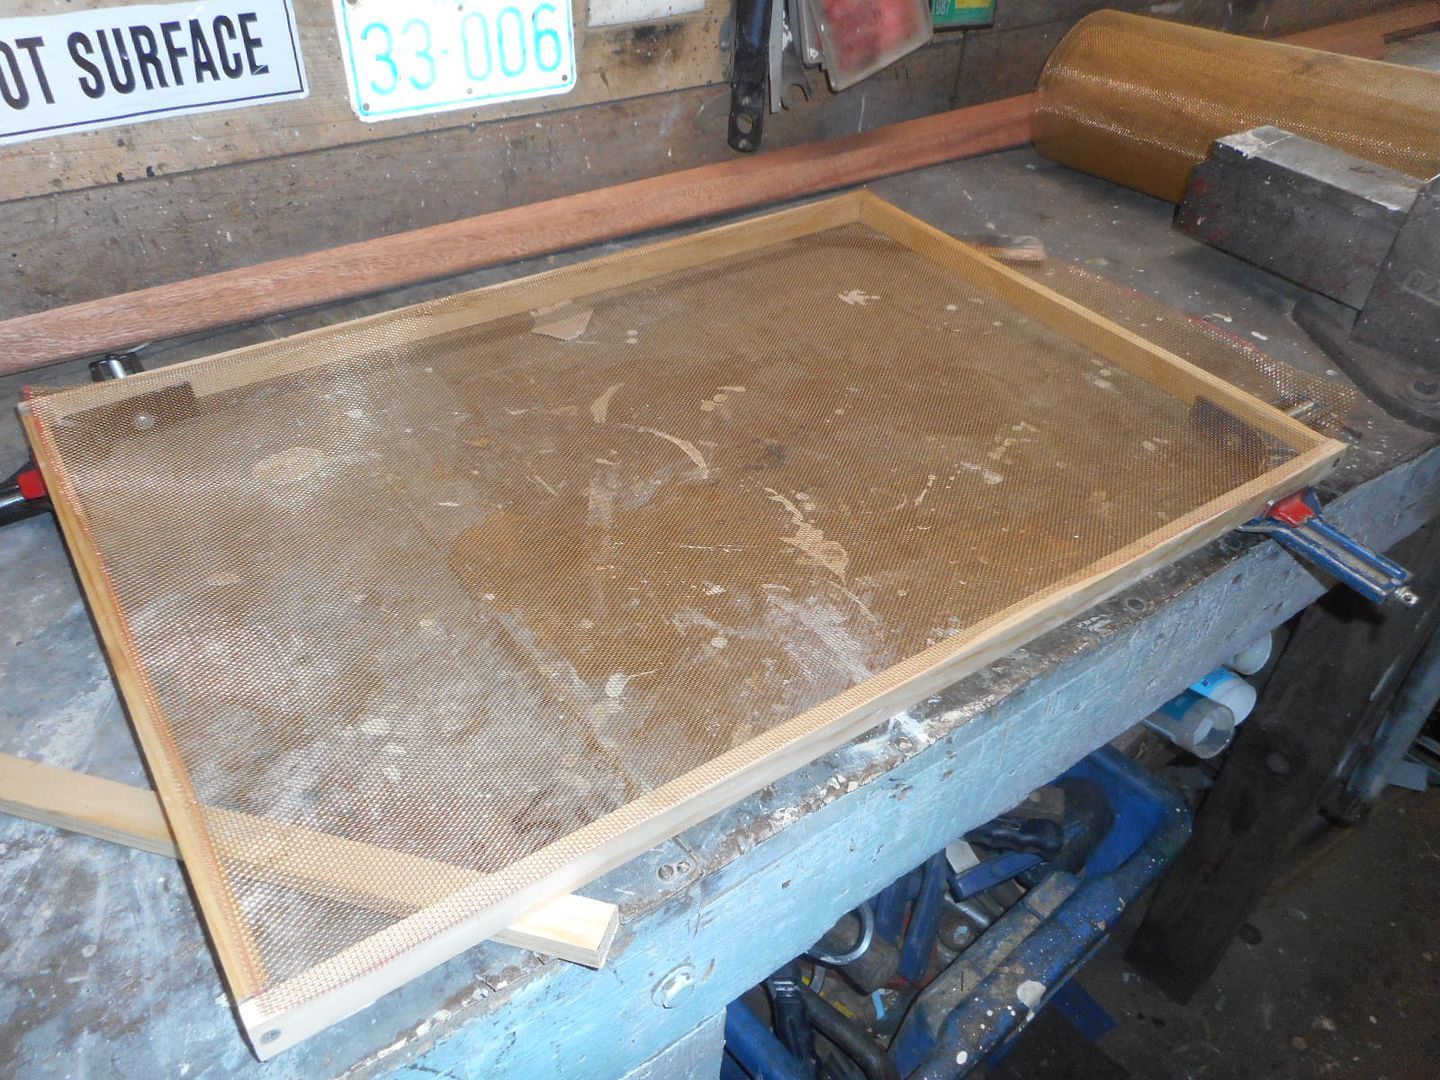
Image
then cut a mitre frame out of 30mm X 8mm merranti.

Those little mitre boxes make doin 45 degs easy . Wish i had one years ago.
The old fly screens where nailed on permanently and the window was opened by pushing a bar with holes in it out through a hole in the base of the window surround... primitive :P .
So i have made the new fly screen frames hinged at the top .
Got rid of the push out rods on the window and fitted 100mm slide brackets so the window can be set open at any angle.
Cut a slot through the brass ring where the push out rod use to go and that allows the securing rod to drop through with knurled nut to tighten the whole thing shut...... ZZZZZZZZZZZZZZZZZZZZZZZZZZZZZZZZZZZZZZZZZZZZZZ... WAKE UP.. ARE YOU PAYING ATTENTION... Ahem......
The fly screen now can be hinged open and the window set at any angle to allow the breeze.. but not the flys in.
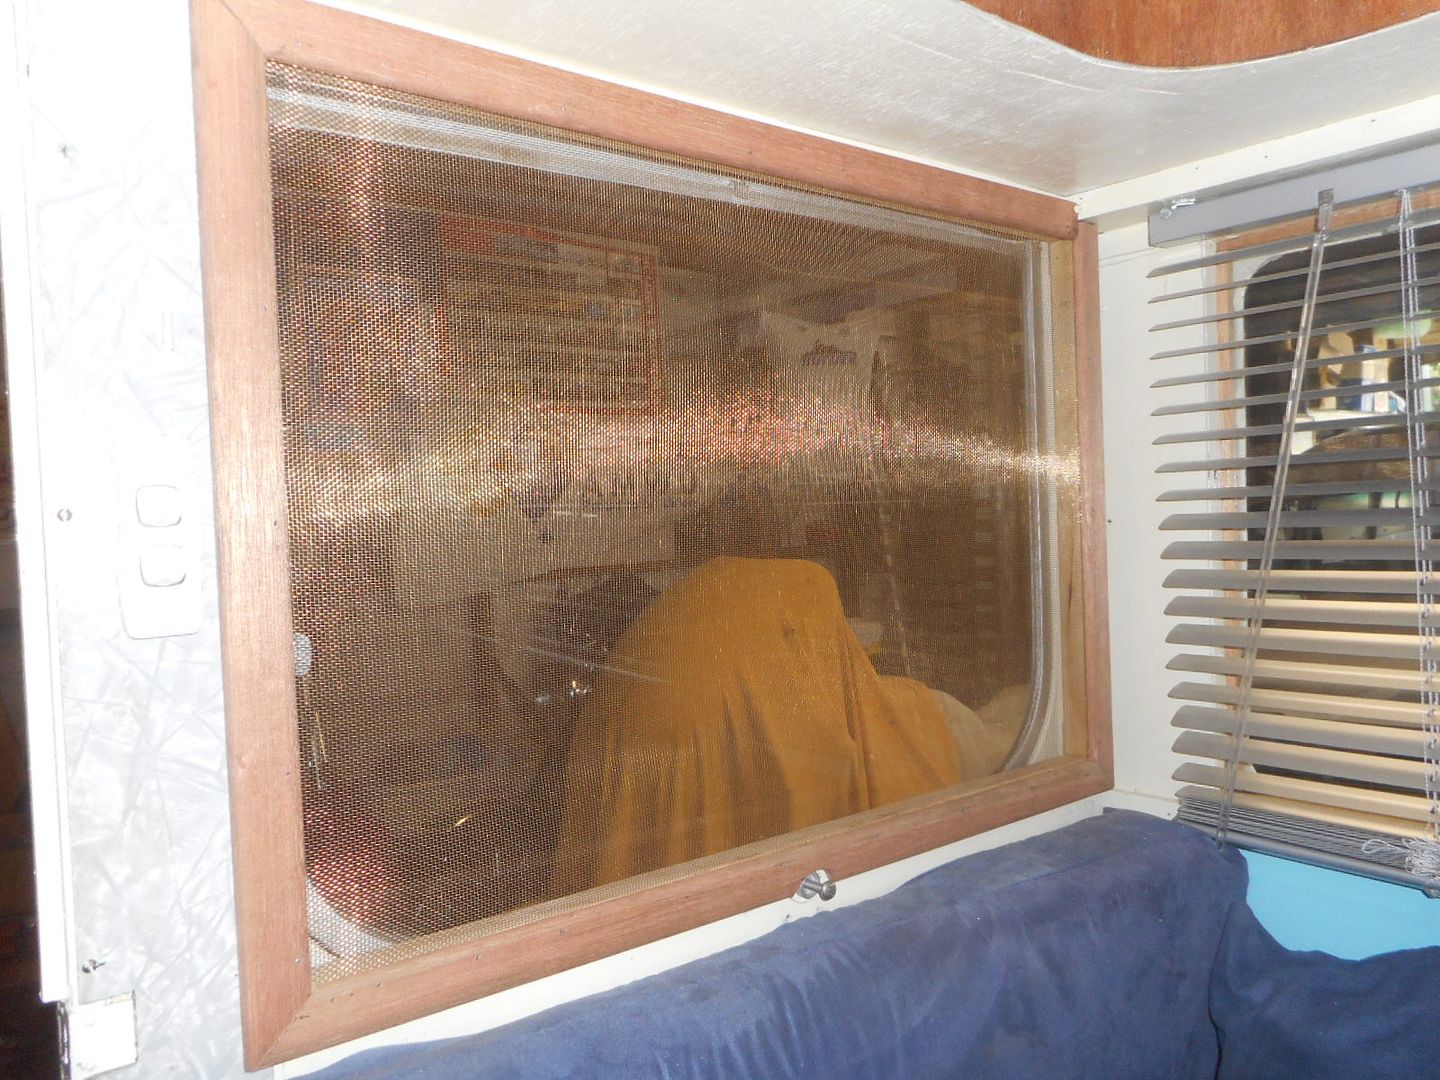
Image

A lick of clear lacquer, fit the hinges and let the whole shooting match harden in the mid arvo sun.
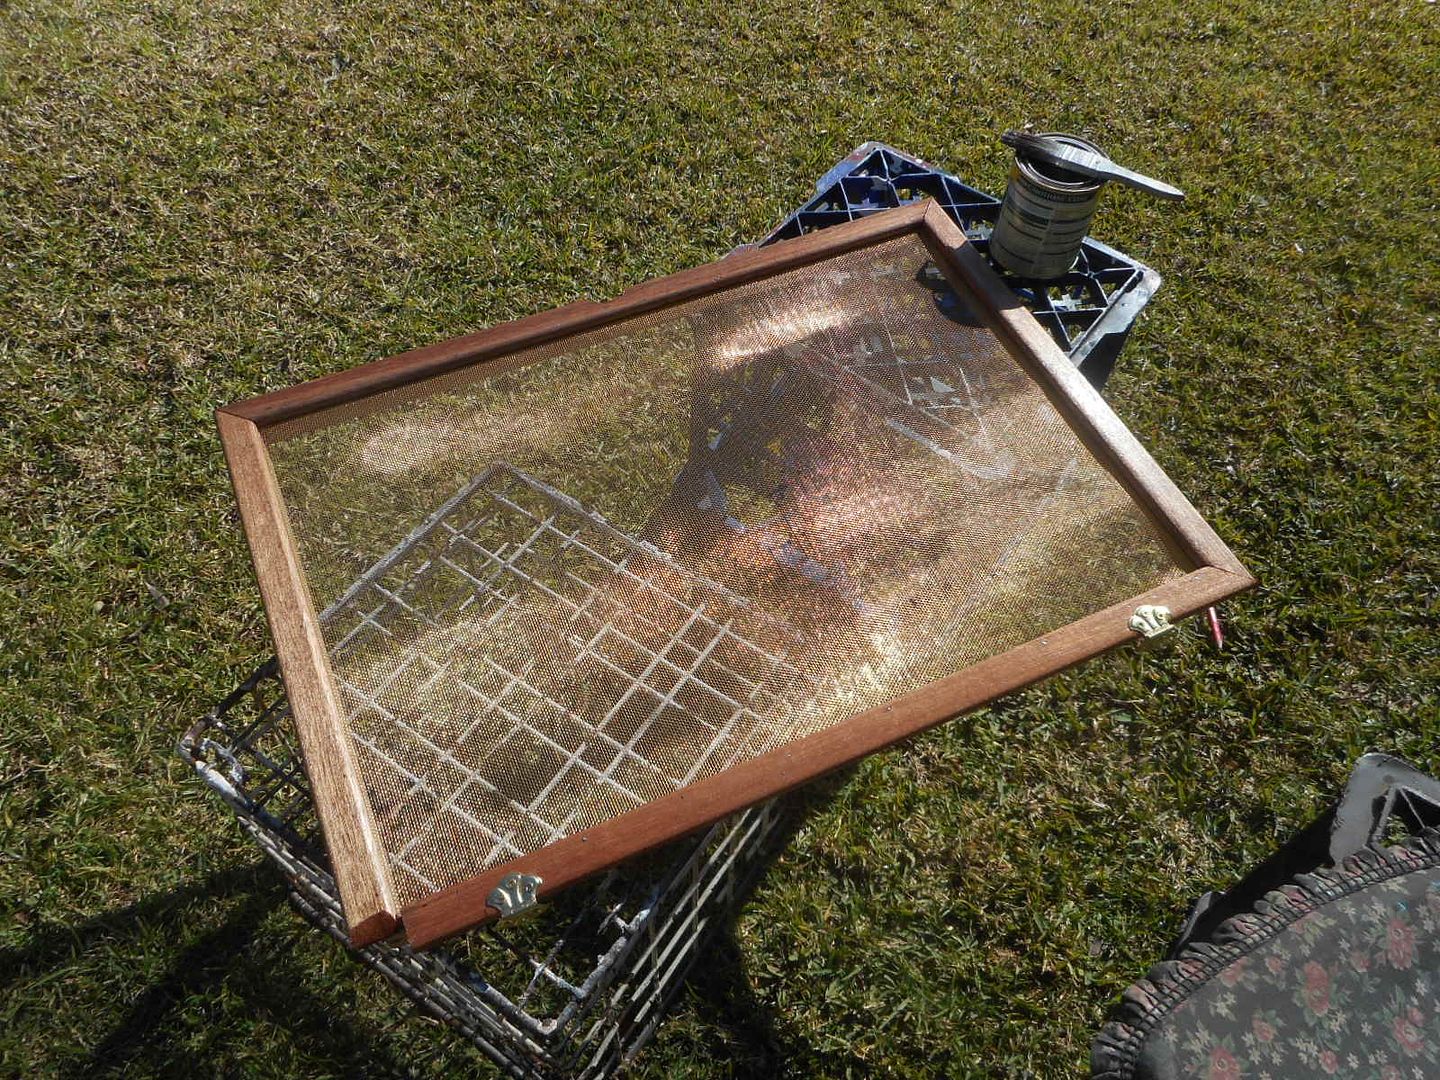
Image

While it was drying i knocked up another complete screen and done the frame for the 3rd one... 8-)
It was about then i measured what was left of the brass gauze..... :oops: ... oooooo Bugger... gunna be about 50mm short of finishing the 4th window.... :evil:
Hmmm.. that frame might get modified to suit the gauze,,, :roll: :idea: maybe a lead light infill .
.
That''s about it for today.
If i get fully mobile by next weekend ( instead of standing on one leg like an Egret all day:lol:) i might get the old girl out of the shed and rolling on wheels...
Then again... once it gets out of the shed i will probably loose interest and stick it down the yard as another half baked unfinished project??
Hmm.. best leave it where it is..As it stands it makes a great little man cave to sit and have a beer in 8-) Can spot the enemy ( Trish ) coming from 20 feet away.... :shock:

Shouldn't say that.. she has been doing a great job on making the curtains.. its the first time she has taken an interest in the vans since she spotted the old Walsh Van in a paddock back in 2004.
At that stage i had absolutely no interest in old termite havens :roll:
Lotta water under the bridge since then aye ;)
Looking back on the amount of time i have spent working on old vans and travelling around this great country of ours.....I bet she wishes now that she hadnt mentioned the Walsh all those years ago. :D :D :D :D :D :D :D
I could have been a real domestic rooster by now... :lol: :lol: :lol: :lol: :lol: :lol:

Set a trap..... and catch ya later
Reddo

...

Re: Reddos 1960 Supalite Atlas Resto

Posted: Tue Jul 12, 2016 3:11 pm
by Strugglebrook
Starting to cross the Is and dot the Ts, I mean all over shout-in the bar, you know what I mean nearly finished Mate. :D :D :D :D :D :D

Re: Reddos 1960 Supalite Atlas Resto

Posted: Sat Jul 23, 2016 7:42 am
by reddo
:D G'Day...
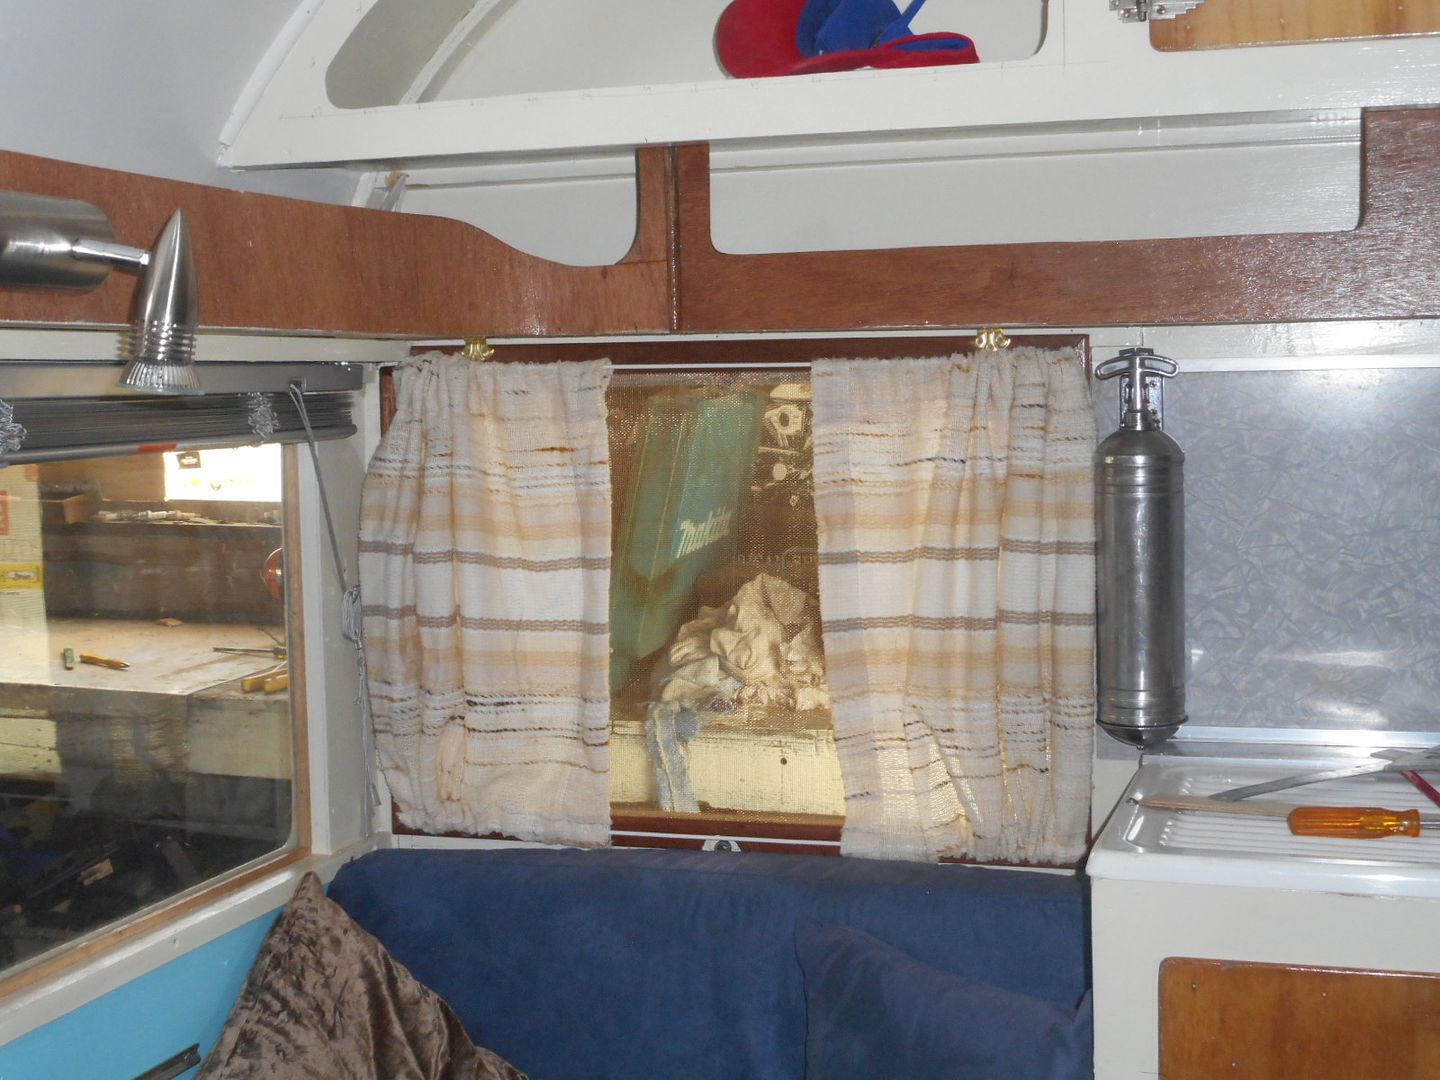
Curtains are finished.. thanks to Trish dusting off her mums old sewing machine and having a go..
Image
Was wandering where she got the material from ... until i came home from a walk and noticed the curtains missing from the front window in the loungeroom.... :shock:

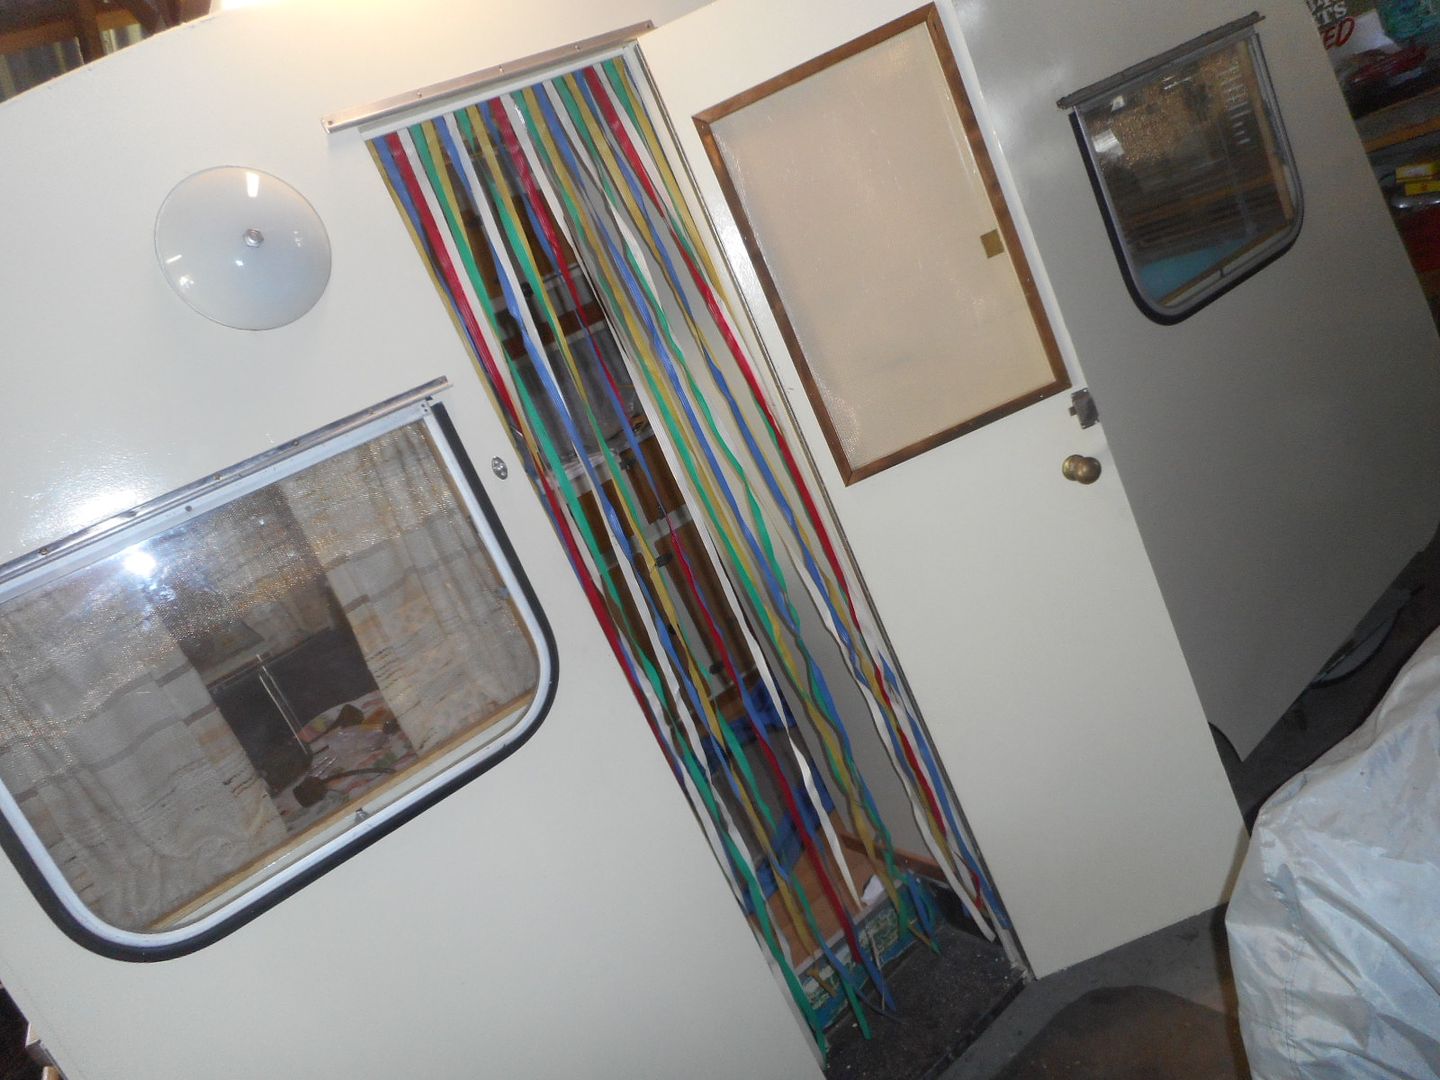
Also dug out the old multi coloured fly strips... or "Driue strips" as Chippydave calls em.. ;)
Ask me or him what that means next time ya talking to us....its a funny story. ;)

I have had these in every van i have owned ... Just Croozn...Matilda.. Rosie... Old Blue....sorta family hand me downs.... unfortunately i trimmed a bit off the bottom to suit Rosie.. so now they hang about 4 inches short on the supalite because it has an entry step well..
Image

Ya can buy these things at Bunnings but they only come in brown/Green/White strips.

While i was busy working away in the van i could hear this "nibbling"... sorta ... "chomping"... sound.
At first i couldnt identify what the noise was or where it was coming from??
Then i heard a clunk.. and a sorta faint giggling noise :roll: :?:

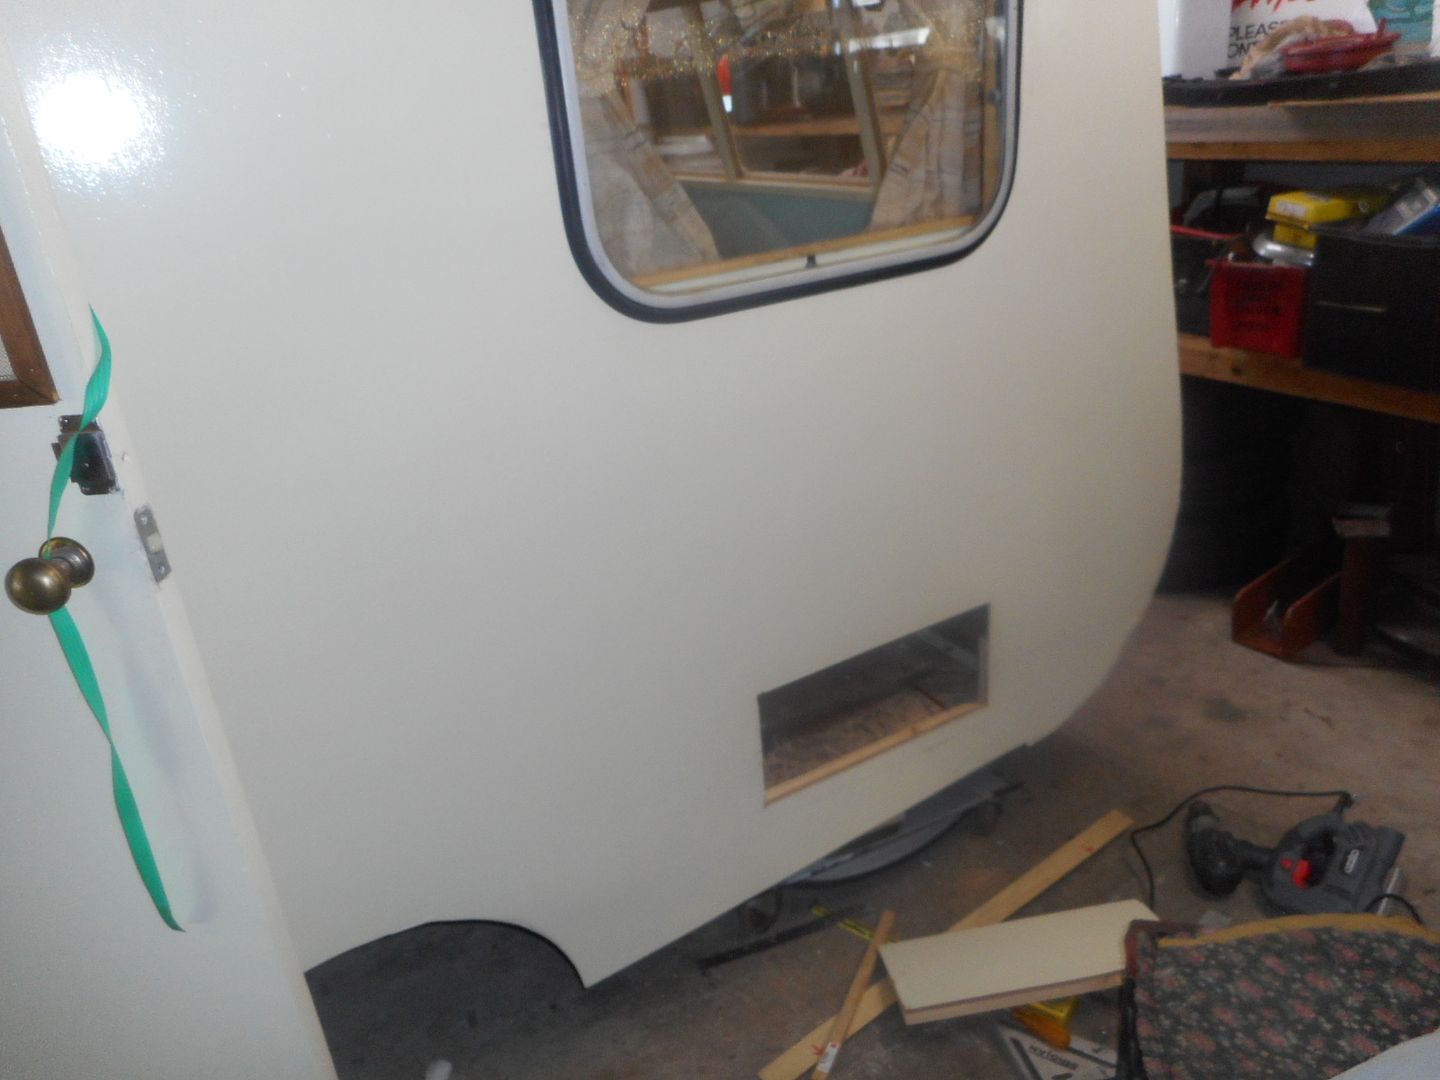
I rushed outside the van and looked down...and there it was...
Image

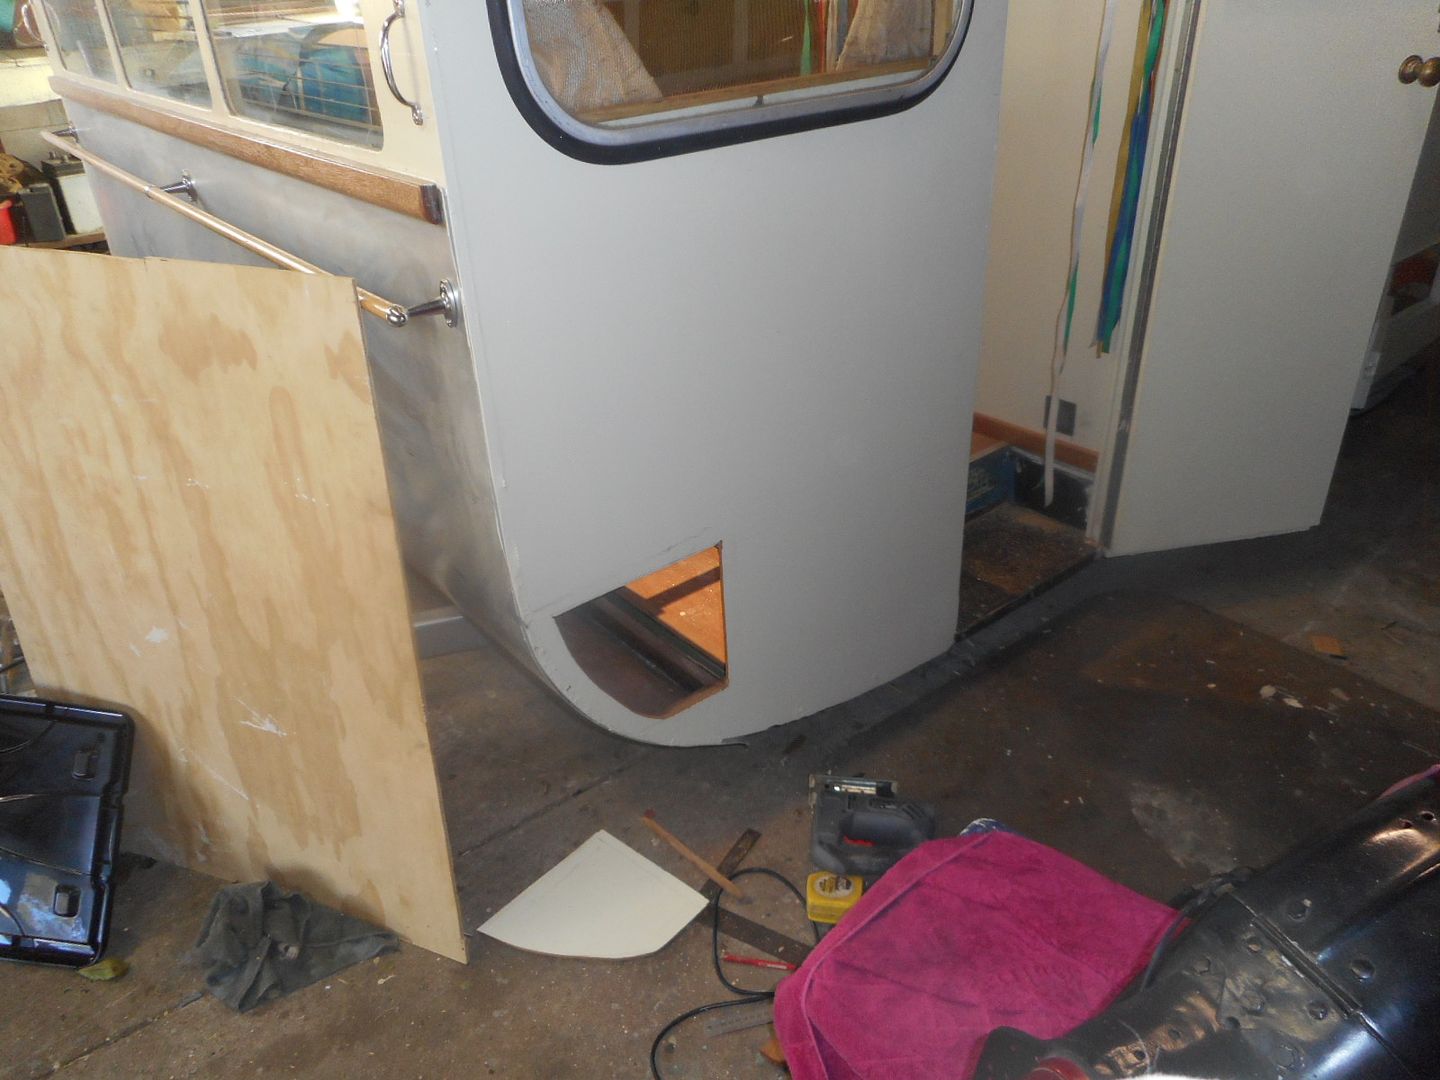
The bloody termites had eaten a rectangular hole in the side of the van.... :shock:
Image

( ooops i should have moved that jigsaw out of the picture...I think i have been sprung !!!
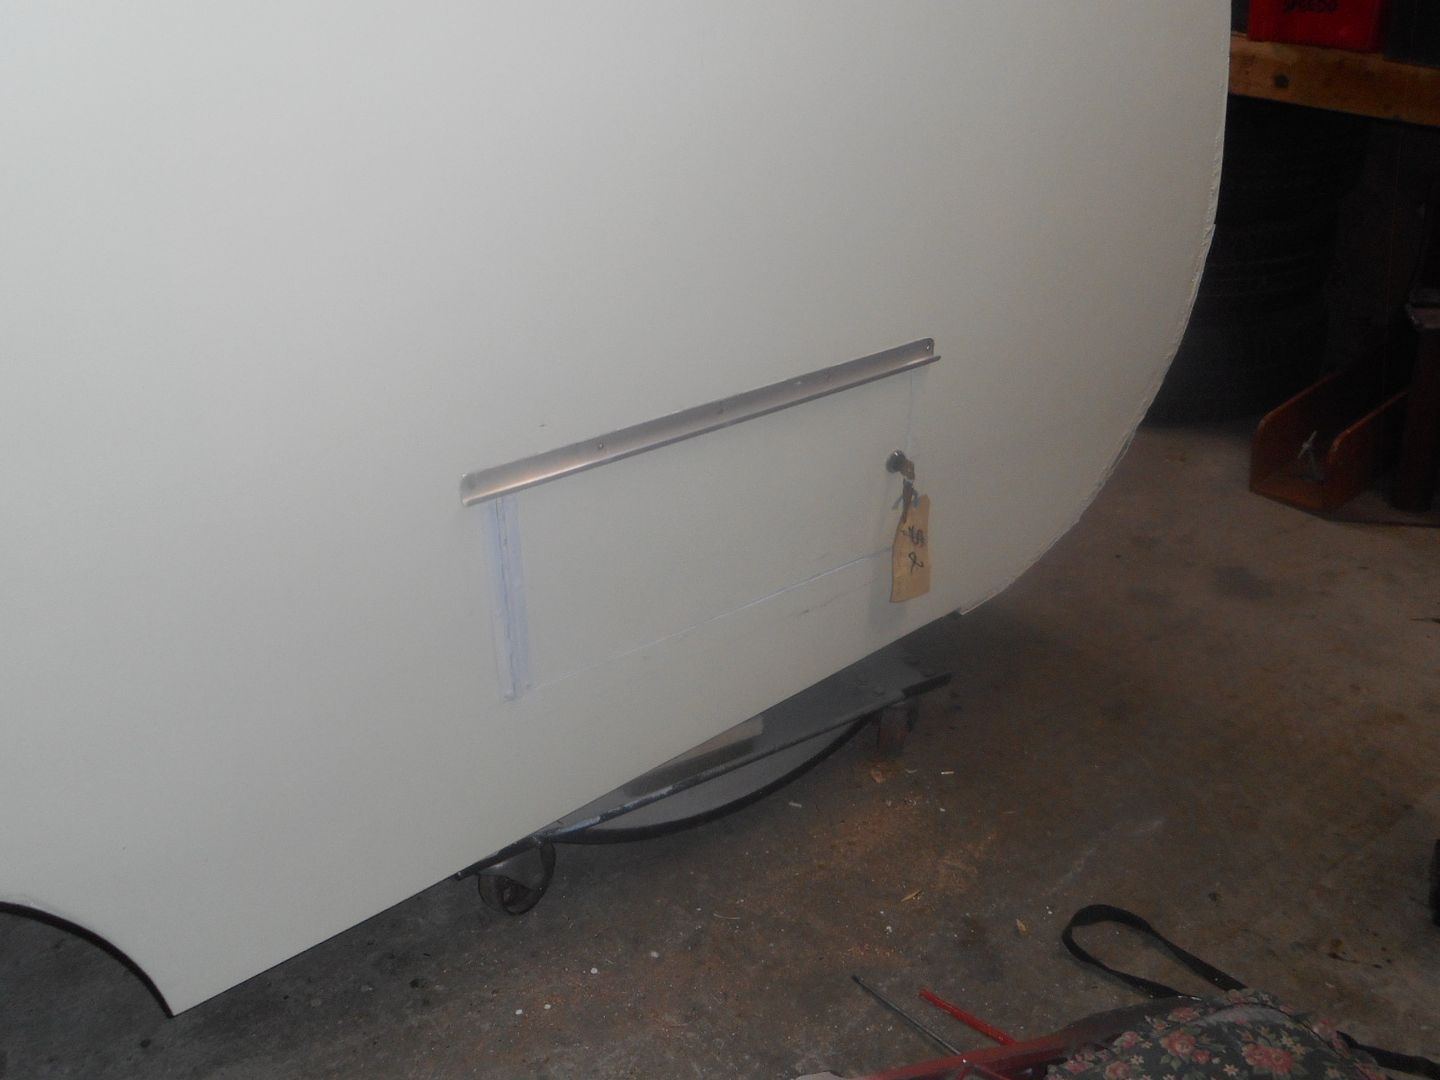
So.. the ants had inspired me to fit a side compartment door ... just like the ones that Mr Supalite use to install on his other vans.... ;) 8-)
Image

I have hinges this one from on the front edge... the one in Old Blue hinged from the top and was a bit of a problem holding it open and stuffing the gear in through the opening.
This one will swing around out of the way giving good access to the battery.. power points and storage space.. 8-) . Just gotta finish painting the door opening etc so ya dont notice it as much.

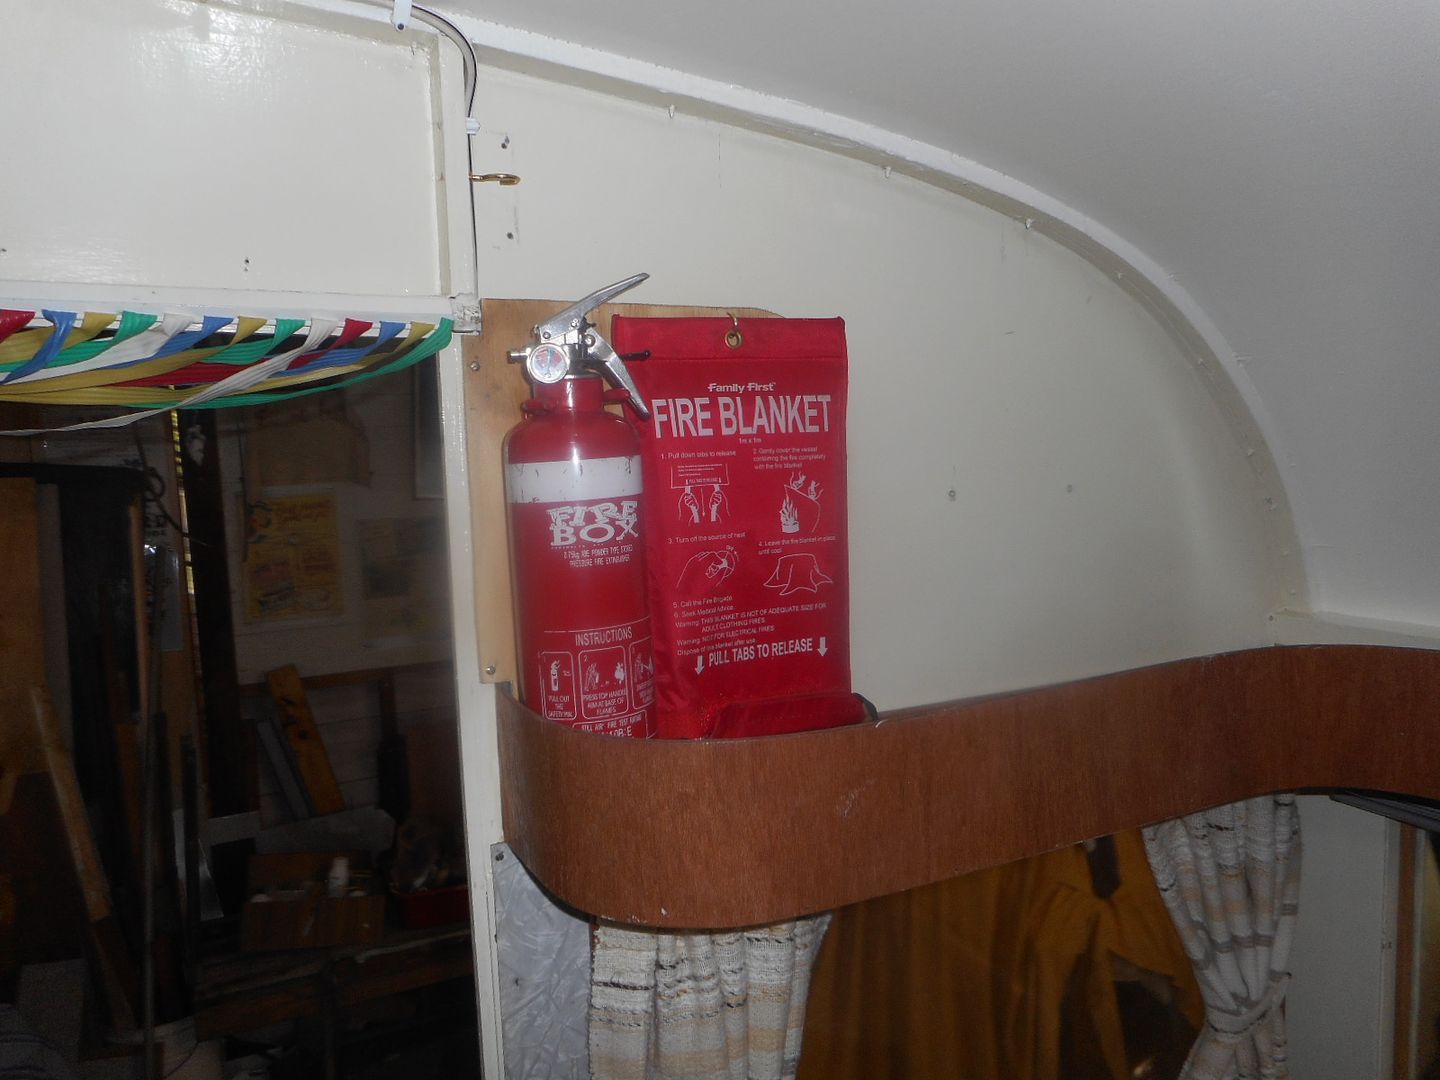
Went back inside and mounted the fire extinguisher just near the door....
Image
They look ugly, but i figure they need to easily accessilbe in the event of an emergency.. weather it be inside or outside the van.

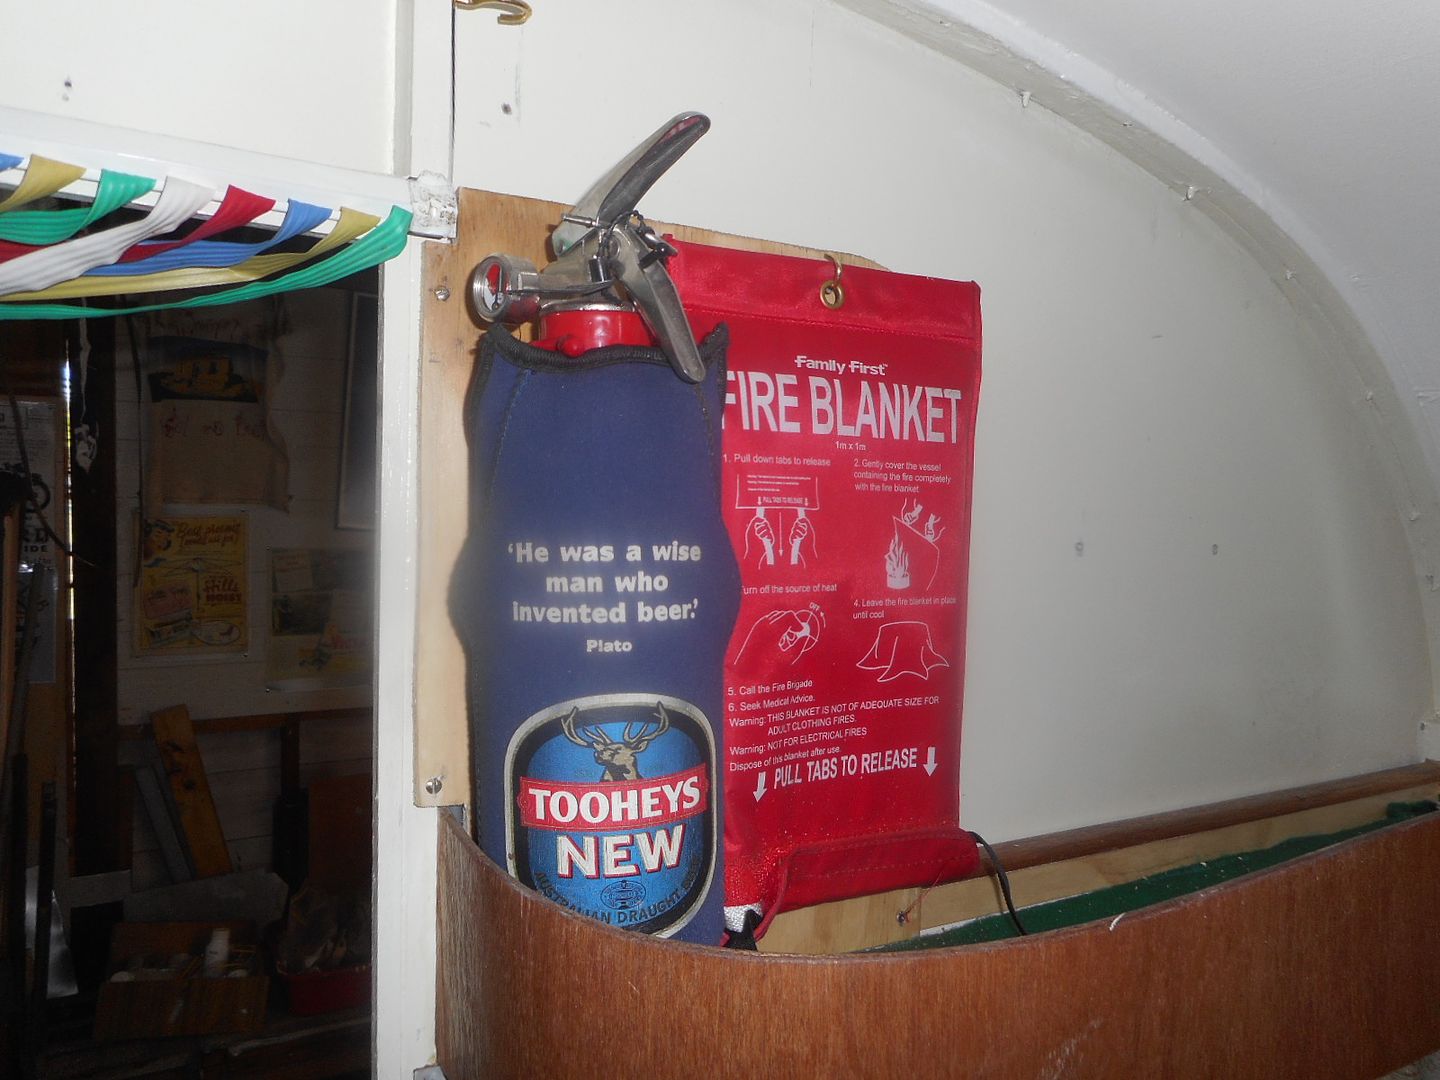
So... :idea: i tried camoflarging the extinguisher....
Image

Scored the extra window bracket and LED light i have been waiting for yesterday.. still a few fiddly things top play with before it sees the light of day and gets her suspenders back in place..
More later

Cheers fa now
Reddo

Re: Reddos 1960 Supalite Atlas Resto

Posted: Thu Jul 28, 2016 10:49 pm
by reddo
Hi.. :D

It seems the E.A.B has taken hold of me..
Easy .. Access.. Bug :D
After cutting the side access door in down the back left side of the van . I got to thinking about what a pain it is having to pull the bedding up to get to storage area on the right side rear of the van... So i decided i needed easier access there as well. Rather than hack another door in the right side exterior i managed to get a hole in through the side that faces forward....
Image

It gives me access to an area from front to back that measures about 1 metre long by 200mm wide and 200high....
Enough room to store the timber annexe poles or hoses etc 8-)

Just waiting on the stained timber door to dry and i can finish that off. No more pulling bedding apart to get in to the bits and pieces... 8-)

While still had the jigsaw in my hand i marked and cut out an external access door in the front left corner of the van... yup.. i have stopped blaming the termites for this destruction...
Image

This hatch gives me access to the full width of the van. Ideal for storing adjustable steel annexe poles .... no need for a horrible looking chunka 200mm plastic pipe across the draw bar to store the poles. :cry:
it also gives me some access to the stowage area under the dinette left seat. ,,, but most of the gear in that area will still have to come out via the top hatch.. which still requires pulling the seat cushion up...
Image

I have also put a false floor in the bottom of the wardrobe with hinge open lid for stowing annexe ropes and pegs Hope to get all these fiddly hatches and doors tidied up soon.

Trying to balance the load evenly between left and right side..
Think about your van.... typical 50s , 60 and 70s vans have the kitchen down the right side...
Fridge
Cupboards ( overhead and under sink stove area
Stove
Sink
and most likely watertank under right side behind the axle
There is a lot of weight in all that.. all bouncing along on the right spring

Lets go over to the left side..
A wardrobe... and ..... ummmmmmm... bugger all else besides whats under the dinette seat

I have tried to balance things up a bit by fitting the battery behind the wheel arch in the left side rear compartment. This will also hold extension leads, annexe lights etc.
The area under the wardrobe will have the annexe ropes and pegs.. there is about 5 to 10kg in that lot.

I have wired a double power point in there and still have to fit the second 240/12V engel fridge and ventilate the area.
add clothes in wardrobe..
and stuff under left side front seat .... and .. things are starting to even up in weight distribution side to side.....
Only thing to keep and eye on now is front to back balance...towball weight

Battery and water tank behind axle will decrease towball weight.. so .. steel annexe poles and gas bottle mounted on drawbar should keep the nose down.

Only have to worry about ride hieght then??

I am lucky to have 13"and 14" holden rims to muck about with...
Should be able to change ride height by up to 4 inches by messing with rim diameters and tyre profiles.... if that fials to get it low enough there is always the good old lowering blocks to bung between axle and springs...

Praise the lowered !!!.. Amen

Reddo

Re: Reddos 1960 Supalite Atlas Resto

Posted: Mon Aug 01, 2016 7:04 pm
by reddo
Yo..

The following might be of interest to anyone that has a short temper when it comes to stowing stuff in compartments under dinette seats or beds.
A lot of old ply vans have storage space under the seat cushion..
This usually means pulling the cushion out.. Then removing the lid from the compartm,ent to get to or put back something

Or.. trying to hold the cushion and the lid up while you stuff things in .

The lid usual just sits in place.. not hinged.. so ya fight to get it to sit back square in its alotted spot before finally dumping it and the cushion back down .

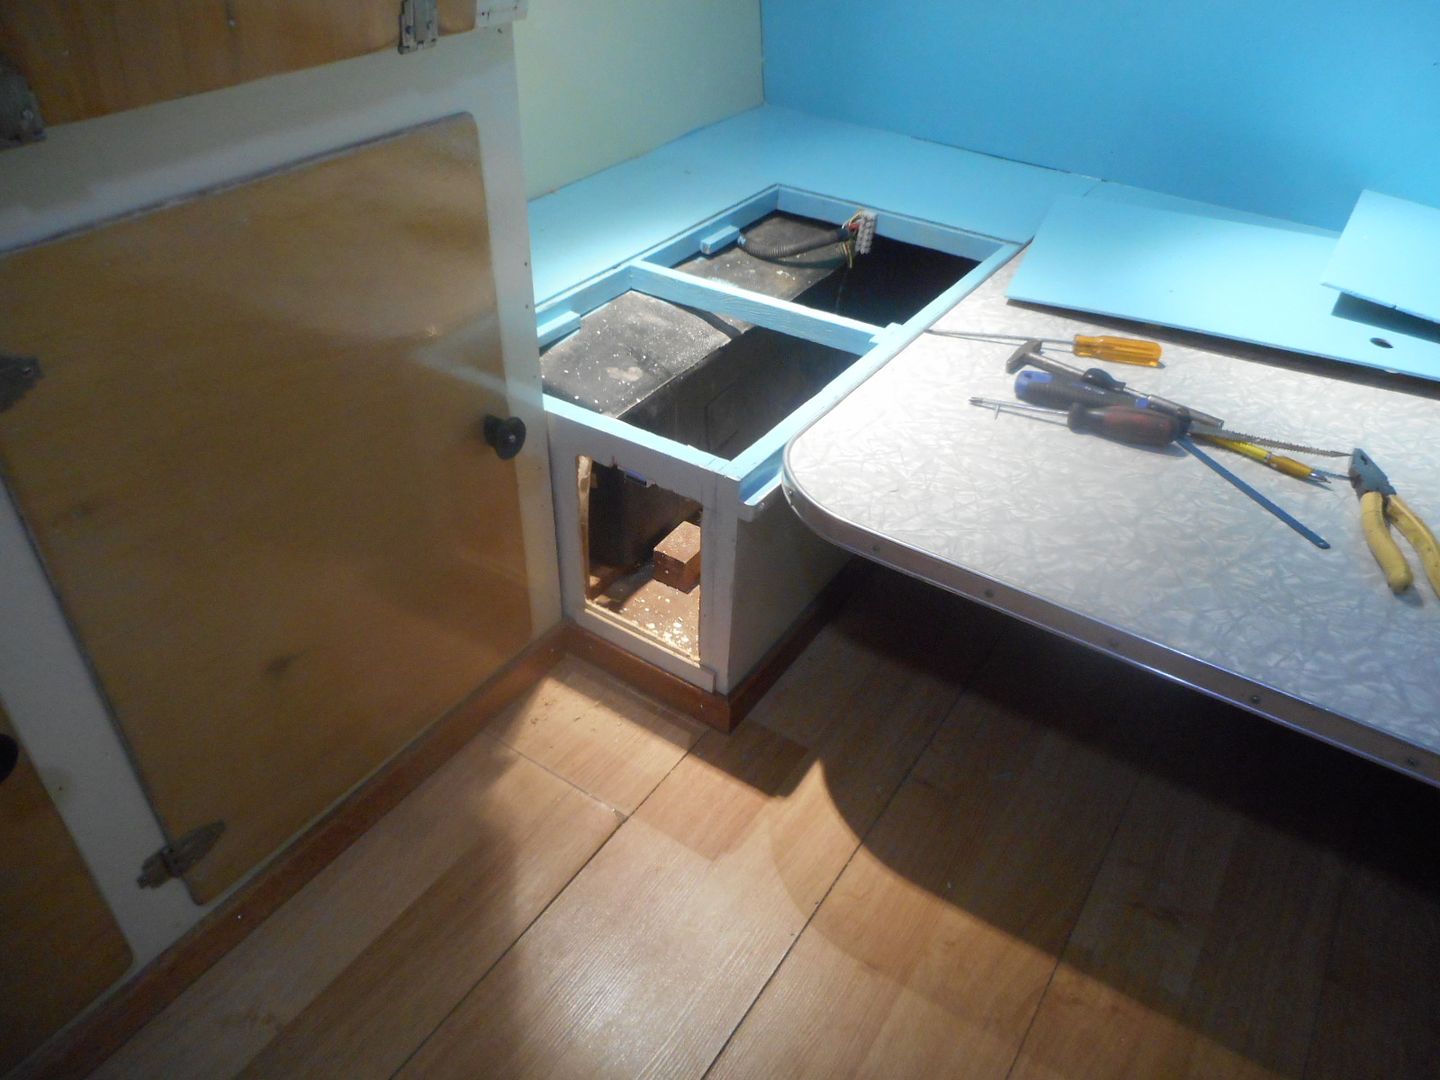
This sort of thing..
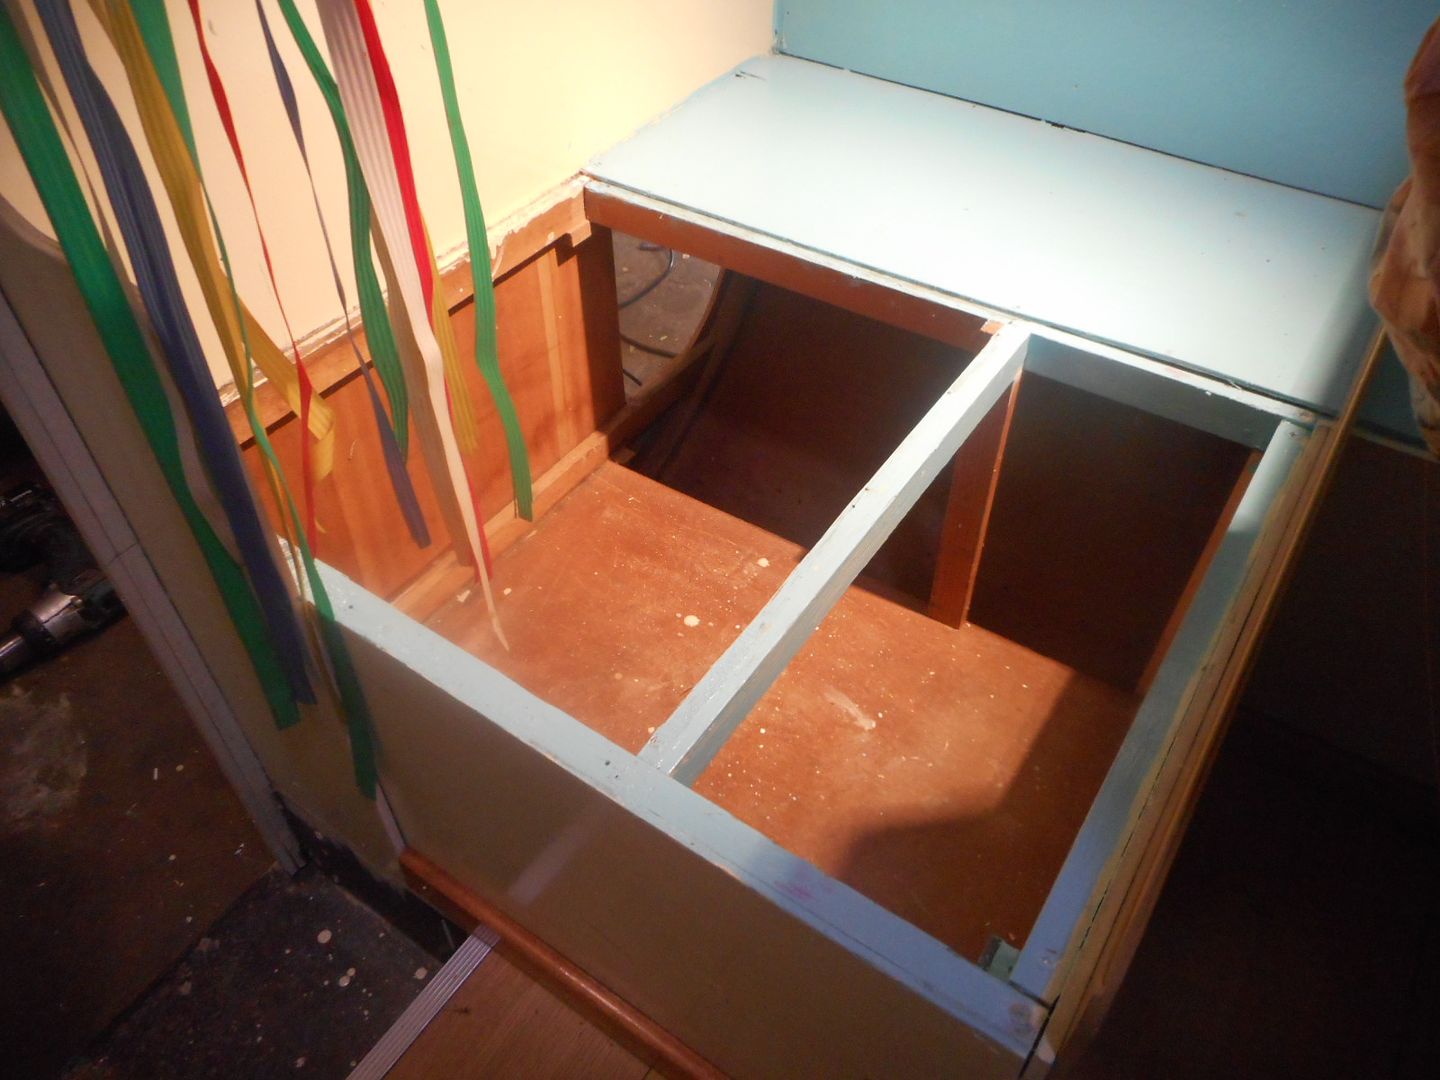
Image

So.. we here at Reddotel International have had a fiddle and come up wth a solution

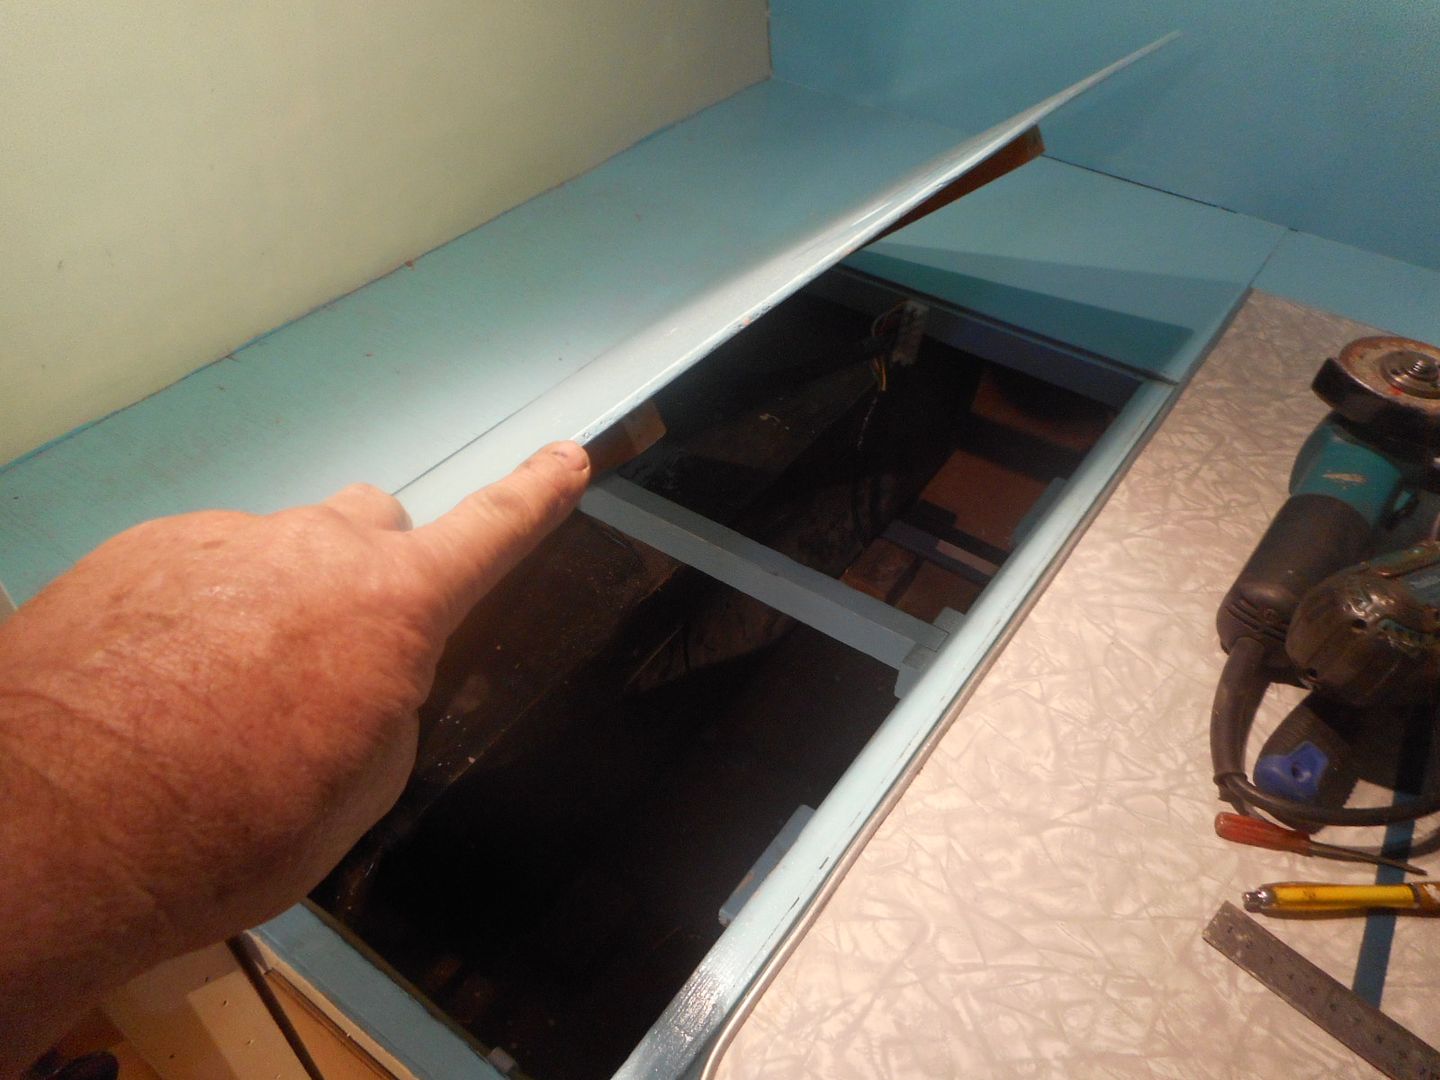
Hinge the lid from the side furtherest away from the side ya wanna open.
Cut 2 bits of wood ... in this case about 300mm long.
Screw them to the cross rails under the lid.
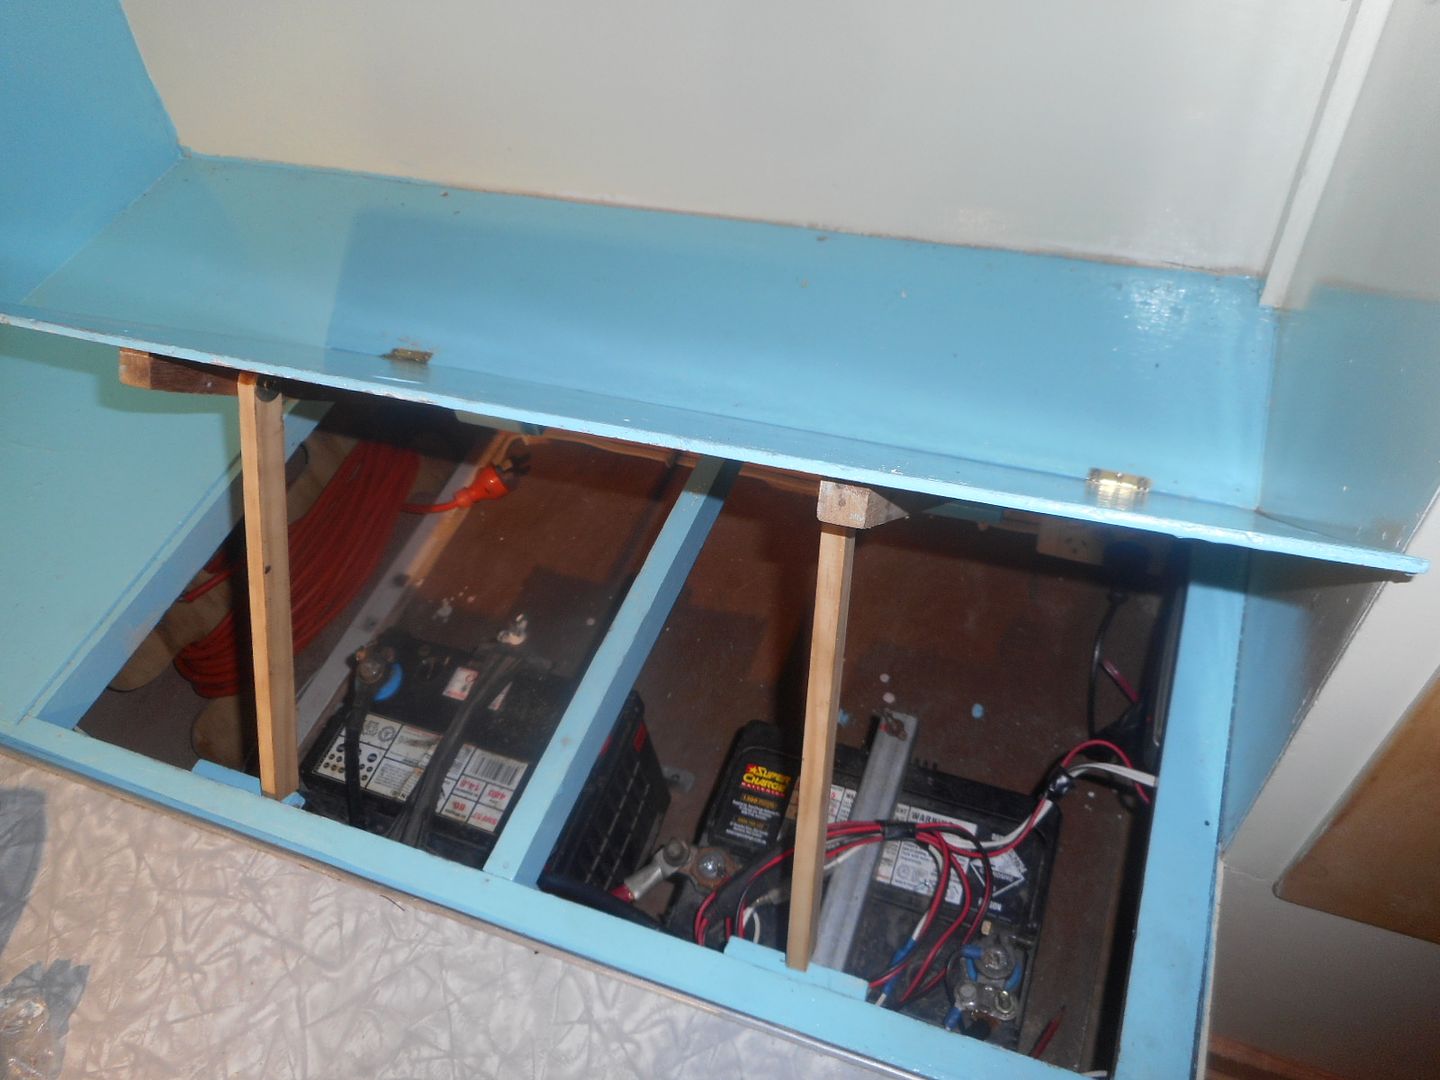
Lift the lid and swing the supports down onto the edge of the opening....
Image
Leaves both hands free to fiddle with what ever is under the seat.. in this case its the dual batteries.
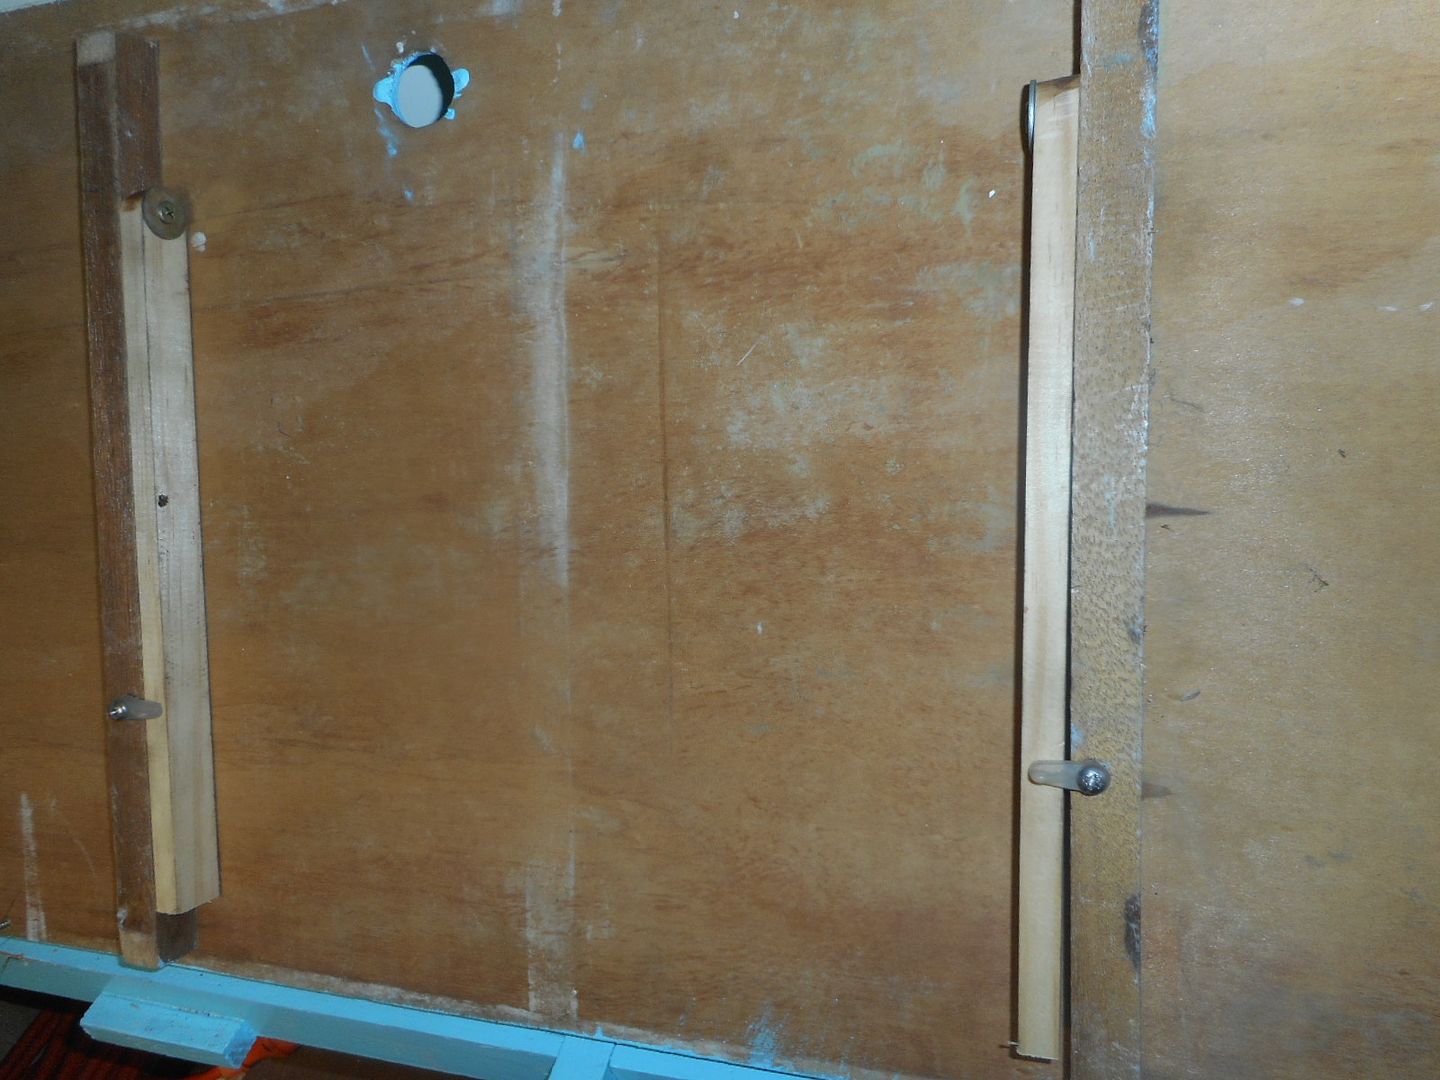
Use a fly screen window tab to hold the legs up while the lid is shut...
Image.

Reddo

Re: Reddos 1960 Supalite Atlas Resto

Posted: Tue Aug 02, 2016 7:00 am
by Strugglebrook
All these extras, I`m thinking Mediumlite. :D :D :D :D :D

Re: Reddos 1960 Supalite Atlas Resto

Posted: Tue Aug 02, 2016 9:06 am
by jennison
What sort of push out rods were they Reddo. I am missing one
Jenno

Re: Reddos 1960 Supalite Atlas Resto

Posted: Tue Aug 02, 2016 3:50 pm
by reddo
Hi Jenno...
I assume you are talking about the window brackets that hold them open, :?:
Yes / No??

GR