Page 7 of 14

Re: Reddos 1960 Supalite Atlas Resto

Posted: Sat May 28, 2016 9:17 pm
by NAC
Doors turned out real good and your hinges look like new.
A lot of elbow grease put in no doubt

Re: Reddos 1960 Supalite Atlas Resto

Posted: Sun May 29, 2016 8:34 am
by Strugglebrook
Mmmmm like doors and mmmmm like shelf edging.
Mmmmmmm looking good. :D :D :D :D :D

SB.

Re: Reddos 1960 Supalite Atlas Resto

Posted: Tue May 31, 2016 7:30 am
by reddo
Ok
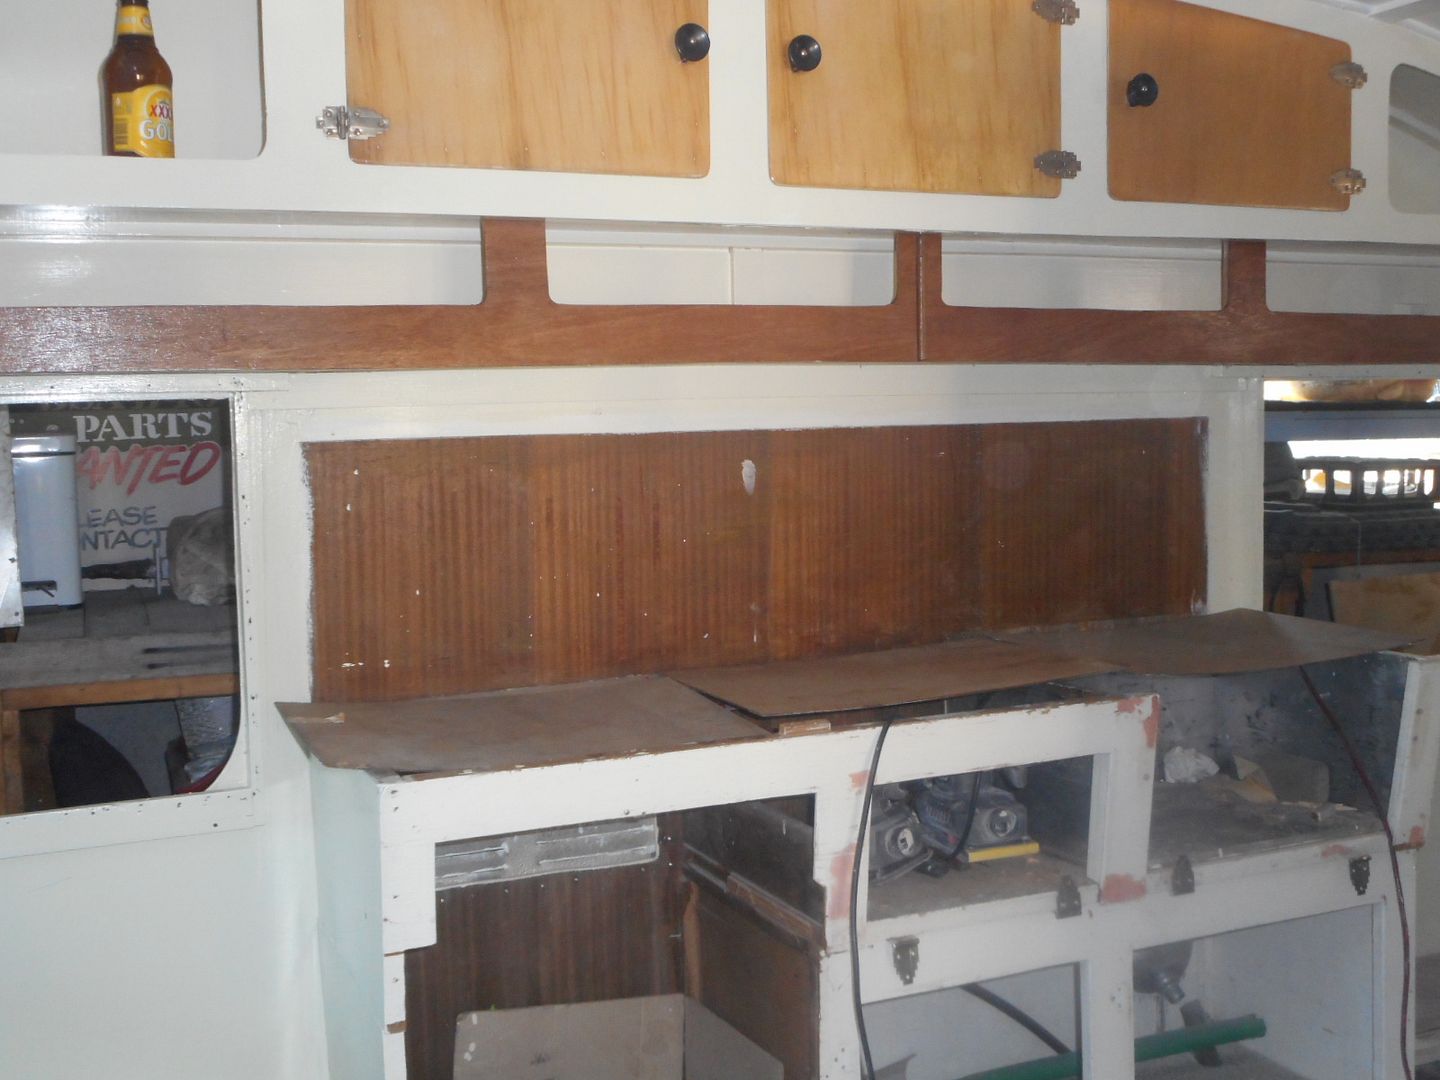
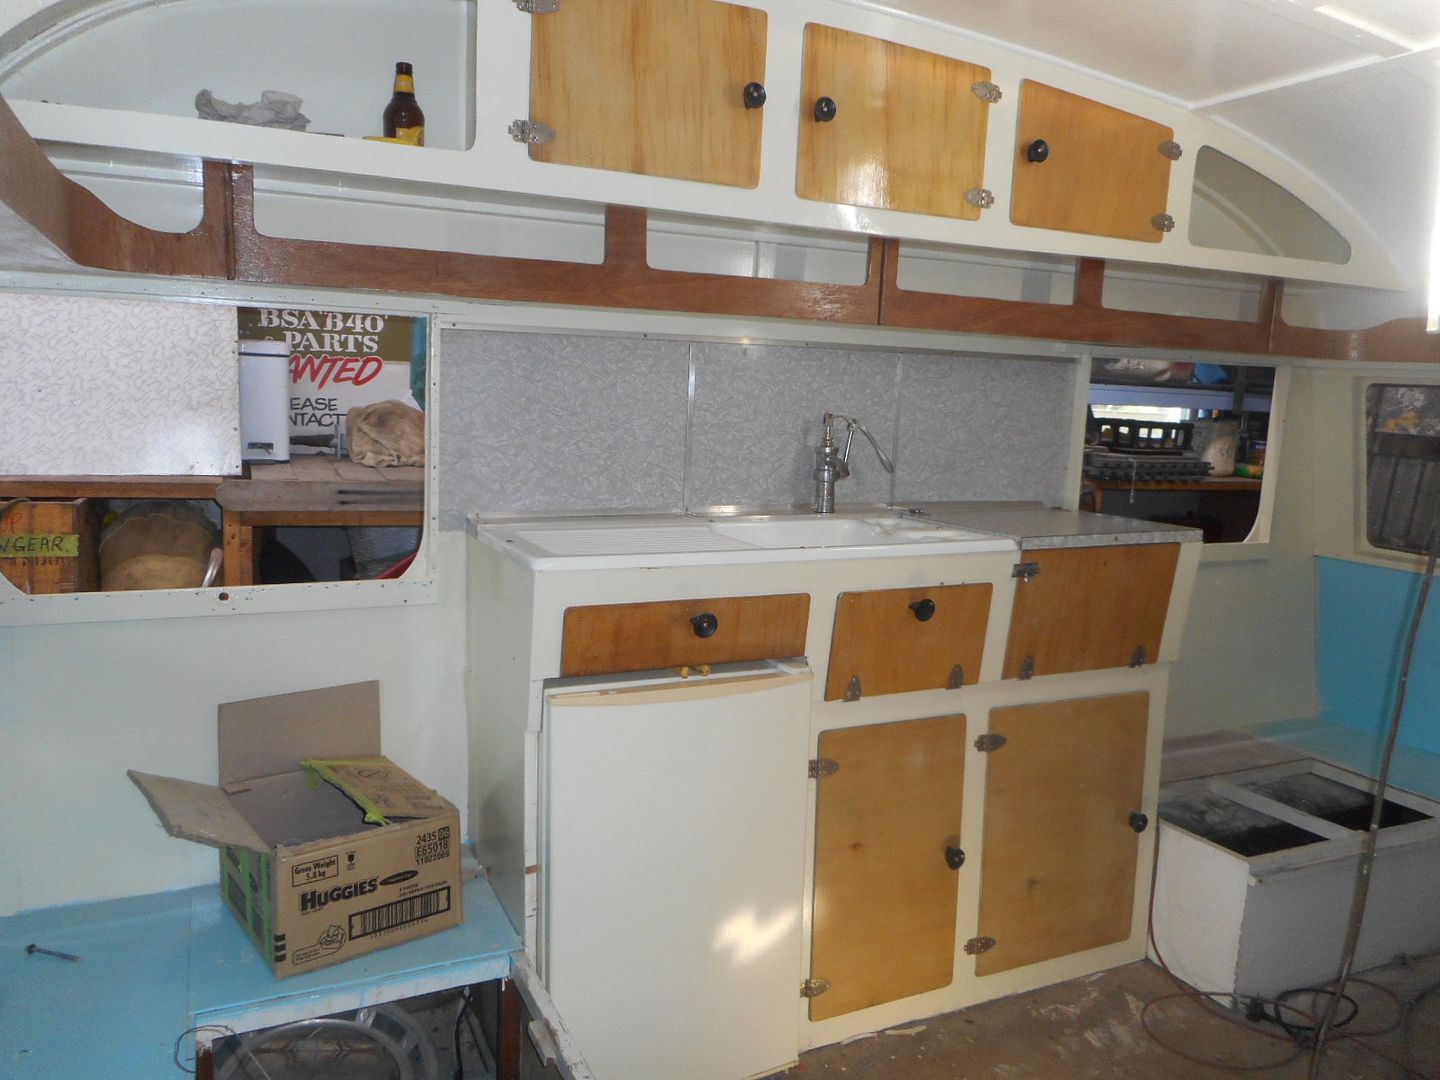
Now that the cupboard doors are ready for fitting i have moved on t what i referred to earlier as "The disaster zone"..
The Kitchen area...
Image

As it turns out things arent as out of square as i thought they where..

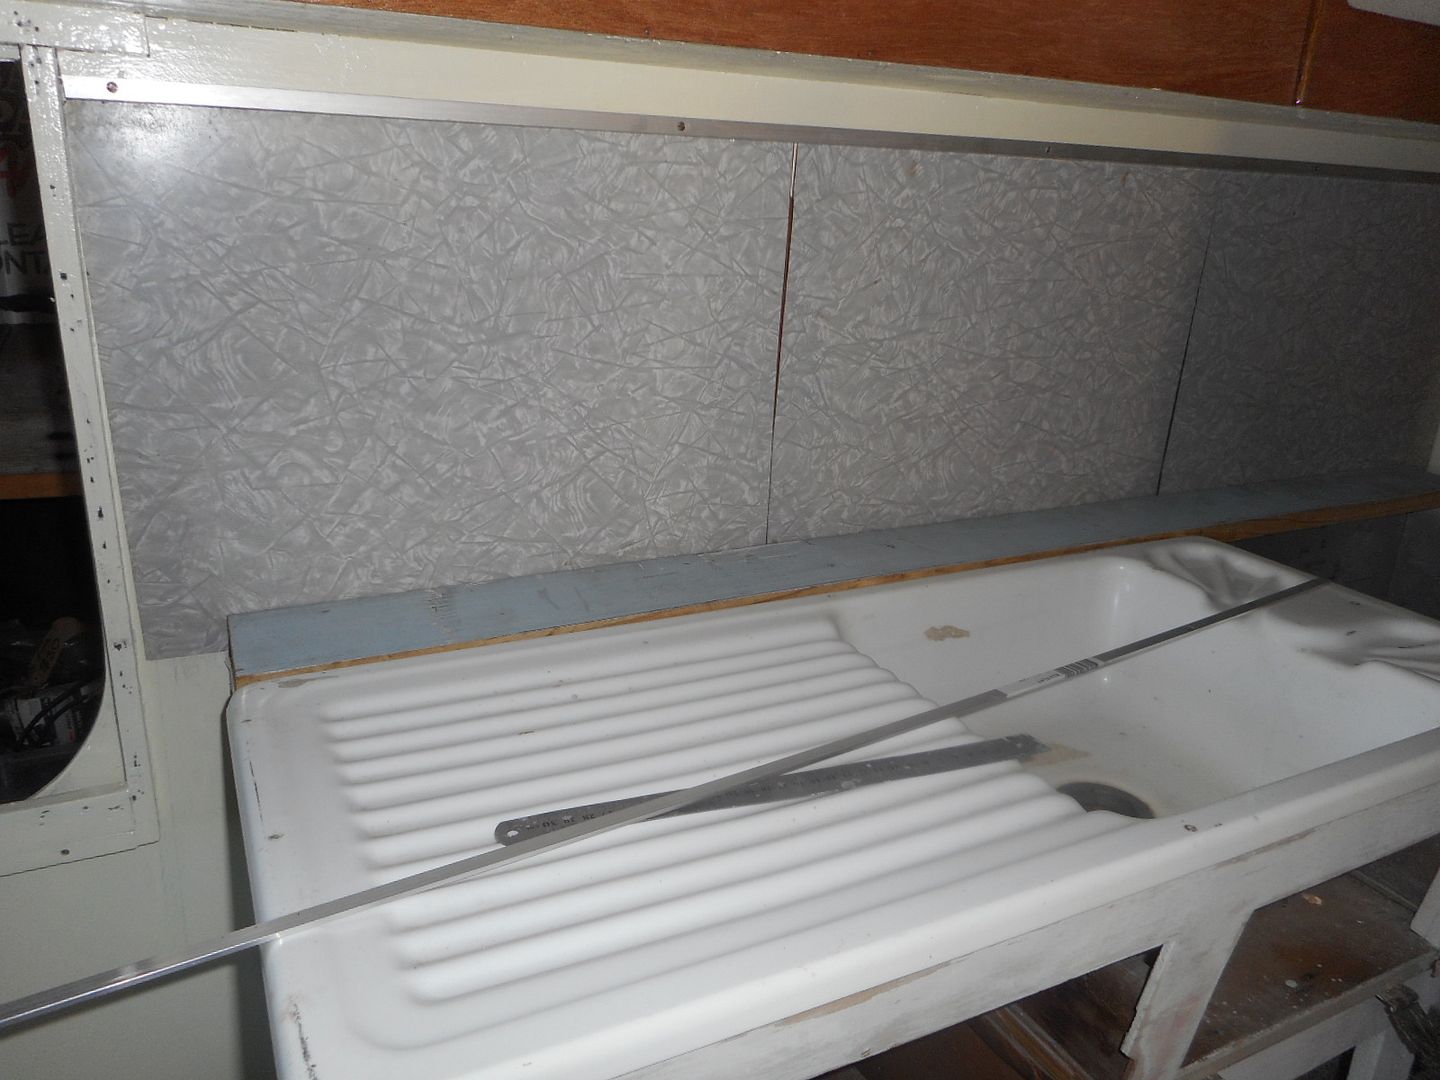
I tackled the splashback first.
Not having a large piece of "cracked ice " laminex to fit the area in one sheet i decided to make use of an odd shaped piece i had been given by SusieQ a few months ago.. fortunately Aquamum was at Sues place helping her pack some stuff down the shed and had spotted the laminex and rang me wanting to know if i wanted it.
Trish and i shot down there and collected it along with some other odds and ends .

Up until this point i was considering using something a bit different for a splashback... :shock:
Image

But i figured that i would have been lead to distraction while working at the stove and suffered scalds and burns....so the idea was dashed.... but not forgotten :D

... with a bit off shuffling i managed to make up the splashback out of 3 sections of laminex and have enough left over scraps to fill in along the back of the sink etc....
Image.

Thats as far as i got yesterday. I have been trolling through Gumtree and ebay for the passed few weeks looking for a bar fridge that will fit in the gap where someone had hacked out the cupboards to fit a fridge ( no fridge in van when i bought it )
Have had replies from 4 or 5 sellers.. all to wide or too tall to fit the opening..The fridges that is... not the sellers :lol:
Going to check out a couple today ... bloody expensive items.. One is $30 .. other is $50... :shock: :lol: .. Really gunna blow the budget.. but when you consider the fridge will be cheaper than a carton of beer, i suppose it puts things in to perspective ;)

So.. hopefully by the end of the day i will have the splashback and benchtop sorted so that i can progress on to the cupboard fronts and purchase of a fridge.
I wont fit that white sink until everything else is done in that area. Makes it easier to line cupboards and run wiring in that area.
:idea: Would be nice to think whatever fridge i end up with can be ran off an inverter when free camping. :?:

Cheerio for now
Reddo

Re: Reddos 1960 Supalite Atlas Resto

Posted: Wed Jun 01, 2016 10:22 am
by Strugglebrook
Starting to really take shape Mate. Have you thought about floor coverings yet??
SB. :D :D :D :D :D

Re: Reddos 1960 Supalite Atlas Resto

Posted: Wed Jun 01, 2016 12:04 pm
by reddo
Hi SB

When i collected the van Sandra gave me about 40 original lino tiles in variuos clours. They would look great on the floor ..... However..I could not believe the weight of each tile.. :shock: at least 500 grams each ??.
So.. do the sums.. 40 tiles at 500 grams =20kgs
:idea: Probably be lighter if i used concrete pavers... :shock: :shock: :shock:

Still ....i suppose the authentic look is worth the weight sacrifice. :?: :roll:
Just have to leave one of the 10 beer cartons out when packing for a weekend away !!!! :D
Geez i dunno... the thinks we have to sacrifice for the sake of originality.

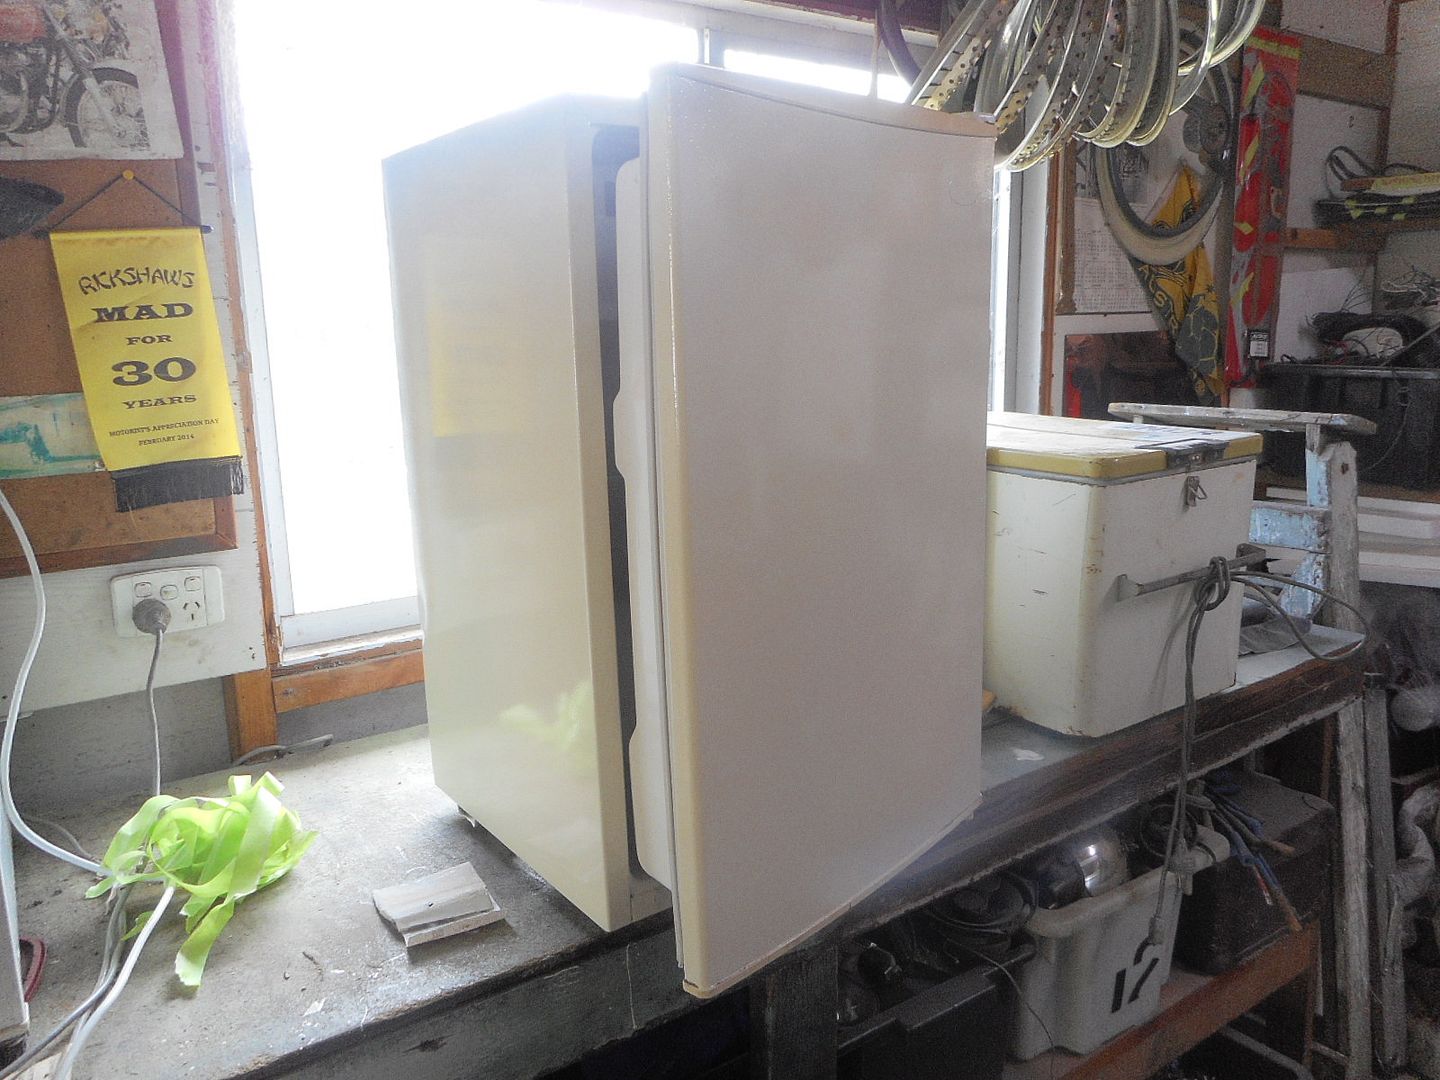
I scored a fridge yesterday. fits the gap in the cupboards perfectly... However. it doesnt fit through the door of the van.. :oops: very close .. but not quite enough.
Thought about dropping it in through the roof hatch...Too much gut busting and i risk dropping it in the process.
I will have to pop the 10mm X 10mm weatherstrip off the right side of the door opening to make enough width to get the fridge in .

Have painted the fridge ( 78Ltr) same colour as the cupboards.. might get bro to signwrite "Silent Knight" or "Morphy Richards" on the door 8-) ... if it looks like a duck.. and quacks like a duck... well then .. everyone will know its a 2008 NEC made in Korea.. :lol:

GR

Re: Reddos 1960 Supalite Atlas Resto

Posted: Sat Jun 04, 2016 6:58 pm
by reddo
Ok then..
Have been stuck in the kitchen and slaving over a hot jig saw and cordless drill..

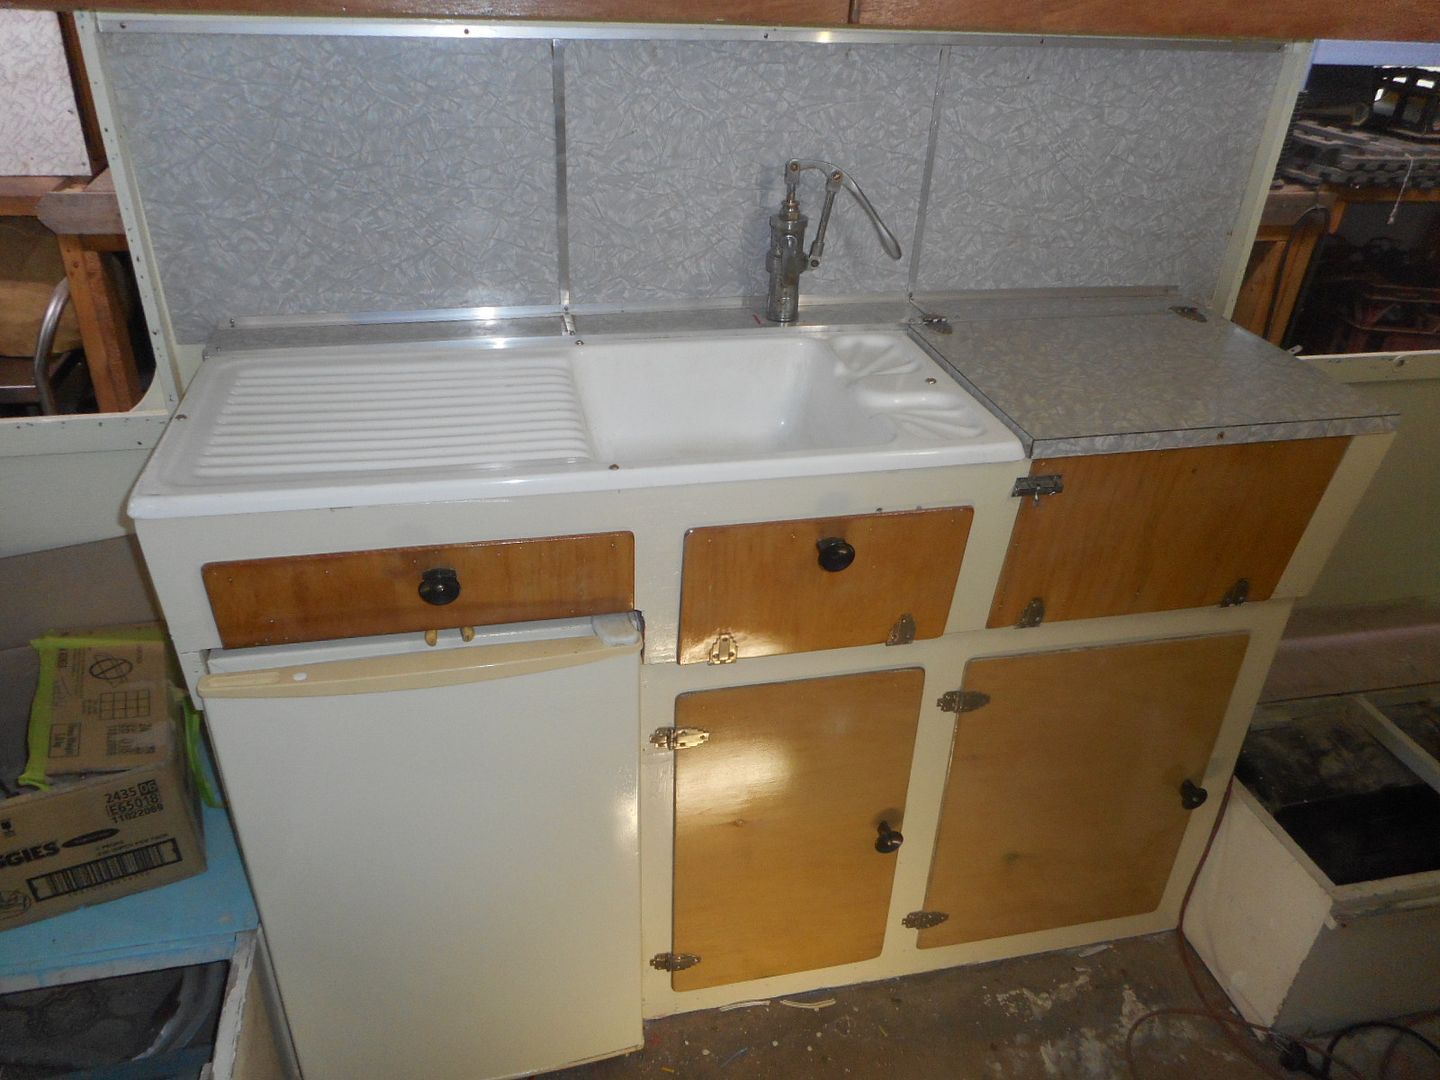
Finished off all the doors .... painted all the framework.. fitted the doors .. then wired a power point for the fridge .. made it a double point. Thought it might come in handy while cooking etc...
Had to take the door off the fridge to get it in the van.. then do a fair bit of sanding with the belt sander to get it into its alotted space.

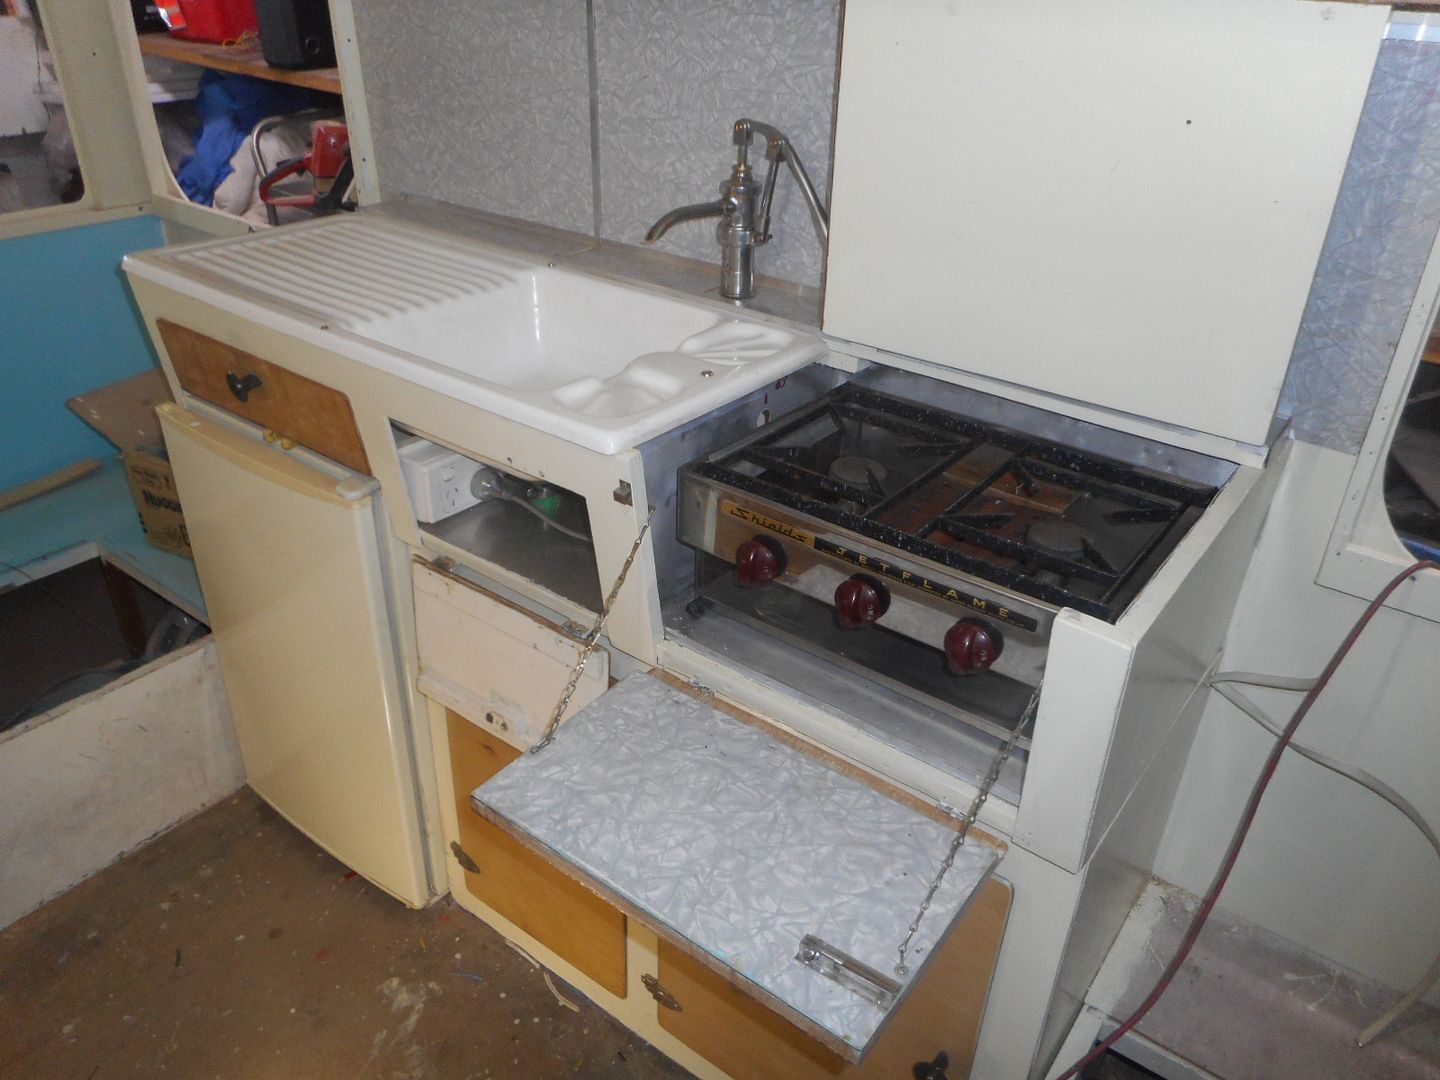
Then fitted the sink..and the old hand pump. Chrome isnt perfect .. but she works well, and its the big bore jobby.. can empty a 44 gallon drum in under 10 seconds.... honestly.. oh all right.. its just better than your normal skinny bore pump.. I have mounted it off centre .,So if i ever want to put a town water ( pressure) tap it can sit to the left of the bowl .

Cleaned up and old Shields jetflame 3 burner stove i had laying around and fitted it in place. Again.. only had a few mill to spare when i went to fit it in its spot. Bore hole for gas hase connection.
Didnt have any of the original brackets that hold the drop down door for the stove... so made em out of chain.
Gunna try the local gas mob and see if they will make me up a 4 metre gas hose to run from the stove through the cupboards and out to the front ready for the Gas bottle fit up??
Had a similar set up in Rosie.

You will notice a pair of yellow pliers handles sticking out under the knife an fork drawer front just above the fridge :?: Just a temporary measure while i worked out what size i had to cut the ply to make up a new drawer. Nearly got it finished today. an hour or 2 in the morning should see most of the fiddly bits done in this area.
Ya gotta admit its a better look than what i started with.. :roll: :shock:
Image

All good for now. 8-)

Heres a few progress shots....
The kerosene powered silent knight fridge... waddya mean it aint a kero fridge :evil: T'will be when the bro finishes the genuine signs for the door... ;) :lol:
[URL=http://s10.photobucket.com/user/reddo71 ... 20Supalite
/DSCN4447_zps4szs47b4.jpg.html]Image[/URL]

Image

Image

I cant believe my luck... the benchtop lid on top of the stove hinges up and fits millimetre perfect under the shelf i ran around the van. Had to take the little black knob off the front of the lid.
Image

More later.

Reddo

Re: Reddos 1960 Supalite Atlas Resto

Posted: Sun Jun 05, 2016 9:13 am
by Strugglebrook
Looking better and more finished every day. :D :D :D :D

Re: Reddos 1960 Supalite Atlas Resto

Posted: Sun Jun 05, 2016 9:34 pm
by Richard
Well Reddo Ive been busy for a week or so and just read your updates.
As usual great work from the Reddo's "shed of invention".
Keep the updates coming.
Cheers.
Oh I have a couple of Tshirts heading your way when I can brave the flooding rains we are having here and get to the post office. :D :D

Re: Reddos 1960 Supalite Atlas Resto

Posted: Tue Jun 07, 2016 6:16 am
by reddo
Ok thanks Richard , i will keep an eye on the letterbox.. 8-)
and i will keep the other eye on the Supalite and see if i can make some progress..

Todays episode is bought to you by the letter "T"...
T is for table :)

The original lay out had a single bed up front as well as a homemade upper single bunk effort .
Down the back has the usual 4 seater dinette with collapsible table to create a double bed.
We all know what a pain in the A dropping the table and making the bed each evening can be...

Add to the the fact that we spend a lot more hours in bed than what we do sitting up at the table eating meals / reading/ drinking etc.. so... it makes sense to make the sleeping arrangements comfortable and ..... permanent.
So..... with that in mind i decided to..... :idea:
Modify the front area into a 2 seater dinette ..
Leave the original table which is in very good condition as the bed base down the back.
Build a new table .
Given that there is less room up the front between the kitchen /fridge end and the front of the van as well as only enough room for a single seat between the door. stairwell and the front of the van i can only fit a single seat either side... but.. a nice wide 1 1/2 seat width.

This also dictated that the new table would have to be slightly narrower than the original...

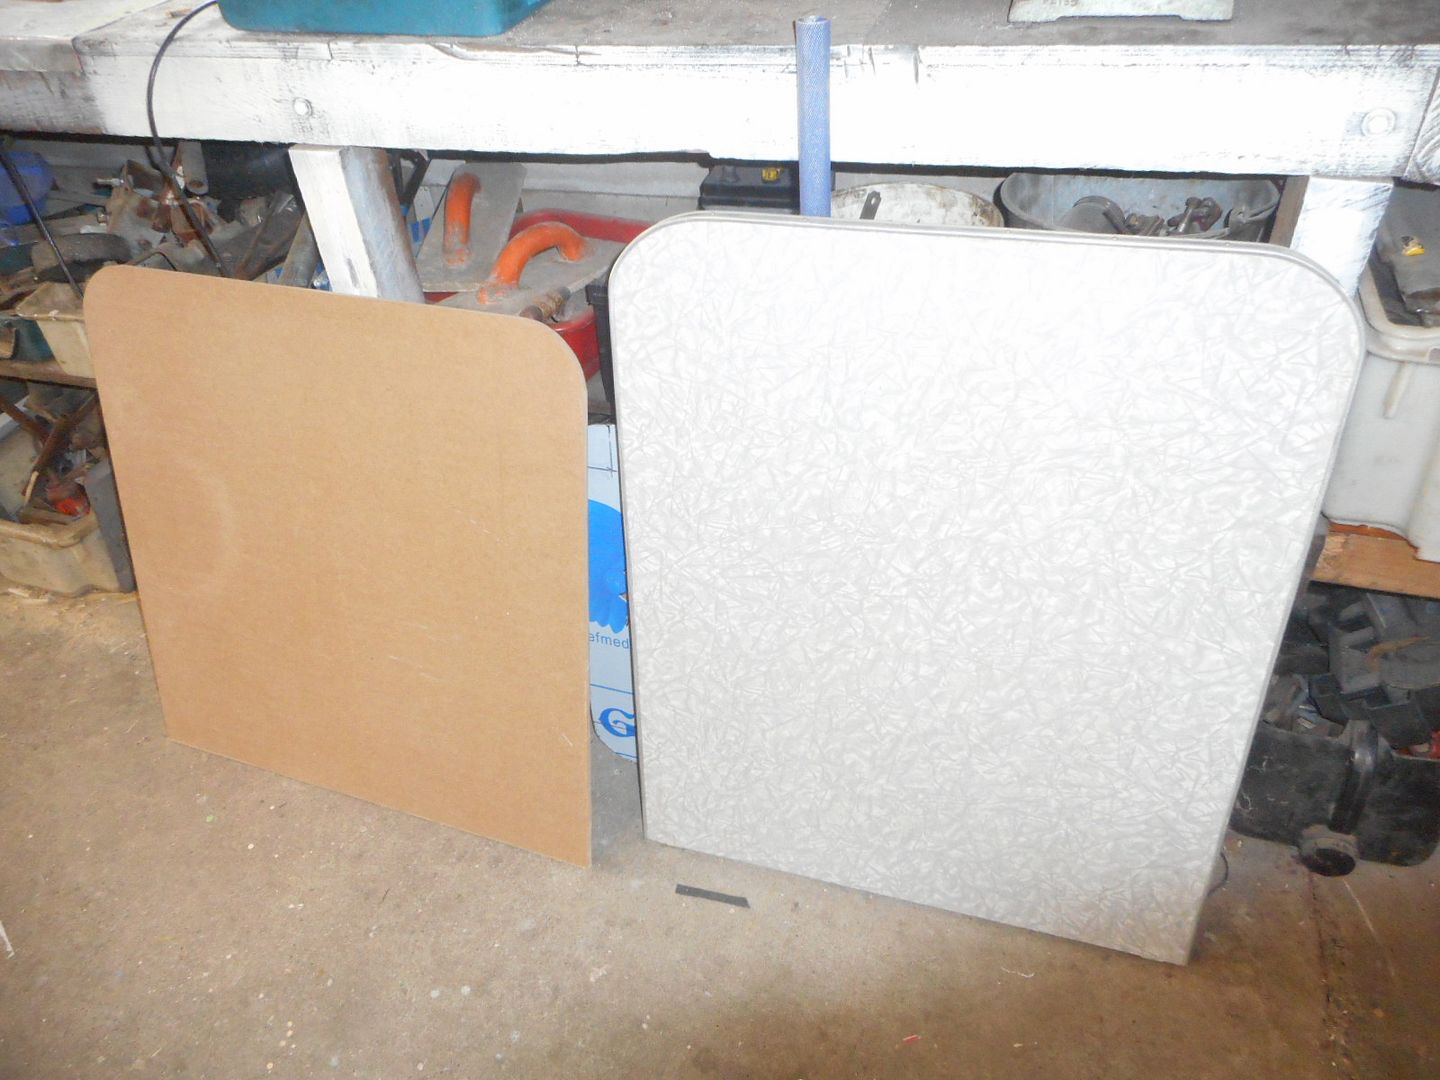
So.. first job .. cut out a new 800 x 800mm table from a 1200 X 1200 sheet of melamite... 90mm radius on the corners so you dont impale yourself on sharp corners when moving around the van..
This stuff seems fairly rigid even though its only about 12mm thick... if i need to put a strongback under it later to stop it bowing its no big deal
Image

Next decision is what to use as an edging??
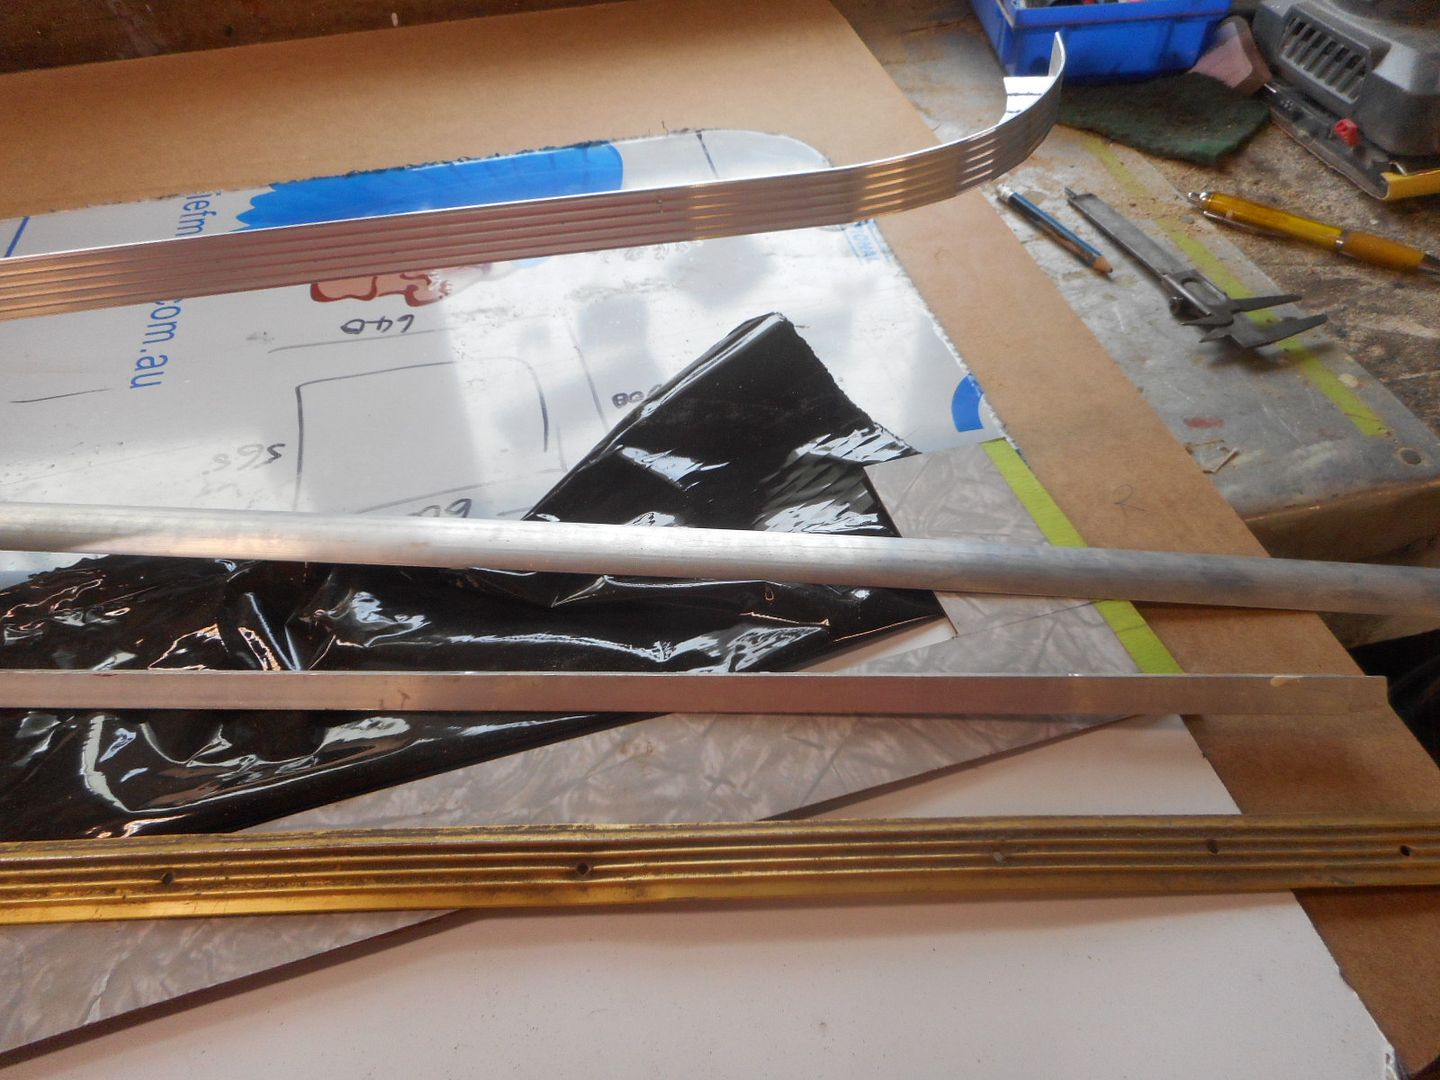
Lotsa choices but all require bending around those 90mm radiuis's .. so timber was ruled out.

I have crescent mould, J mould, door tread strips and door tread ribbed right angle aluminium
Image

After some deliberation i went with the right angle ribbed stuff.. had a practice run at cutting kurfs in the side that fits under the table to see if i could achieve a nice smooth curve... seems ok

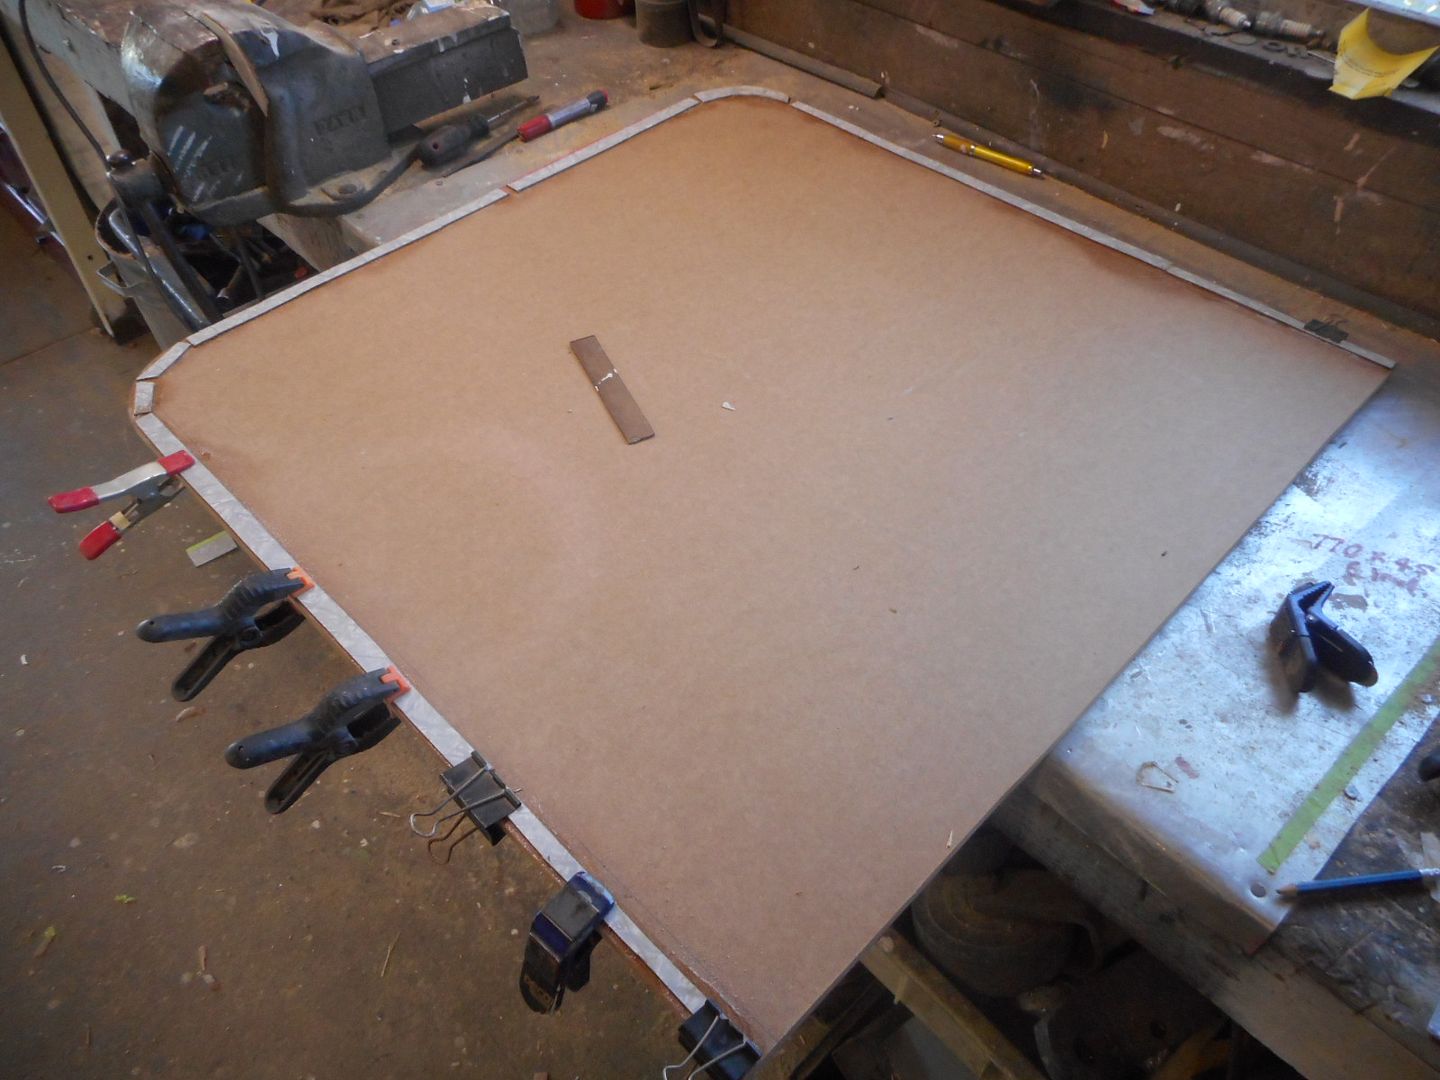
Next issue was packing the underside of the table to get the angle to sit at the right height top side so that when i fit the signboard gloss white top it fits flush with the top edge of the ribbed angle... the answer was to use laminex strips..and glue it to the underside
Image

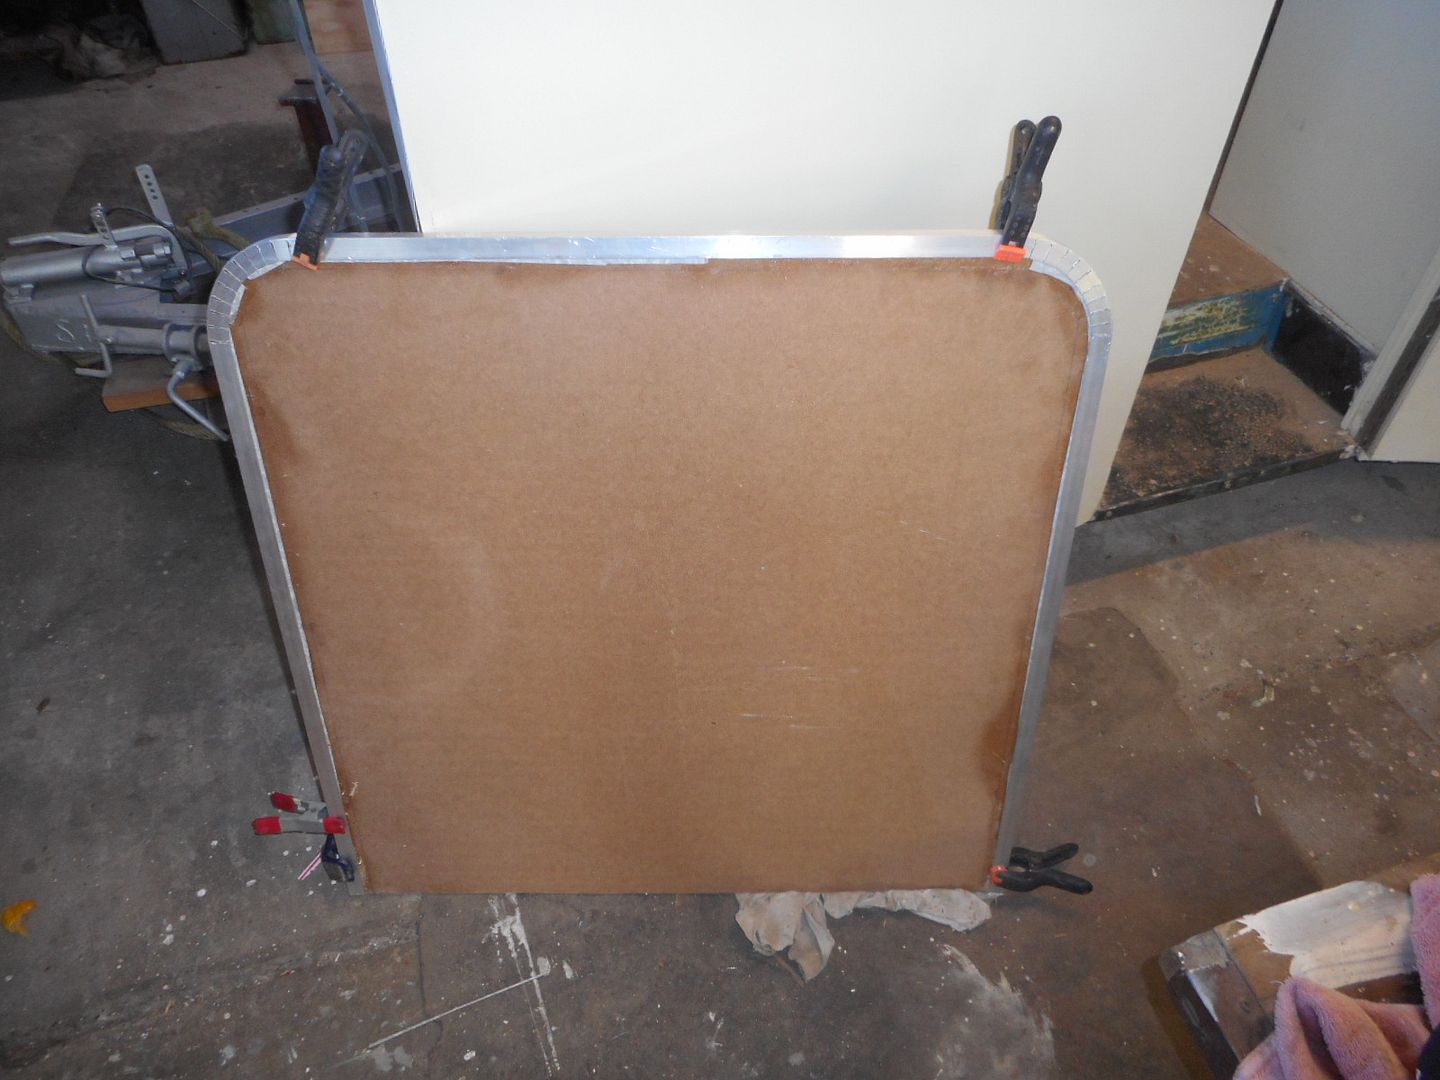
then cut the angle and work on the radius kurfs ( or is it letts?) ..Trial fit.... :shock: sorta surprised myself that a mangler could achieve tidy corners....
Image

Just need to file all the rough edges left by the angle grinder disc .
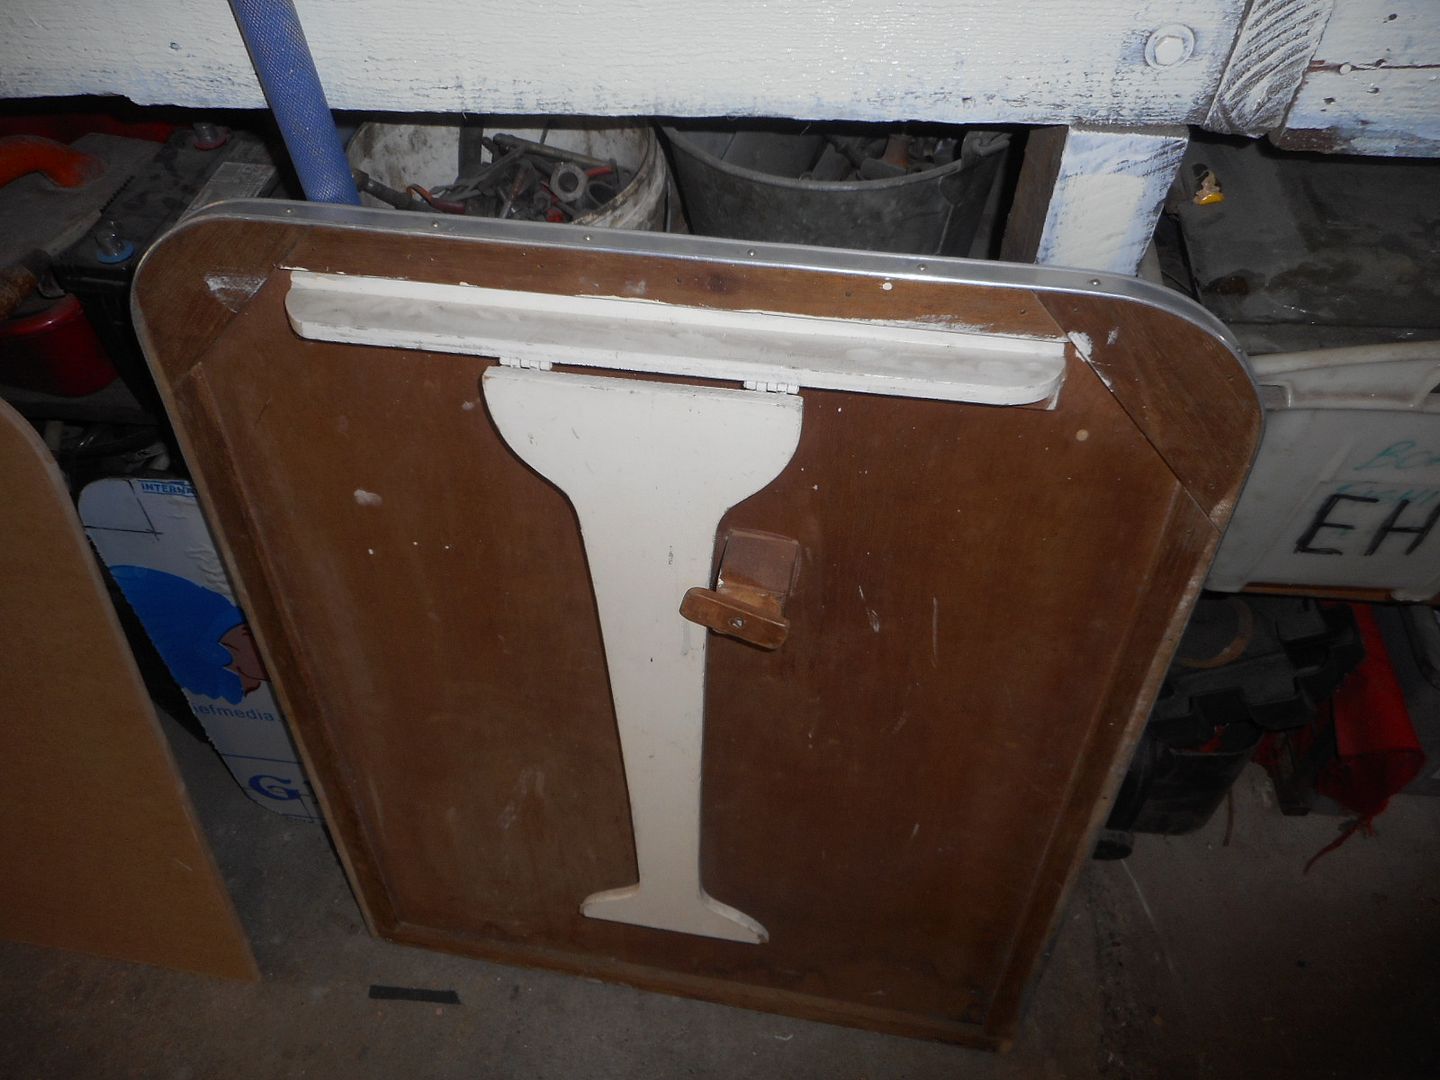
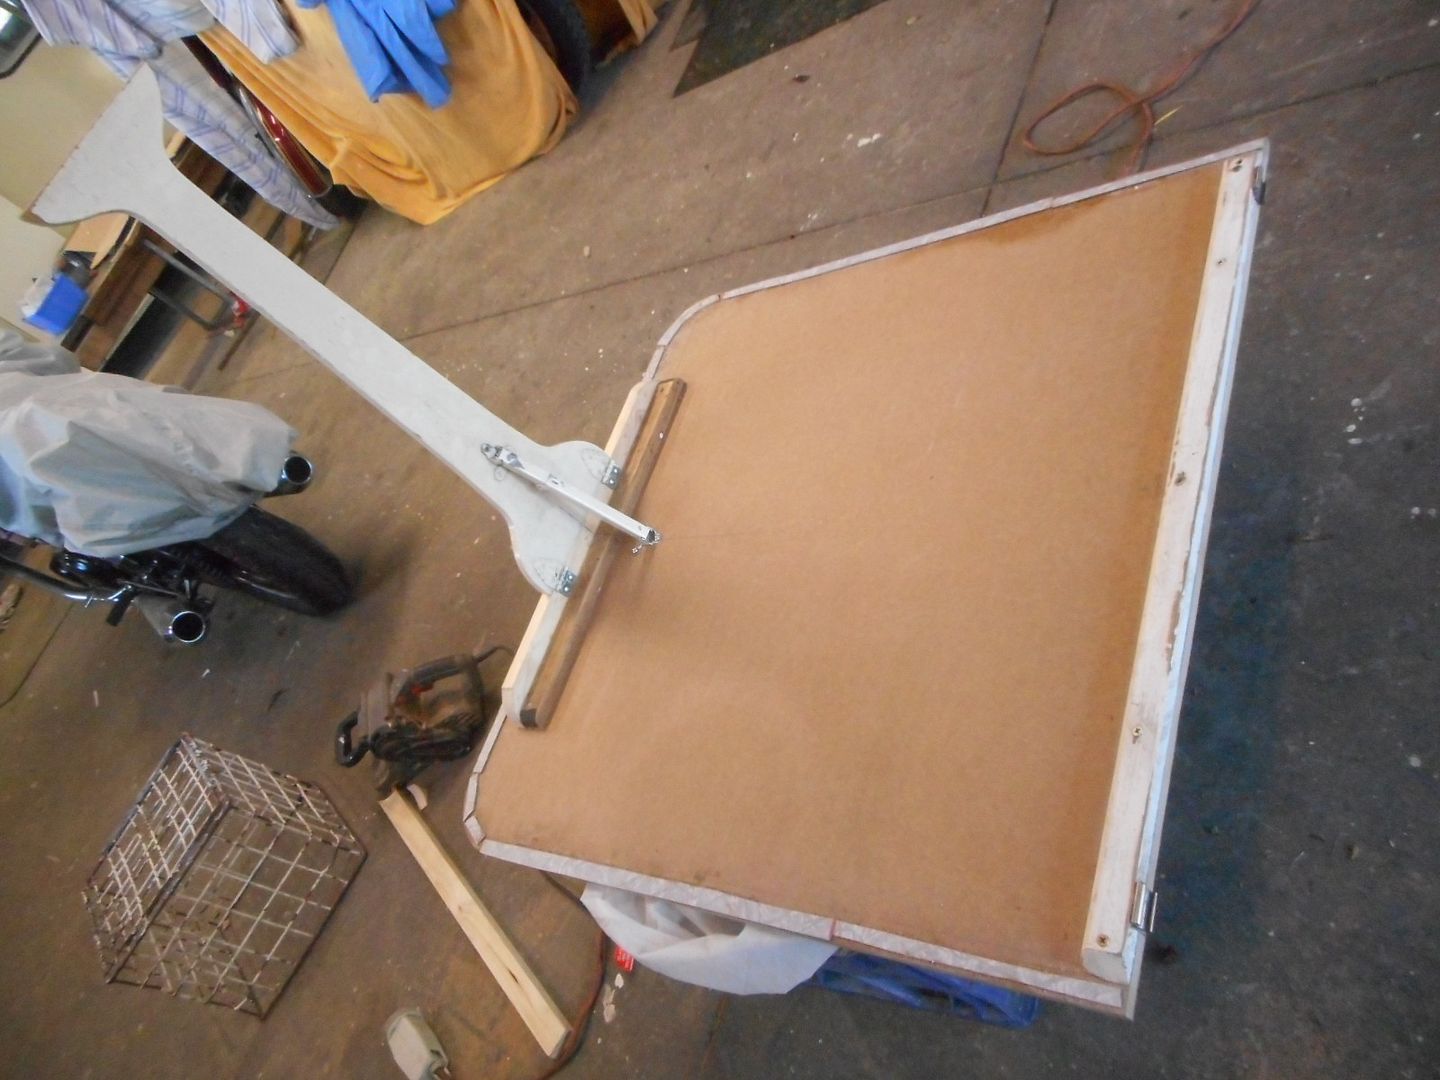
Satisfied with my efforts. i put the moulding aside and moved onto the support leg which i amputated off the original table....it would be serving no useful purpose under the bed and would get in the way when storing stuff under the bed.
Image
Glued and screwed in place on the new table .. made up a leading edge to take the 2 marconni clips for the slide on rail that holds the table to the front wall of the van just below the window.... then painted in primed...
Left it all to dry overnight
Image

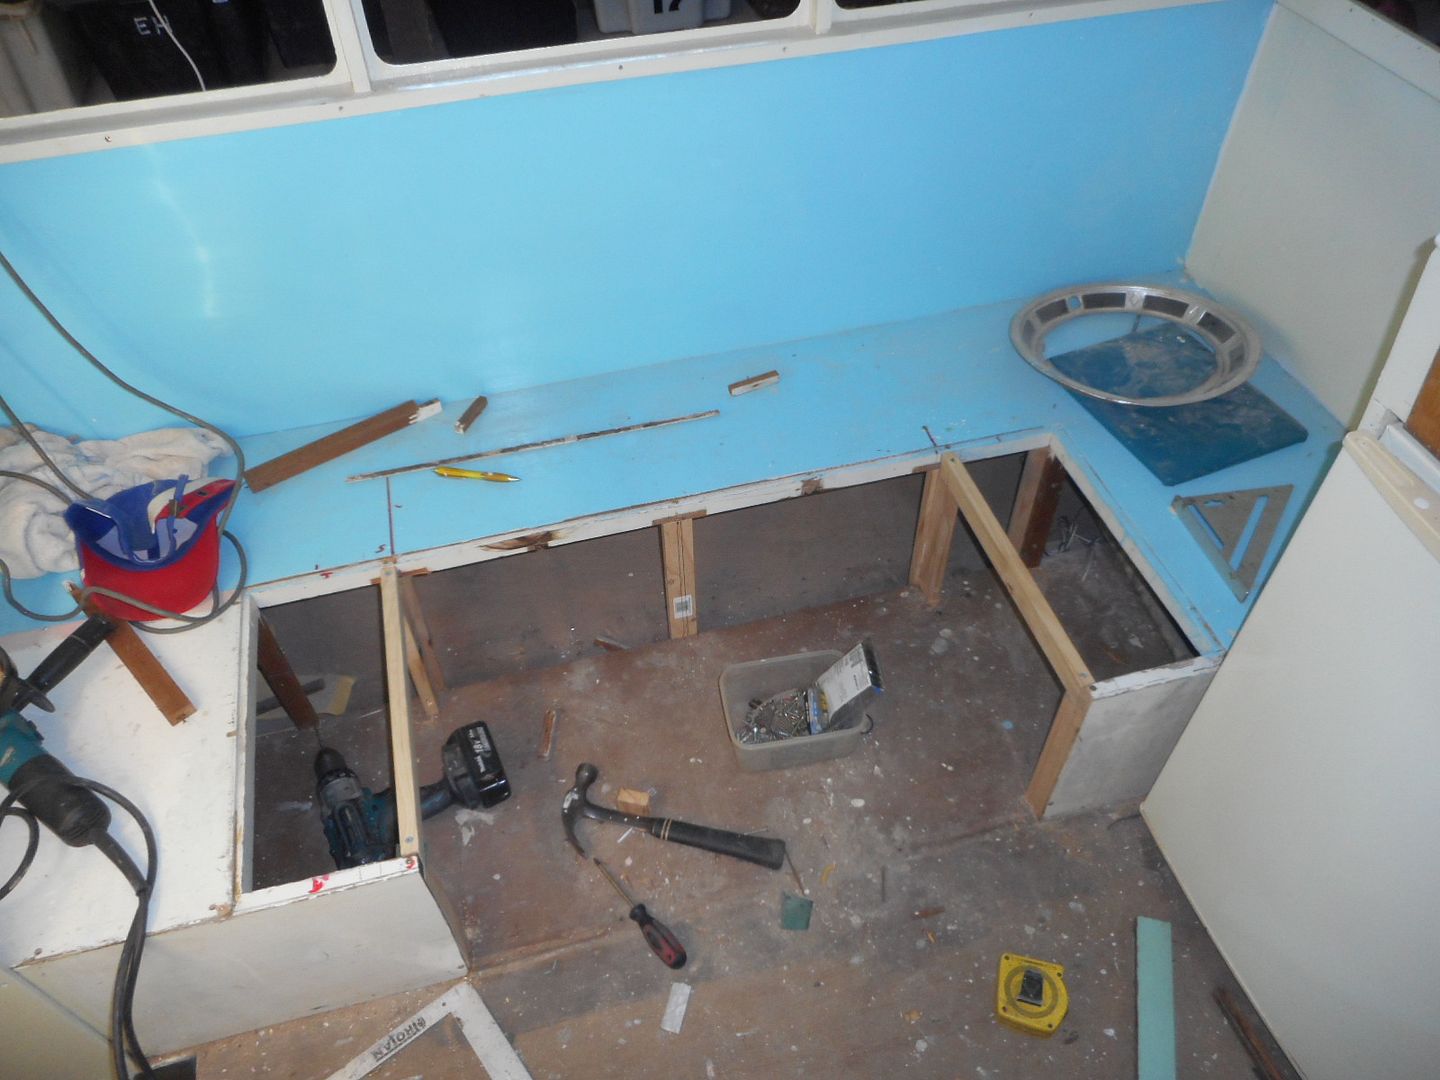
Moved on to the old bed frame and started demolishing it .. fitting new support posts in..
Image
I hope top make as many hinge open lids as possible in this area .. makes getting stowed stuff easier to get out.. enough room across the front to fit an pole tube internally.

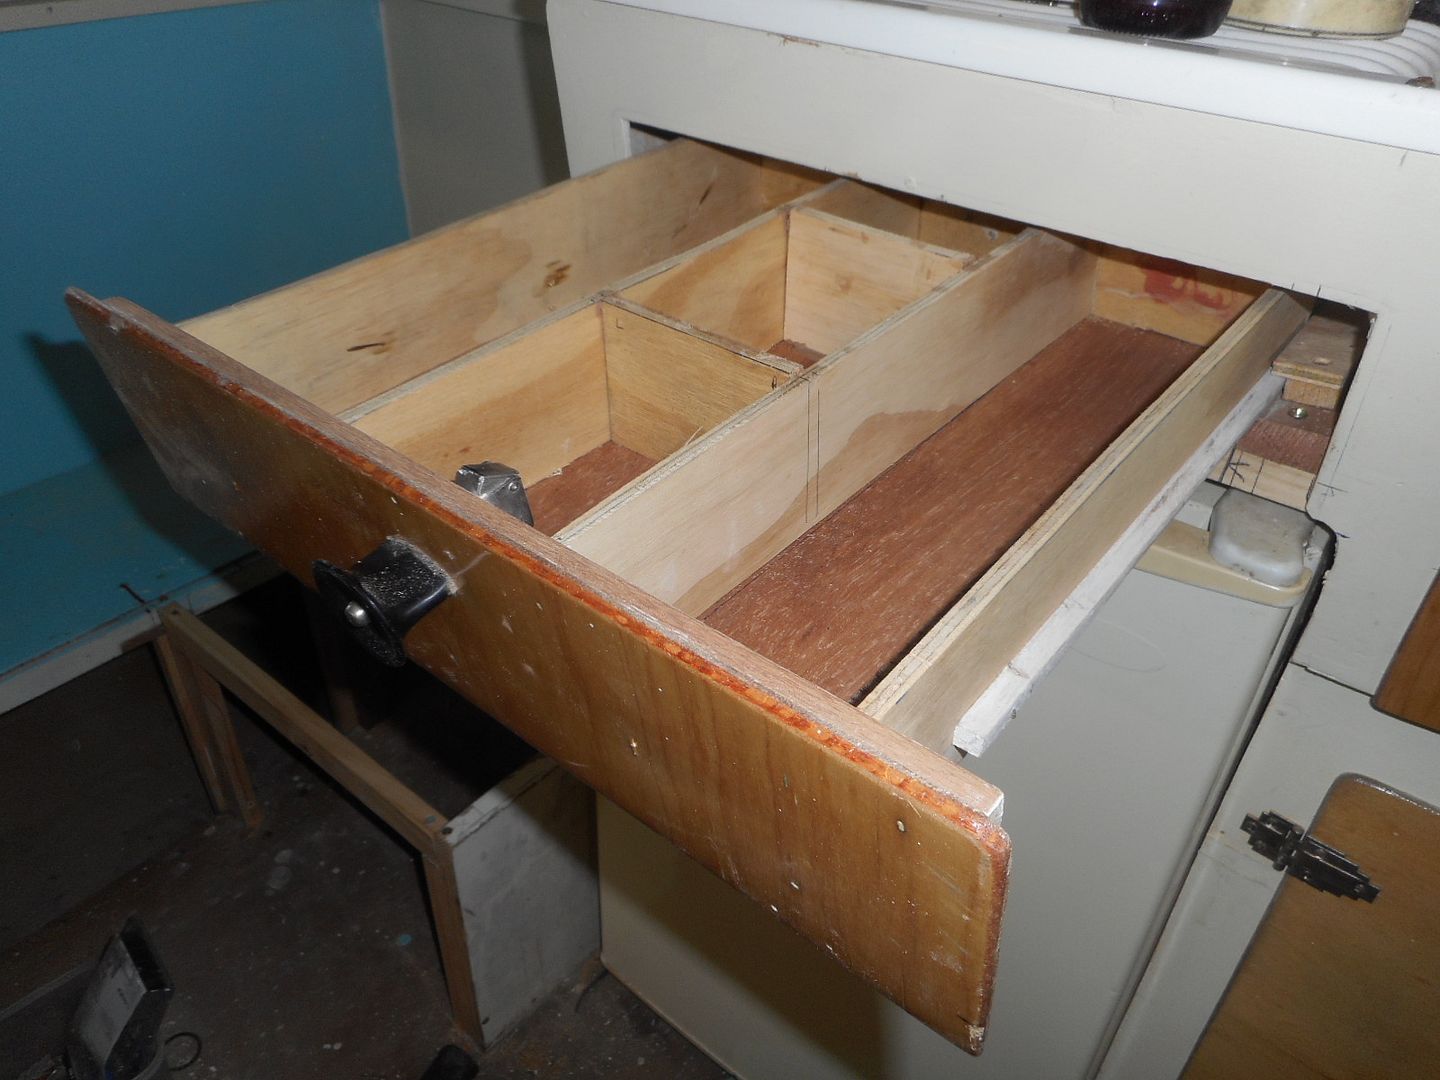
Almost enough for one day.. did manage top finish off the knife and fork drawer slides and fit patitions in the drawer..
Image

Thats it for today.. rough as guts Reddo signing off. ;)

Re: Reddos 1960 Supalite Atlas Resto

Posted: Tue Jun 07, 2016 11:00 am
by DC3TD
:) Sweet. gordo